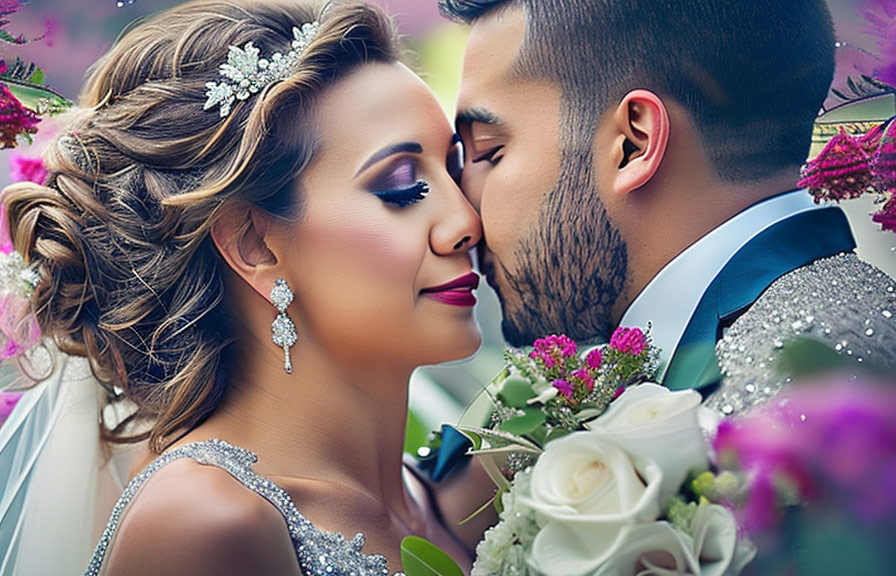
A wedding is one of the most memorable events in a couple's life, and capturing those precious moments through photos is essential. however, not all photos turn out perfect, and that's where Wedding photo editing comes into play.
With the right techniques, you can make your wedding photos look absolutely amazing. in this blog post, we'll guide you through the process of Wedding retouching so that you can transform your wedding photos into cherished memories.

Step 1: choose the right photo editing software
Before getting started with Wedding photo touch up , it's crucial to choose the right photo editing software. there are several different options out there, including adobe lightroom, adobe photoshop, and free alternatives like gimp. it's essential to select a software that you're comfortable using and has the necessary tools for
The job.
Step 2: culling and organizing your photos
When it comes to Wedding photo retouching, the first step is to cull and organize the photos. go through the entire collection, and select the best shots to work on. it's a good idea to create a separate folder for the images you're going to edit, so you can
Easily find them later.
Step 3: correcting exposure and white balance
One of the most critical aspects of Wedding photo editing is correcting the exposure and white balance. these adjustments are crucial for ensuring that your images have a natural and balanced look. to correct the exposure, use the histogram and sliders in your photo editing software to adjust the highlights,
Shadows, and midtones. for white balance, use the eyedropper tool to select a neutral area in the image, or manually adjust the temperature and tint sliders.
Step 4: cropping and straightening
An essential part of Wedding retouching is cropping and straightening your images. this step helps to eliminate any unwanted elements in the frame and ensures that your photos look professional. when cropping, keep in mind the rule of thirds – this can help you create a more visually appealing composition.
Additionally, use the straightening tool to ensure that the horizon is level in your images.
Step 5: retouching skin and removing blemishes
One of the most critical aspects of Wedding photo touch up is retouching the skin and removing any blemishes. this step can help you achieve a flawless look in your wedding photos, without making the subjects appear unnatural.
To retouch skin, use the healing brush or spot removal tool in your photo editing software to remove any imperfections, such as pimples, scars, or stray hairs. be careful not to overdo it – your goal is to enhance the natural beauty of the subjects, not to make them look like
Plastic dolls.
Step 6: enhancing eyes and teeth
In Wedding photo retouching, it's essential to pay attention to the eyes and teeth of your subjects. to enhance the eyes, use the dodge and burn tools to brighten the whites and darken the irises.
You can also use the sharpening tool to add more detail to the eyes. for teeth, use the hue and saturation adjustments to make them appear whiter and brighter, but be careful not to overdo it – you want the teeth to look natural and not overly bright.
Step 7: adding depth and contrast
To make your wedding photos stand out, you need to add depth and contrast. in Wedding photo editing, this can be achieved by using the curves and levels tools to adjust the brightness and contrast in your images.
You can also use the clarity and vibrance sliders to enhance the overall look of your photos.
Step 8: color grading and filters
One way to give your wedding photos a unique and cohesive look is by applying color grading and filters. in Wedding retouching, you can experiment with different color schemes and presets to find the perfect look for your images.
Be creative, but remember to keep the overall theme and style of the wedding in mind when making these adjustments.
Step 9: sharpening and noise reduction
The final step in Wedding photo touch up is to sharpen your images and reduce any noise. this step ensures that your photos look crisp and professional. use the sharpening tool in your photo editing software to add more detail to your images, and the noise reduction tool to
Eliminate any graininess caused by high iso settings.
Step 10: exporting and sharing
Once you've completed the Wedding photo retouching process, it's time to export and share your images. be sure to export your photos in a high-quality format, such as jpeg or tiff, to preserve the details and colors.
Share your edited wedding photos with the happy couple and their loved ones, and be proud of the amazing memories you've helped to create.
Conclusion
Wedding photo editing is anessential skill for any photographer or anyone who wants to make their wedding photos look amazing. by following the steps mentioned above, you can transform your wedding images into stunning, professional-quality photographs that the couple and their families will cherish for years to come.
Remember, the key to successful Wedding retouching is to enhance the natural beauty of your subjects and the overall atmosphere of the event, without making the images look overly processed or artificial. so, take your time, be creative, and watch as your wedding photos come to life with the
Magic of Wedding photo touch up.
