We've all been there - we've captured a precious moment on camera, only to find that the photo is blurry, overexposed, or just plain unflattering. but did you know that with the right tools and techniques, you can actually repair and improve the quality of your photos?
That's right! in this post, we'll explore the world of photo repair and share tips onhow to fix and enhance your images.
Fun fact: the origins of photo restoration
Though it might seem like a modern practice, photo repair has been around since the early days of photography. in the mid-19th century, photographers would use pencils, paints, and other tools to retouch and restore damaged or imperfect images.
It wasn't until the advent of digital technology that photo repair became more accessible and efficient for the average person.
Repairing images: the basics
Before we dive into fixing photo issues, it's important to understand that not all images can be saved. there are limits to what can be achieved in terms of repairing an image, especially if the original is severely damaged or the resolution is too low.
That being said, let's explore some common issues and how to fix them.
Correcting overexposed and underexposed images
Exposure refers to the amount of light that reaches your camera's sensor. when a photo is overexposed, it means too much light has entered the camera, resulting in a washed-out or overly bright image. conversely, underexposed images are too dark, lacking detail in the shadows.
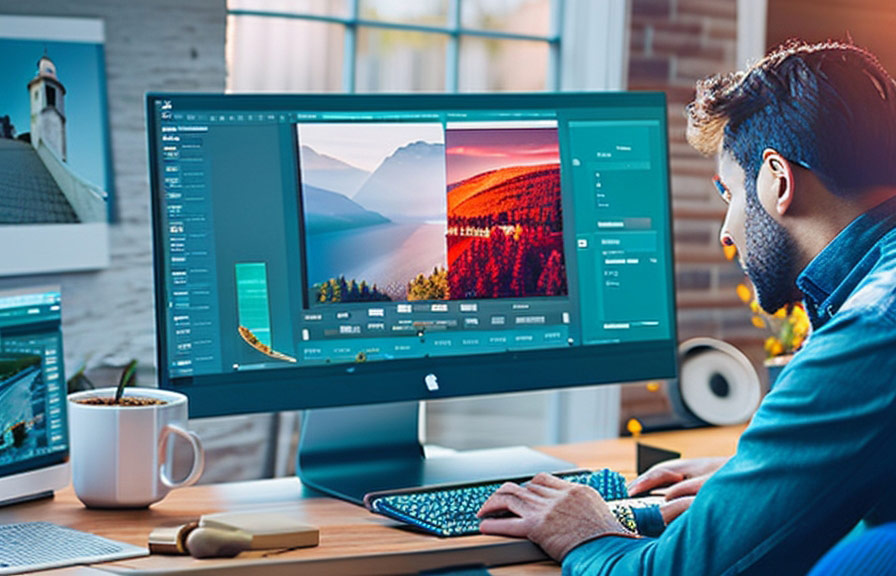
To fix this issue, you can use photo editing software like adobe lightroom, photoshop, or free alternatives like gimp. adjust the exposure, highlights, and shadows until you achieve a more balanced and visually appealing image.
Fixing photo blur
Blurry images can be the result of camera shake, motion blur, or issues with focus. while it's difficult to completely eliminate blur, you can improve the sharpness of your image using various tools and techniques.
In photoshop, you can use the smart sharpen filter or the unsharp mask filter to enhance the details in your image. if you prefer a free alternative, gimp offers the sharpen and unsharp mask filters as well.
Keep in mind that excessive sharpening can introduce noise or artifacts into your image, so it's essential to find the right balance.
Eliminating noise and grain
Noise and grain are common in low-light photos and can detract from the overall quality of your image. to reduce noise, you can use the noise reduction feature in lightroom or the reduce noise filter in photoshop.
Gimp also offers a despeckle filter for noise reduction.
Remember to use these tools sparingly, as overdoing it can result in a loss of detail and an unnatural appearance.
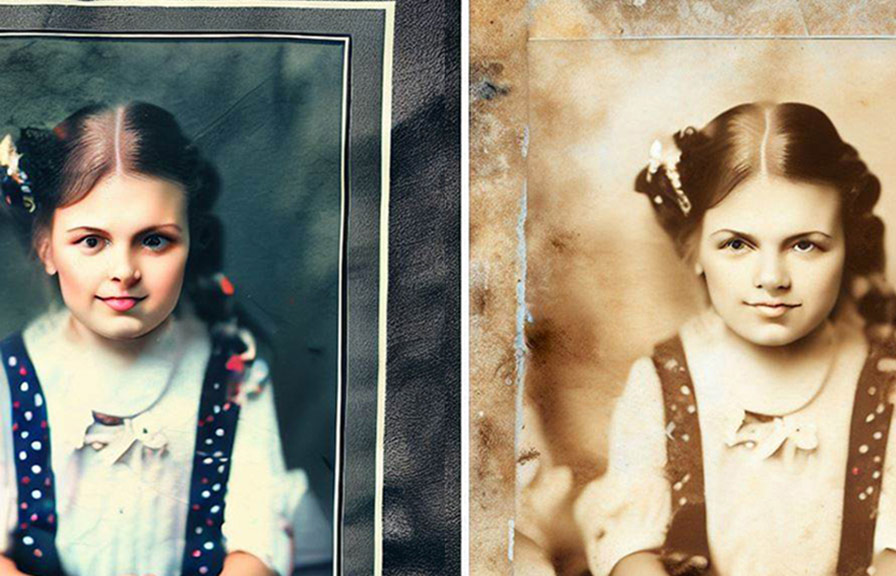
Repairing damaged photos
For images with physical damage, like rips, scratches, or water damage, photo repair can be a bit more complex. here are some techniques to help you restore your damaged images:
Clone stamping and healing
Clone stamping and healing tools are essential for repairing image damage. these tools allow you to copy pixels from one area of your image and apply them to another, effectively "painting" over the damaged area with a matching texture.
Photoshop offers both the clone stamp and healing brush tools, while gimp provides the clone tool and heal tool. practice using these tools to effectively blend the repaired areas with the surrounding image.
Reconstructing missing pieces
In cases where parts of your image are completely missing, you may need to reconstruct them using other parts of the photo or even sourcing from other images. this process can be time-consuming and requires a good eye for detail, but the results can be well worth the effort.
Improving image quality: tips and tricks
Now that we've covered some basic techniques for fixing photo issues, let's discuss some ways to improve the overall quality of your images:
1. Crop and straighten: sometimes, all it takes to improve an image is to crop out unnecessary elements and straighten the horizon. experiment with different compositions to find the most visually appealing result.
2. Color correction: adjusting the color balance, saturation, and vibrance of your image can greatly enhance its overall appearance. be careful not to overdo it, as oversaturated or unnatural colors can be distracting.
3. Dodge and burn: dodge and burn techniques involve selectively lightening and darkening areas of your image to create depth and contrast. this can help bring out important details and add dimension to your photo.
4. Apply filters and effects: many photo editing programs offer a variety of filters and effects that can be used to enhance your images. experiment with different options to find a look that suits your style and the mood you want to convey.
Armed with these tips and techniques, you're well on your way to mastering the art of photo repair and improving the quality of your images. with practice and patience, you can turn your less-than-perfect photos into stunning, share-worthy memories.
Fact: the impact of image compression
Here's an interesting tidbit you might not know: image compression can significantly impact the quality of your photos. when you save an image in a format like jpeg, the image is compressed to reduce file size, which can result in a loss of detail and the introduction of artifacts.
To maintain a higher image quality, consider saving your images in a lossless format like png or tiff.
Conclusion
The world of image fixing and repairing is vast and full of possibilities. as you explore different techniques and tools, you'll begin to develop a keen eye for detail and a better understanding of how to enhance your photos.
Remember, practice makes perfect, and there's always room for improvement. so go ahead, give photo repair a try, and soon you'll be breathing new life into your cherished memories.