Did you know that professional photographers often spend more time editing their photos than actually taking them? that's because portrait retouching and portrait editing are crucial steps in creating high-quality portrait images that truly capture the essence and personality of the subject.
In this blog post, we'll guide you through the process of editing portrait photos like a pro, using portrait editing photoshop techniques and other valuable tips and tricks.
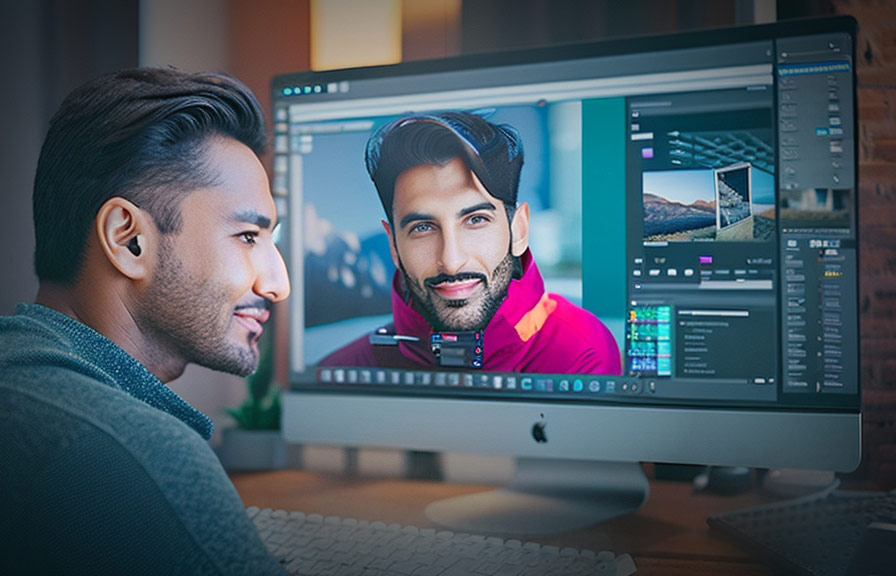
Step 1: choose the right portrait photo editing software
The first step in editing portrait photos like a pro is selecting the right software for the job. adobe photoshop is a popular choice among professional photographers and photo editors, thanks to its powerful portrait retouching and portrait editing tools.
Other alternatives include affinity photo, capture one, and luminar, all of which offer a range of features tailored for portrait photo editing.
Step 2: import and organize your portrait images
Once you've chosen your portrait photo editing software, it's time to import and organize your portrait photos. in photoshop, you can use adobe bridge or adobe lightroom to import, rate, and categorize your images, making it easier to manage and edit your photos efficiently.
Step 3: make basic adjustments
Before diving into more advanced photoshop portrait retouching techniques, it's essential to make some basic adjustments to your portrait images. start by correcting any exposure or white balance issues, and adjust the contrast, highlights, and shadows to create a balanced and visually appealing image.
Step 4: retouch the skin
One of the most critical aspects of portrait photo editing is skin retouching. to achieve a flawless yet natural look, use the following techniques:
- frequency separation: this advanced photoshop technique involves separating the image into two layers one for texture and one for color. by working on these layers independently, you can retouch the skin without losing its natural texture.
- spot healing brush: this tool is perfect for removing small blemishes, such as pimples or stray hairs. simply paint over the blemish, and photoshop will automatically sample the surrounding area to create a seamless result.
- dodge and burn: this technique involves selectively lightening (dodging) and darkening (burning) areas of the image to enhance the subject's facial features and create a more three-dimensional appearance.
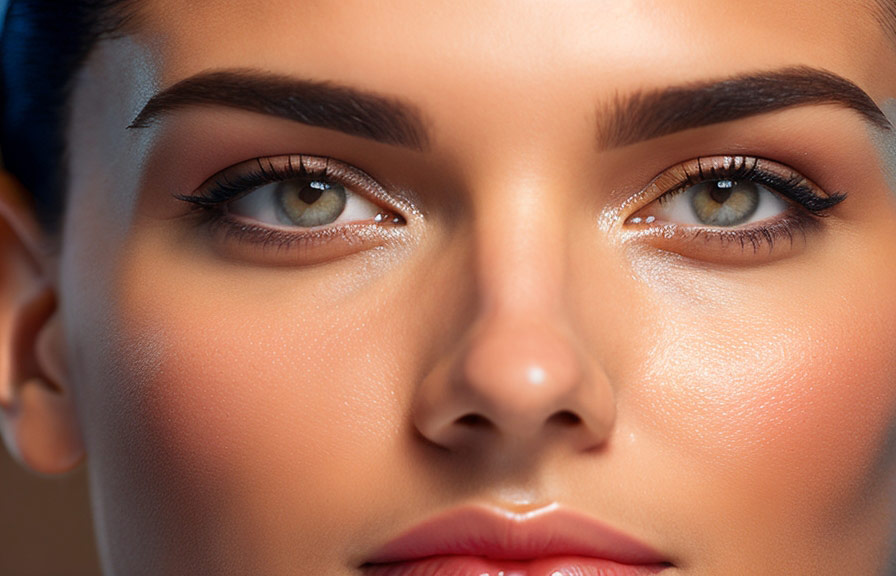
Step 5: enhance the eyes
The eyes are often the focal point of portrait photos, so it's essential to give them some extra attention during the editing process. some tips for enhancing the eyes in portrait editing photoshop include:
- brighten the whites: use the dodge tool to gently brighten the whites of the eyes, being careful not to overdo it, as this can create an unnatural appearance.
- enhance eye color: create a new layer with a blend mode of "soft light" or "overlay," and then use a soft brush with low opacity to paint over the iris, bringing out the natural color and vibrancy.
- add catchlights: catchlights are the small reflections of light that appear in the subject's eyes, adding depth and sparkle. if your portrait image lacks catchlights, you can create them using a soft white brush on a new layer set to "screen" mode.
Step 6: refine the hair
A well-groomed hairstyle can make a significant difference in the overall appearance of your portrait images. some techniques for editing hair in portrait photo editing include:
- remove flyaways: use the spot healing brush or clone stamp tool to remove any stray hairs or flyaways that may be distracting from the overall image.
- enhance hair color and shine: create a new layer with a blend mode of "soft light" or "overlay," and use a soft brush with low opacity to paint over the hair, adding depth and richness to the color. you can also use the dodge tool to add subtle highlights and create the appearance of shine.
Step 7: adjust the background
The background of your portrait images plays a crucial role in the overall composition and aesthetic. some tips for editing the background in portrait photo editing include:
- remove distractions: use the clone stamp or content-aware fill tools to remove any unwanted objects or distractions from the background.
- blur the background: if your portrait image has a busy or distracting background, you can use the gaussian blur or lens blur filters to create a more pleasing, out-of-focus effect.
- enhance colors and tones: adjust the background's colors and tones using adjustment layers, such as curves, levels, or hue/saturation, to create a more cohesive and visually appealing image.
Step 8: apply the finishing touches
Finally, it's time to apply the finishing touches to your portrait images. this may include:
- cropping and composition: adjust the cropping and composition of your image to create a more balanced and visually appealing result.
- sharpening: apply subtle sharpening toyour image using the high pass filter or unsharp mask to enhance the details and create a more professional appearance.
- color grading: add a final color grade to your image using adjustment layers, such as curves or color balance, to create a unique and cohesive visual style.
By following these steps and incorporating the various portrait retouching and portrait editing techniques, you can elevate your portrait photos to a professional level. as you continue to practice and refine your skills, you'll develop your own unique style and approach to portrait photo editing, allowing you to create stunning
And captivating portrait images that truly stand out. with patience and dedication, you'll be well on your way to editing portrait photos like a pro.