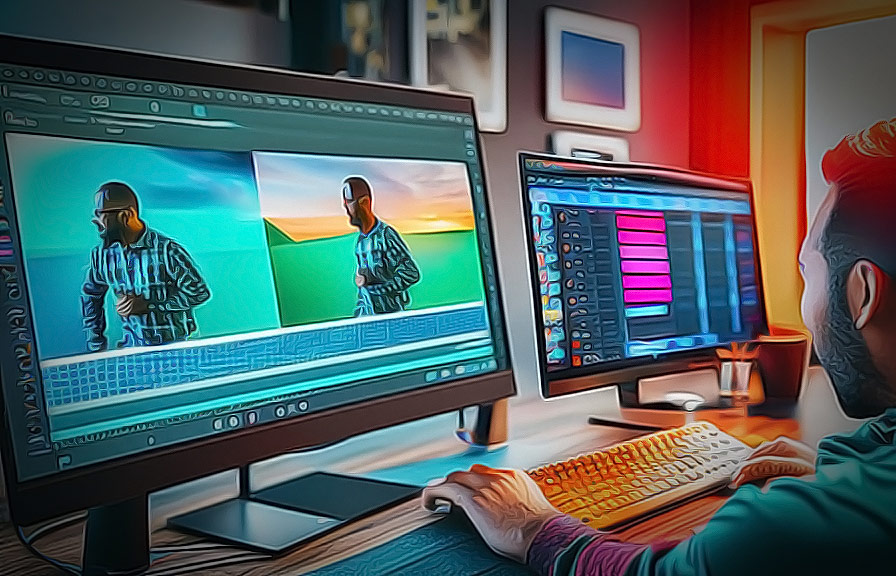
As a photographer or graphic designer, you'll often find yourself in situations where you need to adjust and improve the colors in your images. in the post, we'll dive deep into the world of Photo color correction and Color grading photography techniques.
We'll explore how you can easily correct and enhance the colors in your photos, making them visually stunning and more professional-looking.
The importance of photo color correction
Have you ever captured a fantastic moment, only to discover later that the colors in the image are off? this can happen due to various reasons, such as improper white balance settings, incorrect exposure, or bad lighting conditions.
Image color correction is essential in such cases, as it allows you to fix these issues and bring out the true beauty of your photos.
Not only does photo color correction improve the visual appeal of your images, but it also ensures that they accurately represent the colors and tones of the scene. this is crucial if you're working on a project where color consistency is vital, such as product photography or branding.
Understanding color grading photography
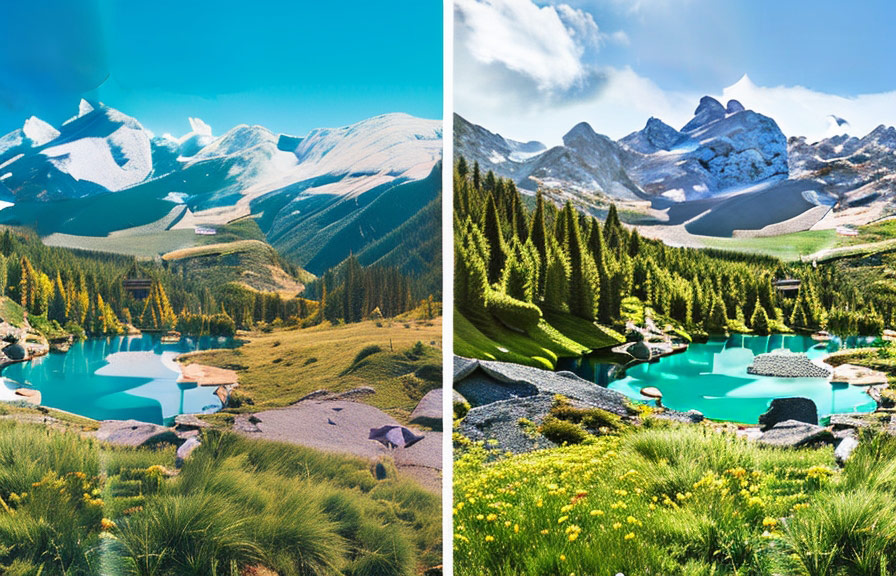
While photo color correction focuses on fixing color imbalances and ensuring accurate representation, color grading photography takes it a step further. color grading photos involves applying creative color adjustments to give your images a specific look or mood.
This can be anything from adding a vintage feel to enhancing the colors of a sunset, making your images stand out and deliver an emotional impact.
Now that we understand the importance and differences between photo color correction and color grading photography, let's dive into the techniques and tools you can use to achieve these results.
How to perform image color correction
There are several tools and methods available to correct and enhance the colors in your photos. here, we'll discuss some of the most popular and effective techniques.
1. adjusting white balance
The first step in photo color correction is adjusting the white balance. this ensures that the colors in your image are accurate and neutral, providing a solid foundation for further adjustments. you can use software like adobe lightroom, photoshop, or other photo editing tools to easily adjust the white balance in
Your images.
To adjust the white balance, you can either use the eyedropper tool to select a neutral area in the image or manually adjust the color temperature and tint sliders until the colors appear natural.
2. fixing exposure and contrast
The next step in image color correction is to fix any exposure issues in your photos. this can involve adjusting the brightness, shadows, highlights, and contrast to achieve a balanced and well-exposed image.
Using the histogram and the various sliders available in your photo editing software, you can easily make these adjustments. be careful not to overdo it, as extreme adjustments may result in a loss of detail or unnatural-looking images.
3. adjusting saturation and vibrance
Once you have corrected the white balance and exposure, it's time to enhance the colors in your image. adjusting saturation and vibrance are two methods to do this.
Saturation affects the intensity of all colors in your image, while vibrance applies more subtle adjustments, focusing on the less saturated colors. this helps maintain a natural look while still boosting the overall color in your image.
Carefully adjust these sliders in your photo editing software to achieve the desired effect.
Mastering color grading photos
Now that we've covered the basics of photo color correction, let's discuss some color grading techniques that can help you give your images a unique and captivating look.
1. using color grading presets or luts
One of the easiest ways to start with color grading photos is to use presets or luts (look-up tables). these are predefined settings created by professional photographers and colorists that can quickly give your images a specific look or style.
There are numerous presets and luts available for various photo editing software, both free and paid. simply apply the preset or lut to your image and adjust the intensity to achieve the desired effect.
2. creating custom color grades
If you want to create your own unique color grading, you can do so by using tools like the color balance, curves, and hsl (hue, saturation, luminance) adjustments in your photo editing software. these tools allow you to make precise adjustments to the colors, tones, and contrast in your images,
Giving you complete control over the final look.
Experiment with different combinations and adjustments to create a color grade that complements your image and conveys the desired mood or emotion.
3. applying color grading techniques
There are various color grading techniques that can help you achieve specific looks or moods in your images. some popular techniques include:
- teal and orange: this technique involves adding teal or blue tones to the shadows and orange or warm tones to the highlights, creating a pleasing color contrast that can make your images more cinematic.
- cross processing: this technique mimics the effect of developing film in the wrong chemicals, resulting inunique and unconventional color shifts. you can achieve this look by using the curves tool to adjust the red, green, and blue channels individually.
- monochrome: monochrome color grading involves applying a single color tint to your entire image, creating a uniform and stylistic look. this can be achieved by using the hsl or color balance adjustments.
Remember, the key to successful color grading is subtlety and balance. avoid going overboard with your adjustments, and always keep the overall composition and mood of your image in mind.
Tips for professional-looking photo color correction and color grading
As you work on mastering photo color correction and color grading techniques, keep these tips in mind to achieve the best results:
1. Shoot in raw format: raw files contain more color information than jpegs, giving you more flexibility and control when correcting and grading colors in post-processing.
2. Use a calibrated monitor: to ensure accurate and consistent colors, use a calibrated monitor when editing your photos. this will help avoid any surprises when printing or sharing your images on different devices.
3. Practice, practice, practice: as with any skill, practice is crucial in developing your color correction and grading abilities. experiment with different techniques, learn from other photographers, and don't be afraid to make mistakes – that's how you grow.
4. Less is more: when it comes to color correction and grading, it's essential to maintain a balance between enhancing your images and preserving their natural look. overdoing it can result in unrealistic and unappealing images, so always keep an eye on the overall effect of your adjustments.
With a solid understanding of photo color correction and color grading photography techniques, you'll be well on your way to creating stunning and professional-looking images. by taking the time to master these skills, you'll not only improve the quality of your photos but also elevate your photography and graphic design
Projects to new heights. so grab your favorite photo editing software and start experimenting with different color correction and grading techniques – and watch your images come to life.