Have you ever wondered how professional designers and photographers masterfully remove unwanted elements from their images? the answer lies in their skillful use of the eraser tool in photoshop. today, we dive into the lesser-known facts and tips on how to use this powerful tool to enhance your images.
Buckle up and prepare to have your mind blown!
Photoshop has been the go-to software for image editing for decades, and it's no surprise that it boasts a wide array of tools for every need. amidst these tools, the humble eraser tool is often overlooked, but it's a hidden gem that can work wonders for your designs.
Here's something you may not know: the eraser tool was first introduced in photoshop 2.0, back in 1991. this makes it one of the oldest tools in the application, and it has certainly evolved over the years.
Understanding the eraser tool types
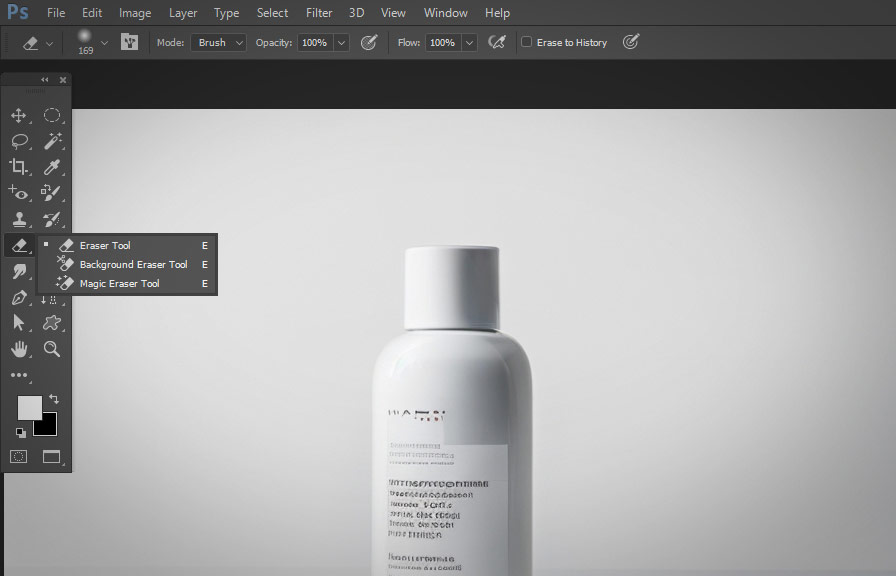
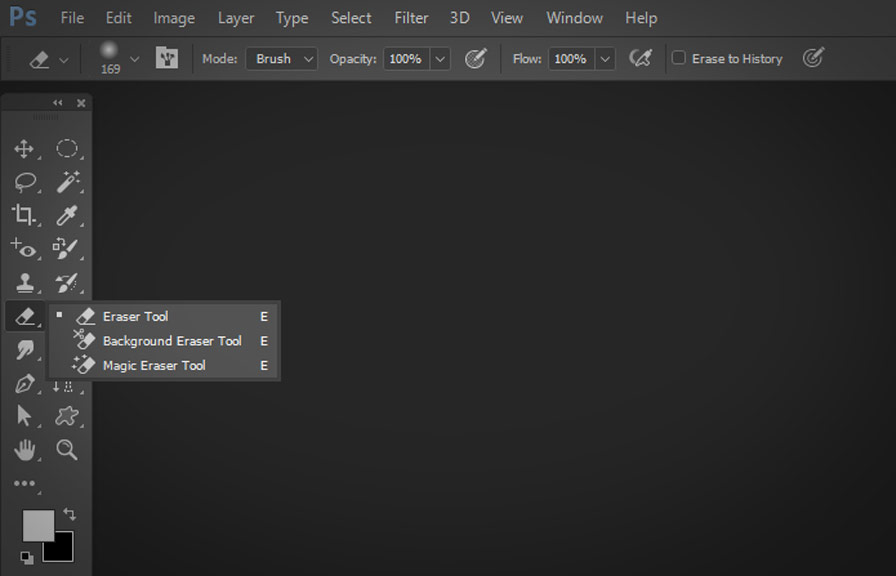
Before diving into the tips, it's crucial to understand that there are three types of eraser tools in photoshop:
1. Eraser tool: the basic eraser that removes pixels and replaces them with transparency or the background color.
2. Background eraser tool: this eraser is perfect for separating subjects from their background by sampling and erasing similar colors.
3. Magic eraser tool: this tool works like the magic wand selection tool but erases the selected area instantly.
Now that we know the types of eraser tools, let's jump into some handy tips for using them effectively.
Tips for the basic eraser tool
Customize your eraser size and hardness
Just like the brush tool, you can change the size and hardness of the eraser. press the `[` key to decrease the size or the `]` key to increase it. to adjust hardness, hold down "shift" and use the same bracket keys.
Erase to a saved state
If you want to erase parts of your image to a specific saved state, you can do so by holding down the "alt" key (or "option" on mac) and selecting the desired state from the history panel.
Use the eraser with a layer mask
Instead of erasing directly on your image, consider using a layer mask. this non-destructive approach allows you to hide or reveal parts of the image without permanently removing pixels.
Tips for the background eraser tool
Adjust tolerance for precise erasing
The background eraser tool samples colors based on the tolerance setting. a lower tolerance erases colors more similar to the sampled color, while a higher tolerance erases a broader range of colors. experiment with different tolerance levels to find the perfect balance.
Keep sampling colors
For images with varying background colors, keep resampling colors as you erase. hold down the "alt" key (or "option" on mac) while clicking to sample a new color.
Use the limits option
The background eraser tool has three limits options: contiguous, discontiguous, and find edges. contiguous erases only adjacent pixels of the sampled color, discontiguous erases all pixels of the sampled color in the brush area, and find edges erases pixels while preserving the sharpness of edges.
Choose the option that best suits your image.
Tips for the magic eraser tool
Work on a duplicate layer
To avoid permanently deleting pixels, always work on a duplicate layer when using the magic eraser tool. this way, you can easily revert to the original layer if needed.
Adjust the tolerance
Just like the background eraser tool, the magic eraser tool relies on the tolerance setting. play around with different tolerance levels to achieve the desired result.
Use the contiguous option
When erasing large areas with similar color, enable the contiguous option to erase only adjacent pixels of the sampled color. this helps to maintain the integrity of other elements in the image.
Bonus tip: keyboard shortcuts for the eraser tools
To maximize your efficiency while using these tools, here are some handy keyboard shortcuts:
- eraser tool: press "e" to select the eraser tool.
- background eraser tool: press "shift + e" to cycle through the eraser tools until the background eraser tool is selected.
- magic eraser tool: press "shift + e" to cycle through the eraser tools until the magic eraser tool is selected.
By incorporating these shortcuts into your workflow, you'll save time and enhance your editing experience.
Now that you're equipped with this newfound knowledge of the photoshop eraser tool, it's time to put it to good use. experiment with the different types of erasers and employ the tips shared in this post to elevate your designs and create stunning images.
Conclusion
The eraser tool in photoshop is a versatile and powerful instrument that can do much more than just delete pixels. by understanding its different types and applying these tips, you can unlock the full potential of this often-underestimated tool.
So, go ahead and start erasing your way to better images, and remember: practicemakes perfect!