The sponge tool, often overshadowed by its better-known photoshop counterparts, is a hidden gem waiting to be discovered. this versatile tool packs a punch and can significantly enhance your digital artwork. did you know that the sponge tool can not only saturate or desaturate colors but also give you granular
Control over the vibrancy of your images? let's dive in and explore the magic of the sponge tool and how it can transform your photoshop game.
The basics of the sponge tool
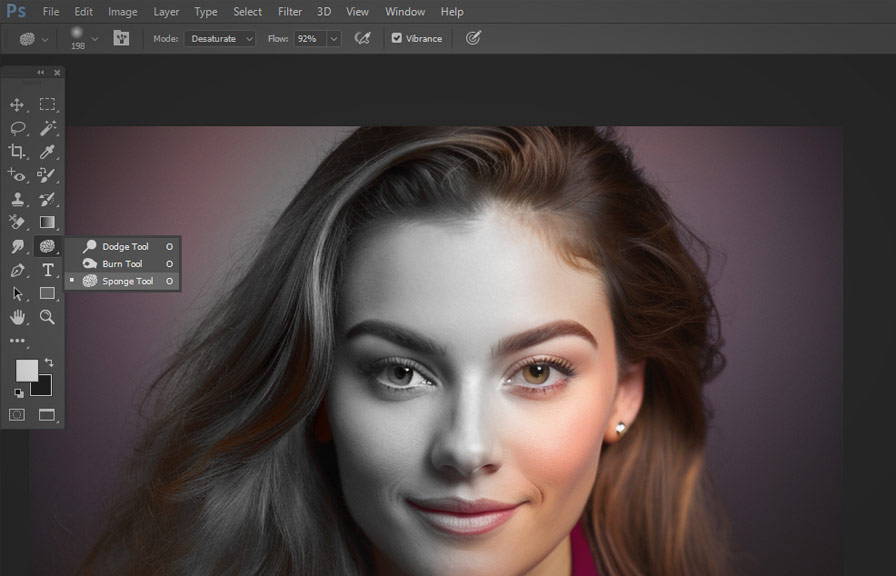
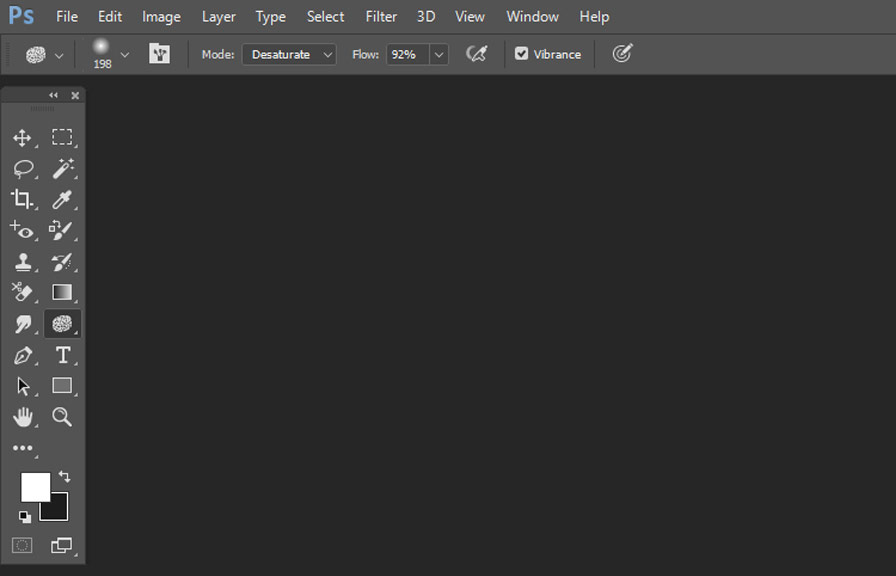
The sponge tool is located in the toolbar, nestled between the dodge and burn tools. if you're having trouble finding it, simply press the 'o' key to cycle through these three tools. once you've selected the sponge tool, you'll notice two key options in the options bar: mode and flow.
Mode: determines whether the tool will saturate (increase the intensity) or desaturate (decrease the intensity) the colors in your image. the default setting is desaturate.
Flow: controls the rate at which the tool applies its effect. a lower value will result in a slower, more gradual effect, while a higher value will quickly produce a strong, bold effect. experiment with different flow settings to find the sweet spot for your particular image.
Mastering the sponge tool techniques
1. enhancing contrast and vibrancy
By selectively applying the sponge tool, you can emphasize specific colors, making them pop and adding visual interest to your composition. this technique works especially well with nature photography and images with strong color contrasts.
- First, duplicate your background layer (ctrl+j or cmd+j) to work non-destructively.
- Select the sponge tool and set the mode to saturate.
- Adjust the flow to a lower value for a more subtle effect.
- Apply the tool to the areas you want to enhance, brushing over the colors you'd like to emphasize. as you do this, you'll notice the colors becoming more vibrant and intense.
2. creating selective desaturation
The sponge tool is excellent for creating selective desaturation effects, which can give your image an artistic, moody feel. this technique involves desaturating specific areas of an image while leaving other areas untouched.
- Duplicate your background layer, as mentioned earlier.
- With the sponge tool selected, switch the mode to desaturate.
- Set the flow to a low value for gradual desaturation.
- Apply the tool to the areas you want to desaturate, such as the background or specific elements of your composition. this will create a striking contrast between the desaturated and saturated parts of the image.
3. toning down overly vibrant colors
Sometimes, an image can have colors that are too intense and need to be toned down. the sponge tool can help you achieve this without affecting the overall balance of the image.
- Create a duplicate of your background layer.
- Select the sponge tool and set the mode to desaturate.
- Adjust the flow to a higher value for a stronger effect.
- Apply the tool to the overly vibrant areas, toning down the colors until they blend seamlessly with the rest of the image.
4. the sponge tool and layer masks
For even more control and flexibility, you can use the sponge tool in combination with layer masks. this allows you to selectively apply the tool's effect to specific parts of your image without permanently altering the original layer.
- Duplicate your background layer and add a layer mask by clicking the "add layer mask" button at the bottom of the layers panel.
- Select the sponge tool and adjust the mode and flow settings as needed.
- Apply the tool directly to the layer mask, painting over the areas where you want the effect to be visible.
- To fine-tune the effect, you can adjust the layer opacity or use the brush tool to paint on the layer mask with black, white, or shades of gray.
Extra tip: the underrated sponge tool shortcut
Many photoshop users are unaware that you can quickly toggle between the saturate and desaturate modes by holding down the alt or option key while using the sponge tool. this shortcut allows you to switch between the modes on the fly without having to visit the options bar, making your
Workflow more efficient.
Now that you've discovered the power of the sponge tool, you can experiment with these techniques and incorporate them into your digital artwork. with practice and creativity, the sponge tool can become an indispensable part of your photoshop toolkit, elevating your images to new heights!