Did you know that the spot healing brush tool in photoshop was first introduced in the version 7.0, way back in 2002? for almost two decades, this handy tool has been a lifesaver for photographers, designers, and digital artists.
In this post, we'll explore some lesser-known tips and tricks on how to make the most of this powerful tool.
Understand the basics
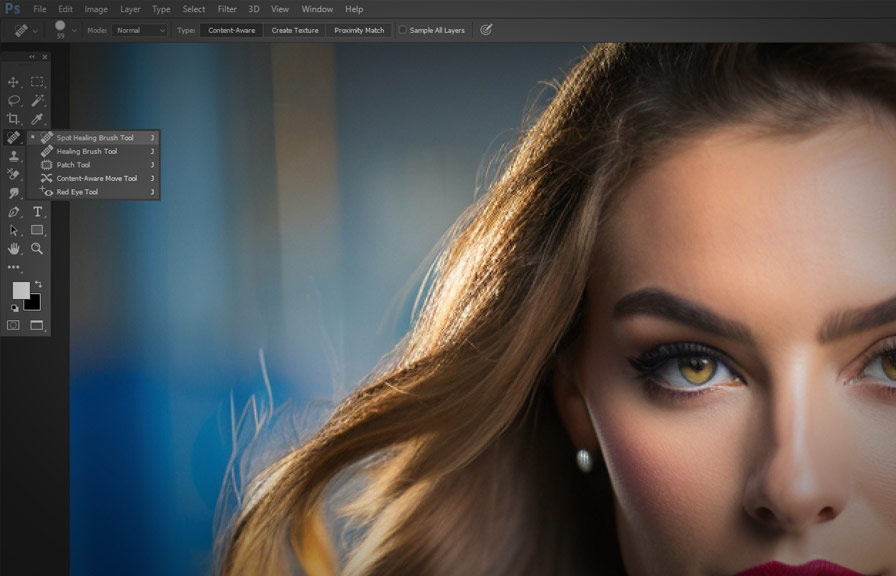
Before diving into the advanced techniques, it's essential to get a firm grasp on the fundamentals. the spot healing brush tool is designed to quickly remove blemishes, imperfections, and even unwanted objects from your images by sampling the surrounding pixels and blending them seamlessly.
To select the tool, press J on your keyboard or click on the band-aid icon in the toolbar.
Choose the right brush size and type
The spot healing brush tool offers three types of brushes: proximity match, create texture, and content-aware. each has its strengths and weaknesses, so it's crucial to understand their differences and choose the right one for the job.
1. Proximity match: this option uses the pixels surrounding the area you're trying to fix to create a seamless blend. it works best for small blemishes and imperfections.
2. Create texture: this brush generates a texture based on the sampled area and applies it to the target area.
It's great for fixing larger areas with consistent patterns, like fabric or foliage.
3. Content-aware: this advanced mode analyzes the entire image for patterns and attempts to generate a more accurate replacement. it works well for complex scenes and larger imperfections.
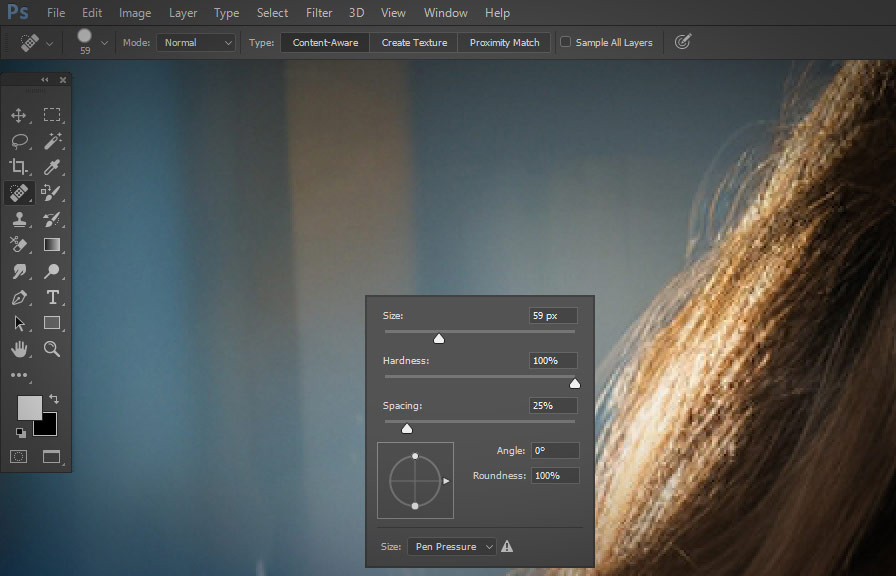
To change the brush size, use the [ and ] keys on your keyboard. remember to choose a size that's slightly larger than the area you want to fix forthe best results.
Use a separate layer
One of the secrets of professional retouchers is to work non-destructively. this means that instead of applying edits directly to the background layer, you create a new layer to work on. to do this, press Ctrl + shift + n (windows) or Cmd + shift + n (mac) and
Ensure the "sample all layers" option is checked in the options bar.
Working on a separate layer allows you to easily undo or adjust your edits without affecting the original image. you can also lower the opacity of the healing layer to fine-tune the blend.
Adjust the healing settings
The spot healing brush tool has a few settings that can significantly improve its effectiveness. here are some adjustments to consider:
1. Hardness: adjusting the brush hardness can help you achieve a more seamless blend. a lower hardness value (around 30-50%) is ideal for most situations, as it creates a smoother transition between the fixed area and the surrounding pixels. 2.
Diffusion: this setting determines how the sampled pixels are blended. a low diffusion value (around 1-3) produces a softer blend, while a higher value (5-7) results in a more aggressive replacement. experiment with different values to achieve the best results for your specific image.
Master the art of sampling
Sometimes the spot healing brush tool's automatic sampling may not produce the desired results. in such cases, you can take control by using the healing brush tool instead. this tool allows you to manually sample a source area by holding down the Alt (windows) or Option (mac) key
And clicking on the desired area. you can then paint over the imperfection with the sampled pixels, giving you greater control over the healing process.
Combine with other tools
The spot healing brush tool is powerful, but it's not always the best solution for every situation. sometimes it's helpful to combine it with other tools, such as the clone stamp tool or the patch tool, to achieve the best results.
For example, you can use the clone stamp tool to remove a large unwanted object and then use the spot healing brush tool to clean up any remaining imperfections.
Conclusion
Mastering the spot healing brush tool in photoshop can significantly enhance your image editing capabilities. by understanding the basics, choosing the right brush size and type, working non-destructively, adjusting the settings, mastering the art of sampling, and combining it with other tools, you'll be well on your way to
Creating flawless images. so go ahead and explore the power of this incredible tool to breathe new life into your photos!