Did you know that the magnetic lasso tool was introduced way back in photoshop 5.0? since then, it has become an indispensable tool for many graphic designers and photographers. in this blog post, we will unveil some lesser-known tips and tricks to help you master the magnetic lasso tool in photoshop and
Unlock its full potential.
The power of the magnetic lasso tool
The magnetic lasso tool is a powerful selection tool that can automatically detect and snap to the edges of objects within an image. it does this by analyzing the contrast between pixels and zeroing in on the most likely path to follow the object's contours.
This makes it an excellent tool for isolating complex shapes and objects with intricate details.
Fine-tuning the magnetic lasso tool options
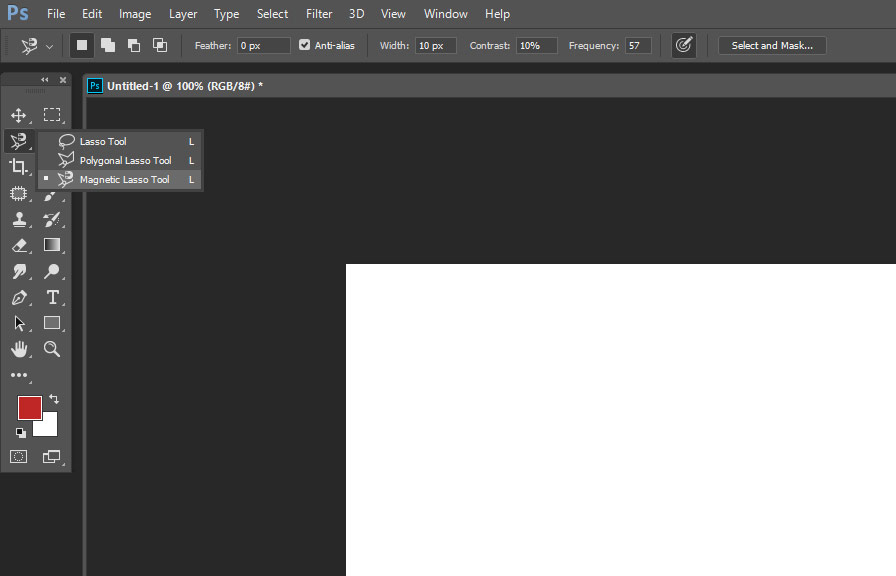
To make the most out of the magnetic lasso tool, you need to familiarize yourself with its options and settings. here are a few essential adjustments you can make:
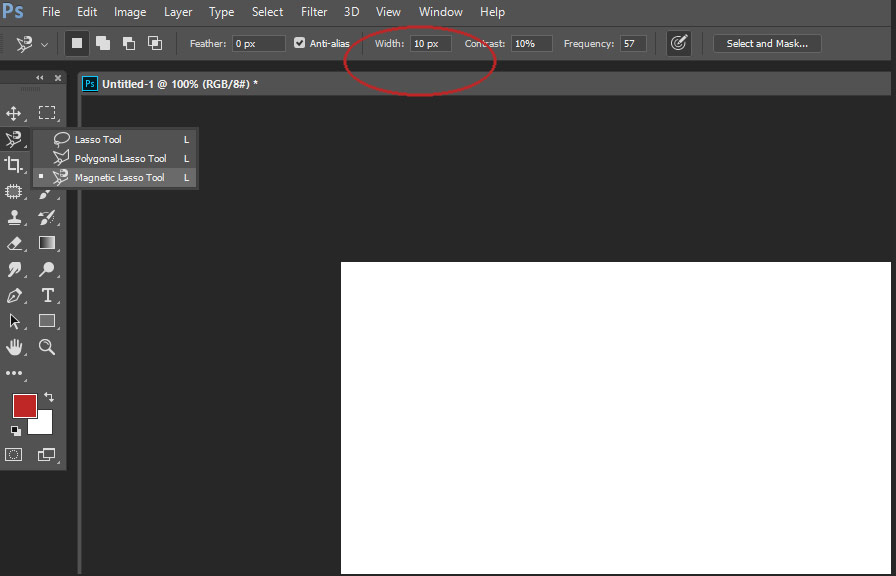
Width
This setting determines how far the tool will search for the edge of the object you're trying to select. a higher width value will make the tool more forgiving and encompass a broader area. however, a lower width value can provide more precise selections, especially when working with high-contrast images.
Edge contrast
Edge contrast determines the sensitivity of the tool when detecting edges. a higher value will make the tool more discerning, allowing it to detect even subtle differences between pixels. on the other hand, a lower value will make the tool less sensitive and more prone to snapping to less-defined edges.
Frequency
Frequency dictates how often the tool lays down anchor points along the path it follows. a higher frequency will result in more anchor points and a more accurate selection, but it may also slow down your workflow.
Setting a lower frequency can speed up the process but may yield less precise selections.
Tips for effective use of the magnetic lasso tool
Now that you're familiar with the basic settings let's dive into some practical tips for using the magnetic lasso tool effectively:
1. zoom in for better precision
Zooming in on the area you're working on can help you achieve more accurate selections. by getting closer to the pixels, you can better see the edges and adjust the tool's settings accordingly.
2. use the polygonal lasso tool for straight edges
When working with objects that have straight edges, consider using the polygonal lasso tool instead. this tool allows you to click on the starting point, then click on additional points to create straight lines between them.
This method can be more efficient and precise for selecting objects with straight edges.
3. don't be afraid to undo
If you make a mistake or the tool doesn't quite follow the edge you intended, just press ctrl+z (cmd+z on a mac) to undo the last anchor point. you can do this as often as needed to correct your selection path.
4. use the shift and alt/option keys
When using the magnetic lasso tool, you can hold down the shift key to temporarily switch to the polygonal lasso tool. this can help you create straight lines when needed. conversely, holding down the alt/option key will temporarily disable the magnetic feature, allowing you to manually draw your selection path.
5. close the selection path
To close the selection path and complete the selection, double-click anywhere within the image or click on the starting point. alternatively, you can press enter/return on your keyboard.
6. refine the selection with select and mask
Once you've created your selection, you can refine it further by using the select and mask workspace. this feature allows you to smooth, feather, and adjust the edges of your selection to achieve the perfect result.
A little-known fact about the magnetic lasso tool
While the magnetic lasso tool is a powerful and convenient selection tool, it is not perfect. in some cases, it may struggle to accurately detect edges in low-contrast images. however, there is a hidden feature that can help you overcome this limitation.
By pressing the caps lock key, you can temporarily transform the magnetic lasso tool into a regular lasso tool, allowing you to manually draw the selection path in areas where the magnetic feature is struggling.
Armed with these tips and tricks, you are now ready to conquer the magnetic lasso tool in photoshop. with practice and patience, you will soon master this versatile selection tool and enhance your image-editing skills. so, go ahead and explore the power of the magnetic lasso tool and unlock your
Creative potential.