Did you know that the background eraser tool in photoshop was first introduced in adobe photoshop 5.5, released way back in june 1999? since then, this magic wand has been helping both amateurs and professionals in removing unwanted backgrounds and making their images stand out.
In this post, we'll explore some lesser-known tips and tricks to make the most of this powerful tool and elevate your photo editing game.
The background eraser tool: a quick introduction
The background eraser tool is often overlooked, but it is an incredibly powerful weapon in the photoshop arsenal. with this tool, you can quickly remove an image's background, separating the subject from its surroundings. this is particularly useful when you need to isolate the main subject and place it on
A new background or create a more visually appealing composition.
Tips for using the background eraser tool like a pro
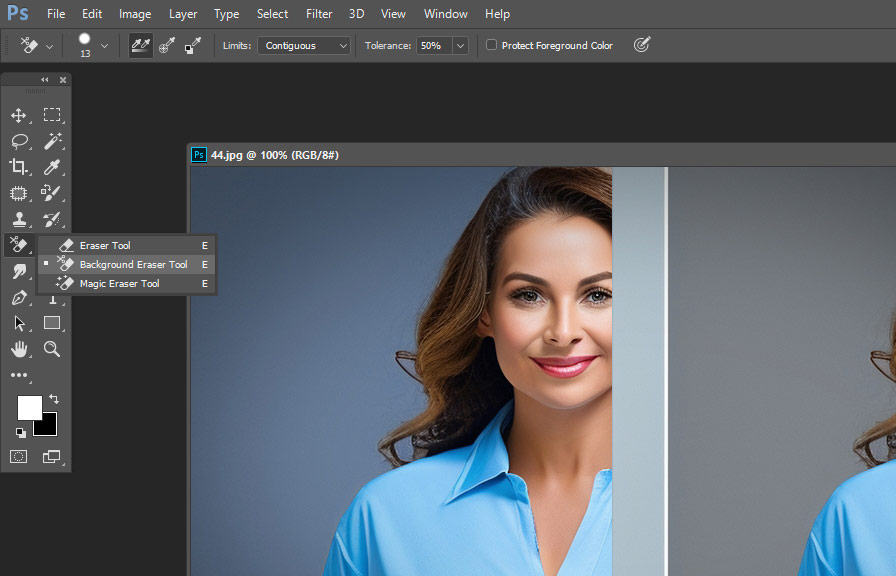
1. choosing the right brush
The background eraser tool uses brushes, just like the regular eraser tool. however, it's essential to choose the right brush for the job. the ideal brush will depend on the image you're working with and the level of detail you want to achieve.
For more intricate areas, select a smaller brush, and for larger, less detailed regions, opt for a larger brush.
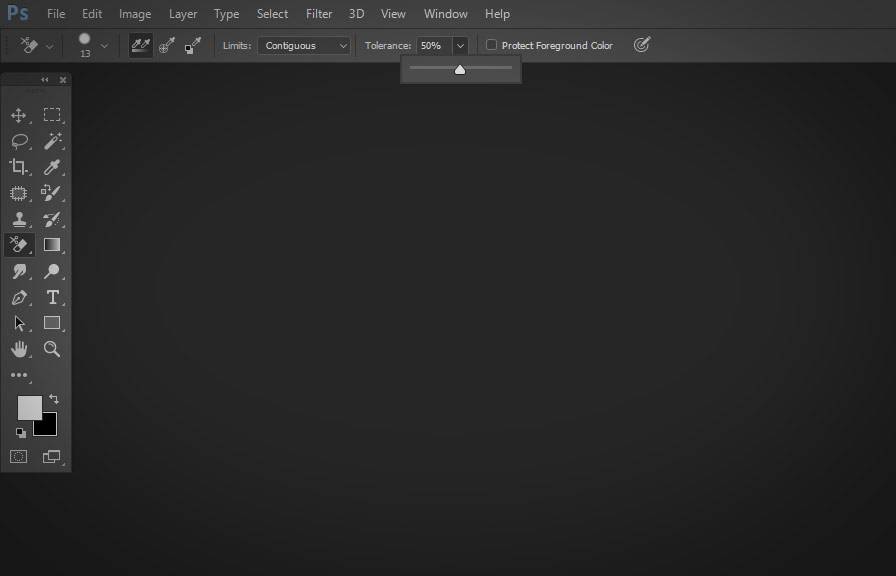
2. adjusting the tool's tolerance
The tolerance setting determines how aggressive the background eraser tool will be when erasing pixels. a lower tolerance value means that only pixels with very similar colors will be erased, while a higher tolerance value will erase a broader range of colors.
Adjust the tolerance according to the complexity of your image to ensure a clean and precise background removal.
3. using sampling modes
The background eraser tool has three sampling modes: continuous, once, and background swatch. each has its unique functionality and benefits:
- continuous: the tool samples color continuously as you drag, erasing pixels that match the sampled color.
- once: the tool samples color only once, when you first click, and erases all pixels that match the sampled color as you drag.
- background swatch: the tool erases only pixels that match the current background color.
Choose the appropriate sampling mode based on your image's complexity and the background colors you want to remove.
4. leveraging the protect foreground color option
When you're working with images that have similar colors in both the subject and the background, the protect foreground color option can be a lifesaver. by enabling this option, you can prevent the tool from erasing any pixels that match the current foreground color, ensuring that your subject remains intact.
5. mastering the art of edges
When using the background eraser tool, it's crucial to pay attention to the edges of your subject. to achieve smooth edges and avoid any jaggedness, adjust the hardness of your brush. a lower hardness value will produce softer edges, while a higher value will result in sharper edges.
6. zooming in for precision
Don't be afraid to zoom in and work on smaller sections of your image. this will allow you to have greater control and precision when using the background eraser tool, ensuring that you don't accidentally erase any essential details.
7. experimenting with the magic eraser tool
In some cases, the magic eraser tool, a close cousin of the background eraser tool, can be a more efficient option. this tool works similarly to the background eraser tool but automatically detects the edges of the subject, allowing you to remove the background with a single click.
Experiment with both tools to determine which one works best for your specific image.
Conclusion
The background eraser tool is an incredibly versatile and powerful tool in photoshop that can save you time and effort when removing backgrounds from your images. by mastering the tips and tricks outlined in this post, you can enhance your photo editing skills and create professional-looking images with ease.
Now that you're armed with this newfound knowledge, it's time to put these tips into practice and start creating stunning visuals!