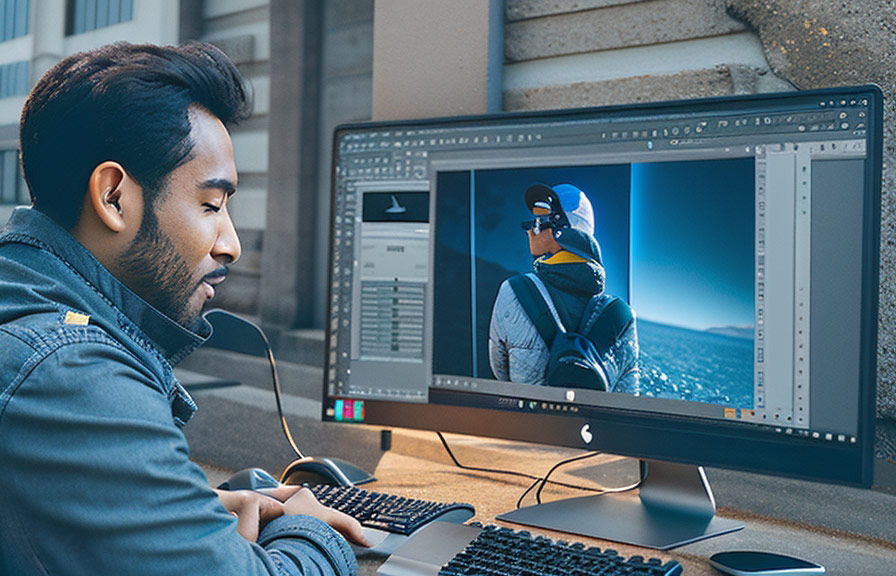
Did you know that the single row marquee tool in photoshop is one of the most versatile and underutilized tools available in the software? many people are unaware of its potential, and you might be surprised at just how handy it can be for specific tasks.
In the post, we'll dive into the world of the single row marquee tool and provide you with some valuable tips on how to use it effectively.
The basics of the single row marquee tool
The single row marquee tool is a selection tool in adobe photoshop that allows users to create a selection of a single pixel row horizontally across the entire canvas. it might seem simple at first glance, but with a bit of creativity, it can be a powerful tool in your
Design arsenal.
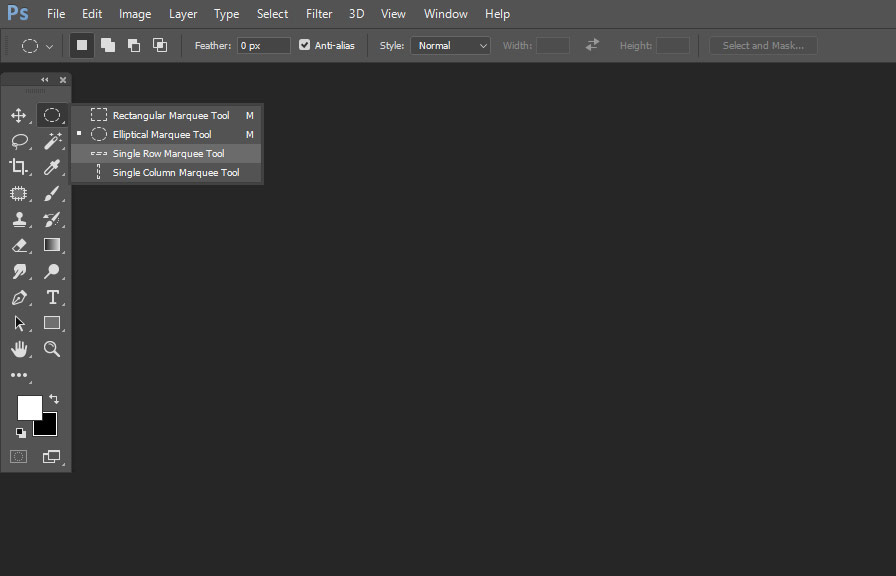
To access the single row marquee tool, simply click and hold on the rectangular marquee tool in the toolbar, and then choose the single row marquee tool from the dropdown menu. alternatively, you can press the keyboard shortcut "m" to cycle through the available marquee tools until you reach the
Single row marquee tool.
Tip #1: create seamless patterns
A great way to use the single row marquee tool is to create seamless patterns or textures. this can beespecially useful in web design or when creating backgrounds. here's how you can do it:
1. open your texture or pattern image in photoshop.
2. select the single row marquee tool, then click anywhere on the canvas to create a horizontal selection.
3. press "ctrl + j" (or "cmd + j" on mac) to duplicate the selected area to a new layer.
4.Select the new layer, then press "ctrl + t" (or "cmd + t" on mac) to enable the free transform tool.
5. drag the duplicated row to the top or bottom of the canvas, making sure it aligns perfectly.
6. Adjust the opacity of the new layer to blend it seamlessly with the original texture.
7. merge the layers (if necessary) and save your seamless pattern.
Tip #2: enhance or modify horizontal lines
The single row marquee tool can be used to enhance or modify horizontal lines in your images. if you have a photo with a noticeable horizon or other important horizontal lines, you can use the tool to refine these lines and make them more distinct.
1. open your image in photoshop.
2. select the single row marquee tool and create a selection on the horizontal line you want to enhance.
3. press "ctrl + j" (or "cmd + j" on mac) to duplicate the selected area to a new layer.
4. Apply adjustments or effects to the new layer, such as increasing contrast or saturation, to make the line more distinct.
5. if necessary, use a soft eraser to blend the edges of the new layer with the original image.
Tip #3: create striped patterns and gradients
With the single row marquee tool, you can create interesting striped patterns and gradients by stacking multiple single-row selections with different colors or opacities.
1. create a new document in photoshop and set the dimensions to your desired pattern size.
2. select the single row marquee tool and create a horizontal selection anywhere on the canvas.
3. choose the paint bucket tool and fill the selection with your desired color.
4. Press "ctrl + d" (or "cmd + d" on mac) to deselect the selection.
5. move the colored row to the desired position in your pattern.
6. repeat steps 2-5 with different colors or opacities to create your striped pattern or gradient.
Tip #4: correct chromatic aberration
Chromatic aberration is a common issue in photography, where colors appear to be shifted or misaligned along the edges of objects in an image. you can use the single row marquee tool to correct this issue with a bit of manual work:
1. open your image in photoshop.
2. zoom in on an area with noticeable chromatic aberration.
3. select the single row marquee tool and create a selection along the edge where the color shift occurs.
4. Press "ctrl + j" (or "cmd + j" on mac) to duplicate the selected area to a new layer.
5. with the new layer selected, go to the menu "edit" > "transform" > "skew."
6. adjust the skew handles to align the colors correctly.
7. Use a soft eraser or layer mask to blend the corrected area seamlessly with the original image.
8. repeat the process for other areas with chromatic aberration.
Tip #5: create unique text effects
The single row marquee tool can also be used to create unique text effects by selecting and modifying individual rows of pixels in your text layers.
1. create a new text layer in photoshop and type your desired text.
2. rasterize the text layer by right-clicking on itand choosing "rasterize type."
3. select the single row marquee tool and create a horizontal selection on any part of the text.
4. Press "ctrl + j" (or "cmd + j" on mac) to duplicate the selected area to a new layer.
5. apply any desired effects or adjustments to the new layer, such as changing color, adding a gradient, or applying a filter.
6. Repeat steps 3-5 for different parts of the text to create a unique and eye-catching effect.
Tip #6: create glitch effects
Glitch effects have become increasingly popular in recent years, and the single row marquee tool is perfect for creating these striking visual distortions.
1. open your image in photoshop.
2. select the single row marquee tool and create a horizontal selection on the area you want to glitch.
3. press "ctrl + j" (or "cmd + j" on mac) to duplicate the selected area to a new layer.
4. Use the move tool to shift the duplicated row left or right, creating a break in the image.
5. experiment with different blending modes, opacities, and layer styles to enhance the glitch effect.
6. repeat the process for different parts of the image to create a more complex and dynamic Glitch effect.
Tip #7: design abstract art
The single row marquee tool can also be an excellent tool for creating abstract art by combining selections from multiple images or layers.
1. open multiple images or layers in photoshop.
2. select the single row marquee tool and create a horizontal selection on one of the images or layers.
3. press "ctrl + j" (or "cmd + j" on mac) to duplicate the selected area to a new layer.
4. Move the new layer to your main canvas and position it as desired.
5. repeat steps 2-4 with different images or layers, stacking and arranging the single rows to create an abstract composition.
6. experiment with blending modes, layer styles, and adjustments to enhance your abstract design.
Tip #8: create pixel art
Finally, the single row marquee tool is perfect for creating pixel art or low-resolution designs by isolating and manipulating individual rows of pixels.
1. create a new small-sized document in photoshop, with a resolution of 72 pixels/inch.
2. zoom in on the canvas to work at the pixel level.
3. select the single row marquee tool and create a horizontal selection on any part of the canvas.
4. Use the paint bucket tool to fill the selection with your desired color.
5. press "ctrl + d" (or "cmd + d" on mac) to deselect the selection.
6. repeat steps 3-5, building your pixel art design row by row.
By using the single row marquee tool creatively, you can unlock its full potential and enhance your photoshop projects. from creating seamless patterns to designing abstract art, this versatile tool is an excellent addition to your toolbox.
So give it a try and start exploring the possibilities!