If you're diving into the world of graphic design, mastering adobe photoshop is a must. one essential tool that often gets overlooked is the ruler tool. it helps you measure and accurately align elements within your design.
In this post, we'll explore tips on how to use the ruler tool in photoshop effectively.
Understanding the ruler tool
Before diving into the tips, let's first understand what the ruler tool is and its primary function. the ruler tool is available in the eyedropper group of tools in the photoshop toolbar. it allows you to measure distances, angles, and even determine the straightness of lines within your design.
Tip 1: access the ruler tool
First things first, you'll need to access the ruler tool. to do this, click and hold the eyedropper icon in the toolbar and then select the ruler tool from the drop-down menu. alternatively, you can press *i* on your keyboard and cycle through the eyedropper group tools until you reach
The ruler tool.
Tip 2: measure distances and angles
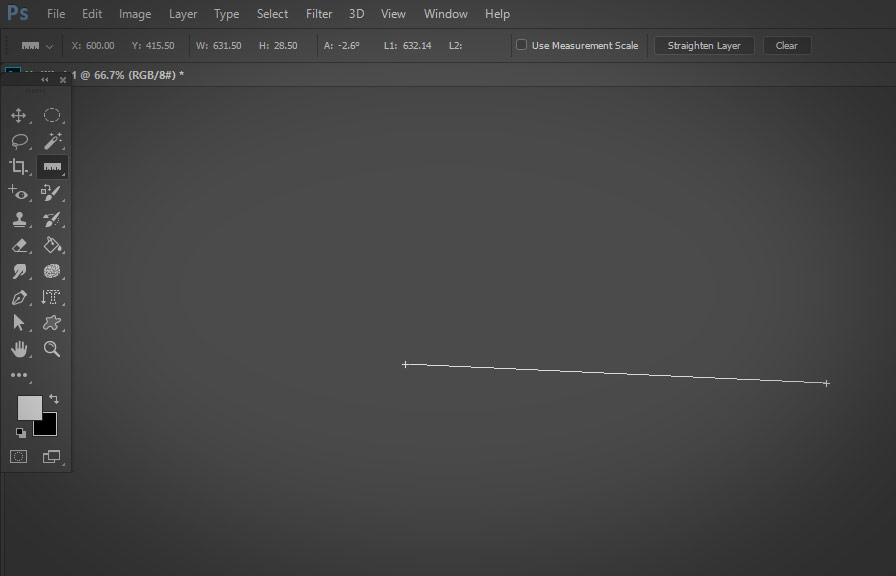
To measure a distance using the ruler tool, click and drag your mouse from one point to another on the canvas. a line will appear, and the info panel will display the distance and angle between the two points.
To measure an angle, click and drag your mouse from the starting point, then release the mouse button and move the cursor around the starting point. the angle will be displayed in the info panel.
Tip 3: use guides for precision
For even more accuracy, use guides in conjunction with the ruler tool. to create a guide, click on the ruler at the edge of the canvas (horizontal or vertical) and drag it onto your image. the guide will help you align objects and elements in your design with greater precision.
Use the ruler tool to measure distances and angles, then snap elements to the guide for perfect alignment.
Tip 4: straighten images with the ruler tool
Another great use of the ruler tool is straightening images. to do this, use the ruler tool to draw a line along the edge you want to straighten – for example, the horizon in a landscape photo.
Then go to *image* > *image rotation* > *arbitrary*. photoshop will automatically calculate the angle needed to straighten the image based on the ruler line, and you can simply click *ok* to apply the rotation.
Tip 5: customize ruler units and increments
Photoshop allows you to customize the ruler units and increments to suit your needs. to change the units, right-click on the ruler and select the desired unit from the context menu (e.g., pixels, inches, centimeters, etc.).
To change the increments, go to *edit* > *preferences* > *units & rulers* and adjust the settings according to your preference.
Tip 6: use the ruler tool for perspective correction
The ruler tool can also help you correct perspective issues in your images. to do this, draw lines along the edges of the elements that should be parallel using the ruler tool. then go to *edit* > *transform* > *distort* and adjust the corner handles of the bounding box until
The lines you drew with the ruler tool become parallel.
Tip 7: create precise selections
Lastly, the ruler tool can help you create precise selections in your design. first, use the ruler tool to measure the distance and angle you want for your selection. then, select the desired selection tool (e.g., rectangular marquee tool, lasso tool, etc.), and while holding the *shift* key, click and
Drag your mouse to create a selection with the same angle as the ruler line.
Conclusion
Mastering the ruler tool in photoshop can significantly improve the accuracy and professionalism of your designs. by measuring distances, angles, and aligning elements with precision, your projects will stand out and make a lasting impression.
Don't underestimate the power of this often-overlooked tool – start putting these tips into practice today!