Did you know that the perspective crop tool was first introduced in adobe photoshop cs6? that's right! this powerful tool has been helping graphic designers and photographers make precise perspective corrections for almost a decade now.
In this post, we'll explore the ins and outs of this versatile tool, and share some lesser-known tips that will help you make the most of it. get ready to level up your photoshop skills!
What is the perspective crop tool?
The perspective crop tool is a specialized cropping tool in photoshop that allows you to correct the perspective of an image while cropping it. this can be extremely useful when you're working with photos taken at an angle, such as architectural photographs or images with distorted perspective due to lens
Distortion.
How to access the perspective crop tool
To access the perspective crop tool, simply press `c` on your keyboard to activate the crop tool. then, click and hold the crop tool icon in the toolbar, and select the perspective crop tool from the drop-down menu.
Using the perspective crop tool: step by step
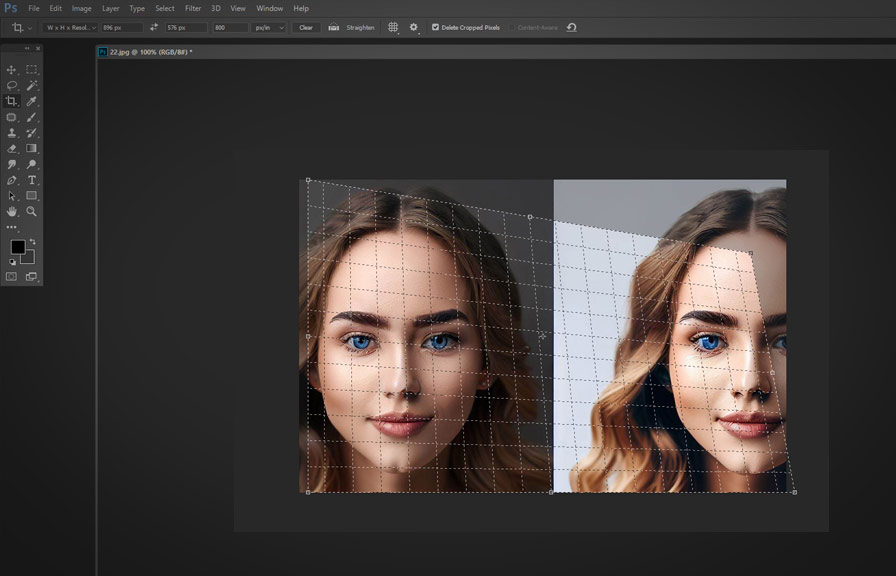
1. Define the perspective grid: after selecting the perspective crop tool,click on the four corners of the area you wish to correct in your image. this will create a perspective grid that will help you visualize the changes you're about to make. 2.
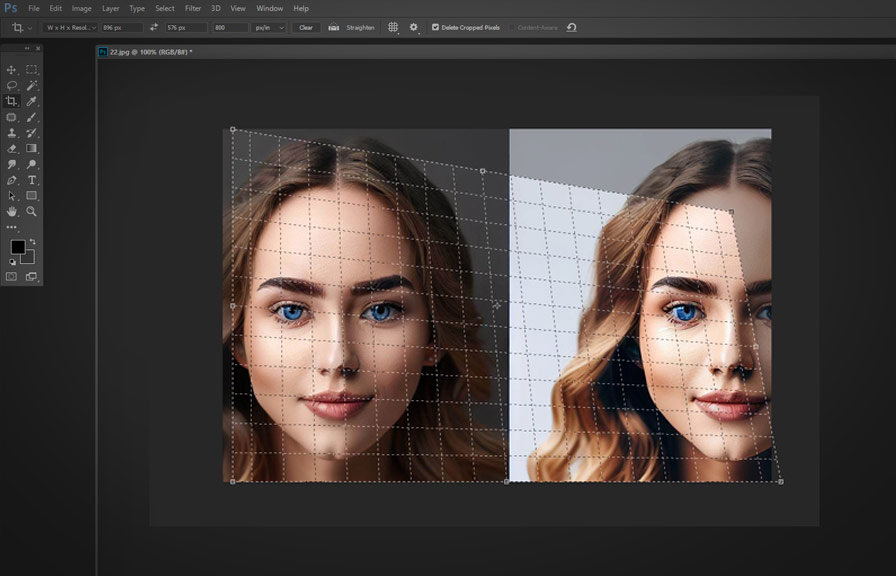
Adjust the grid: if necessary, click and drag the corner handles of the grid to fine-tune its position. you can also click and drag the edges of the grid to adjust their length.
3. Correct the perspective: once you're satisfied with the placement of the grid, press `enter`
Or click the checkmark icon in the options bar to apply the perspective correction.
4. Crop the image: finally, use the regular crop tool to trim any unwanted areas from the image, if needed.
Pro tips for using the perspective crop tool
Now that you know the basics, let's dive into some advanced techniques and lesser-known tips for making the most of the perspective crop tool.
Tip 1: use guides to enhance precision
To achieve more accurate perspective corrections, use photoshop's guides to help you align the grid with specific elements in your image. press `ctrl + r` (or `cmd + r` on mac) to display the rulers, then click and drag from the rulers to create guides.
Snap the perspective grid to the guides for a more precise alignment.
Tip 2: correct multiple areas in a single image
Sometimes, an image may have multiple areas with different perspective distortions. in such cases, you can use the perspective crop tool to correct each area separately. after applying the first correction, simply select the tool again and repeat the process for the other areas.
Tip 3: combine with the clone stamp tool for seamless results
In some cases, applying perspective correction may result in empty or distorted areas around the edges of your image. to fix this, you can use the clone stamp tool (`s` on the keyboard) to fill in these areas with content from other parts of the image.
This will help you create a seamless final result.
Tip 4: use the perspective crop tool for creative effects
Aside from correcting perspective distortions, you can also use the perspective crop tool to create unique and interesting visual effects. for example, try using the tool to exaggerate the perspective of an image, or to create a "miniature" effect by adjusting the perspective grid to simulate a tilt-shift lens.
Fact: the vanishing point filter
Another lesser-known tool for correcting perspective in photoshop is the vanishing point filter. this powerful feature allows you to define multiple perspective planes in an image, and then use tools like the clone stamp, healing brush, and transform commands to edit the image while maintaining its original perspective.
To access the vanishing point filter, go to `filter > vanishing point` in the menu bar.
Conclusion
The perspective crop tool is an invaluable asset for photographers, graphic designers, and artists alike. with the tips and techniques shared in this blog post, you'll be able to correct perspective distortions, create unique visual effects, and produce professional-quality images with ease.
Don't be afraid to experiment and find new ways to use this versatile tool in your creative projects!