Did you know that the patch tool in photoshop was first introduced in version 7.0, way back in 2002? for over two decades, this versatile tool has been helping designers and photographers retouch images by removing unwanted elements and repairing imperfections with ease.
In this post, we will explore some useful tips and tricks to help you make the most of the patch tool in your creative projects.
Understanding the patch tool
The patch tool is essentially a combination of the lasso tool and the healing brush tool, allowing you to make precise selections while blending the surrounding areas seamlessly. it comes in handy when you need to remove objects, blemishes, or any other imperfections in your images.
Let's take a closer look at how to use this powerful tool effectively.
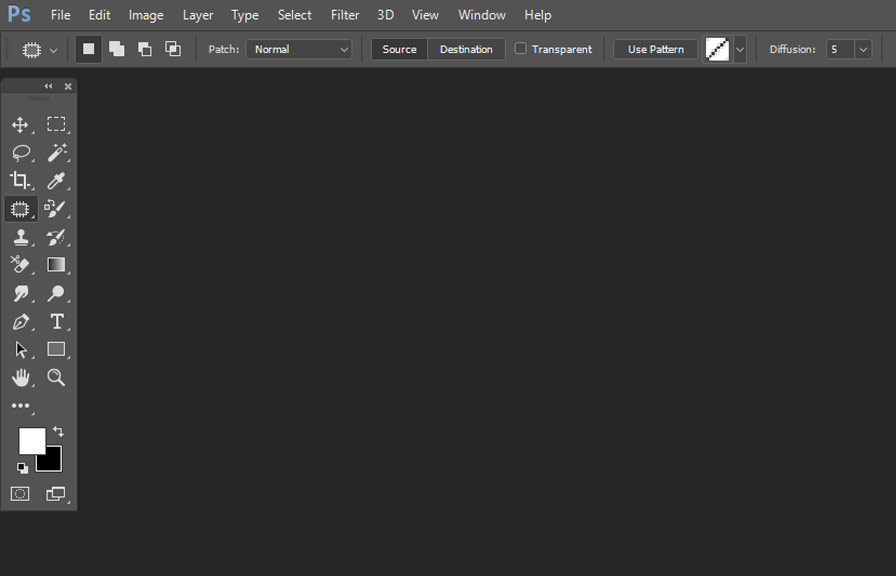
1. access the patch tool
First, let's locate the patch tool in the photoshop interface. you can find it by clicking and holding on the spot healing brush tool in the toolbar, then selecting the patch tool in the flyout menu.
Alternatively, use the keyboard shortcut 'j' to cycle through the various healing tools until the patch tool is activated.
2. choose the right mode
The patch tool operates in two modes - 'normal' and 'content-aware.' in normal mode, the tool uses the texture, lighting, and shading from the source area to blend the selection with the surrounding pixels. on the other hand, content-aware mode intelligently fills the selection by analyzing the nearby areas and
Creating a fill that matches the background.
Generally, content-aware mode is the better option for complex backgrounds or when removing larger objects. however, normal mode may provide better results in some cases, so feel free to experiment and see which one works best for your specific image.
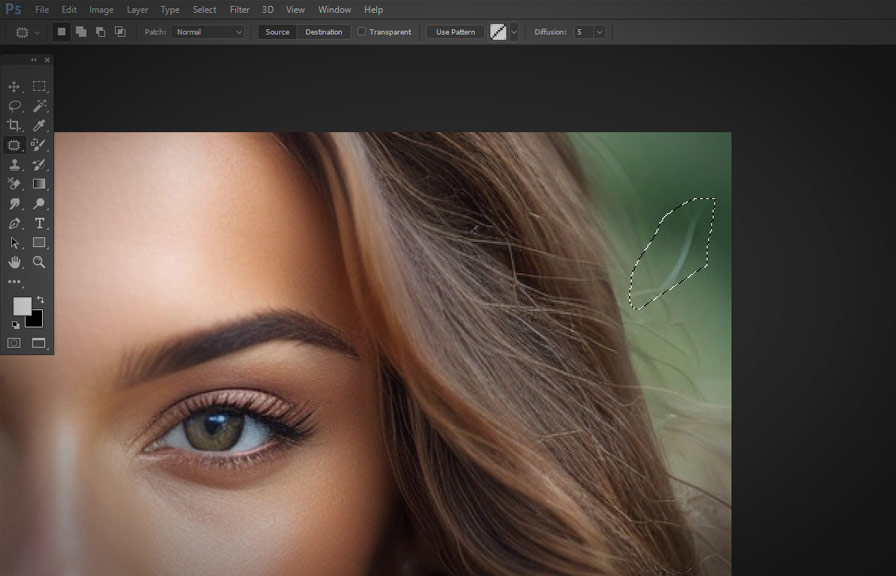
3. make a selection
Now, it's time to select the area you want to fix. click and drag around the unwanted element or imperfection to create a selection. you can also use the lasso tool or any other selection tool to make your selection first, then switch to the patch tool afterward.
4. patch it up
With your selection in place, click and drag it to an area with a similar texture, color, and lighting. the patch tool will blend the source area with the destination area, effectively removing the unwanted element.
Keep an eye on the preview window to see the changes in real-time and adjust the selection accordingly for the best results.
5. fine-tune the results
Sometimes, the patch tool may leave a visible seam or an unnatural-looking result. to fix this, use the following tips:
- Adjust the 'diffusion' slider in the options bar. higher values will make the edges of the patch blend more smoothly with the background, while lower values will produce a sharper transition.
- Use the clone stamp tool or the healing brush tool to touch up any remaining imperfections manually.
- If the result looks too flat or lacks texture, consider using the 'texture' slider in the content-aware mode to introduce some randomness and make the patch look more natural.
Advanced tips for the patch tool
Here are some additional tips to help you make the most of the patch tool:
- Use the 'adaptive wide angle' filter to correct perspective distortions in your image before using the patch tool. this will make it easier to match the source and destination areas.
- If you're working with a patterned background, try using the pattern stamp tool in conjunction with the patch tool to replicate the pattern more accurately.
- When removing objects that are partially obscured by other elements, consider using the 'auto-align layers' feature to align the layers before patching them up.
- For the best results, work on a separate layer and keep your original image intact. this way, you can easily revert to the original image if needed.
Conclusion
The patch tool in photoshop is a powerful and versatile tool that can save you time and effort when retouching images. by understanding its capabilities and experimenting with different modes and settings, you can achieve professional-looking results with ease.
Happy patching!