When you're working with digital images, understanding how to use the paint bucket tool in photoshop is essential. this versatile tool can save you time and effort, making your creative process smoother and more enjoyable. in this blog post, we'll cover the basics of the paint bucket tool and share
Some expert tips to help you get the most out of it.
Understanding the paint bucket tool
The paint bucket tool is a simple yet powerful feature in photoshop that allows you to fill an area with a solid color or pattern. it's perfect for creating backgrounds, coloring shapes, or even fixing small imperfections in your images.
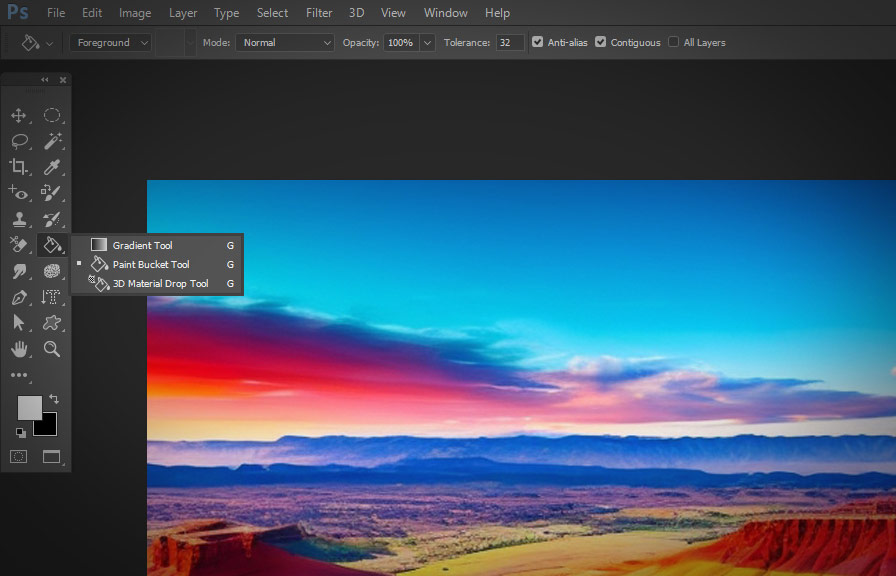
To select the paint bucket tool, click on its icon in the toolbar or press the "g" key on your keyboard. if you can't see the icon, it may be hidden under the gradient tool. just click and hold the gradient tool icon to reveal the paint bucket tool.
Adjusting the tolerance
The tolerance setting is a crucial part of using the paint bucket tool effectively. it determines how similar a color must be to the area you're filling before it's replaced with your chosen color. a lower tolerance value means that only very similar colors will be affected, while a higher
Value will fill a broader range of colors.
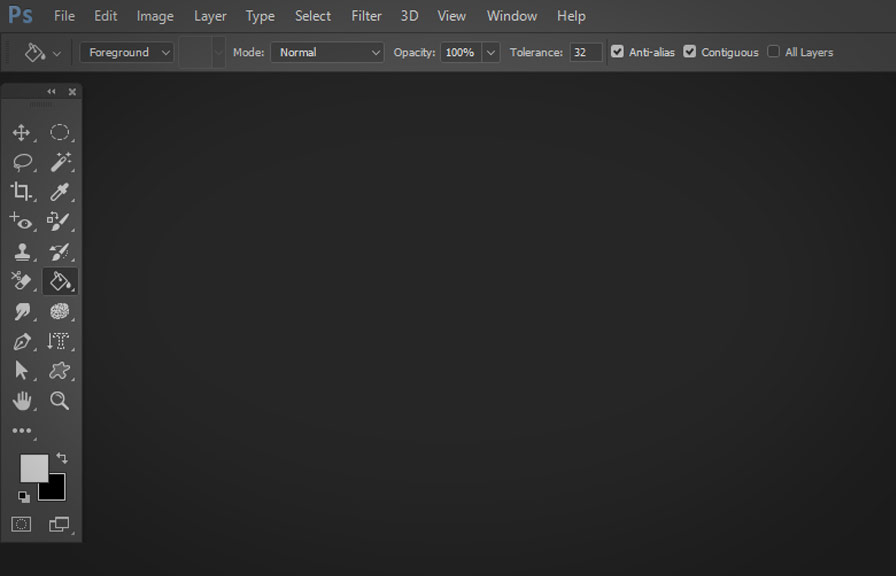
You can adjust the tolerance value in the options bar at the top of the screen. experiment with different values to find the perfect balance for your project. keep in mind that a very high tolerance may cause unwanted bleeding of colors.
Contiguous vs. non-contiguous
When using the paint bucket tool, you have two options: contiguous and non-contiguous. the contiguous option will only fill areas that are connected to the area you click on, while the non-contiguous option will fill all similar colors in the image, regardless of their location.
To toggle between these options, go to the options bar and check or uncheck the "contiguous" box. choose the right setting for your needs to avoid unwanted color changes in your image.
Using patterns
Did you know you can fill an area with a pattern instead of a solid color? to do this, first, select the paint bucket tool. then, in the options bar, click on the dropdown menu next to the paint bucket icon and choose "pattern."
You can choose from a variety of preset patterns or create and import your own. to select a pattern, click on the pattern thumbnail in the options bar and choose from the available options. now, when you use the paint bucket tool, it will fill your selected area with the
Chosen pattern.
Locking transparent pixels
When working with layers that have transparent areas, you might want to prevent the paint bucket tool from filling those transparent pixels. to do this, go to the layers panel and click on the "lock transparent pixels" icon (it looks like a checkerboard with a padlock).
This will ensure that only the opaque pixels are affected when using the paint bucket tool.
Anti-aliasing for smooth edges
To create smoother edges when filling an area with the paint bucket tool, enable the "anti-alias" option in the options bar. this will help blend the filled area with the surrounding pixels, resulting in a more polished look.
Bonus tip: using the magic wand tool
If you're struggling to achieve the desired results with the paint bucket tool, consider using the magic wand tool instead. this tool allows you to select areas of your image based on color similarity, giving you more control over the selection process.
Once you've made your selection, you can then use the paint bucket tool to fill the selected area with your desired color or pattern.
Conclusion
Mastering the paint bucket tool in photoshop can greatly enhance your digital art and design projects. with these tips and tricks, you'll be well on your way to creating stunning, professional-quality images. so don't be afraid to experiment and unleash your creativity - the possibilities are endless!