Did you know that the horizontal type tool in photoshop has been a fundamental component since its early days in the 90s? it's incredible to think that after all these years and numerous updates, this essential tool remains a critical part of every designer's toolkit.
In this post, we will explore some lesser-known facts and tips on how to use the horizontal type tool effectively in your photoshop projects.
Using the horizontal type tool like a pro
1. accessing the type tool with keyboard shortcuts
To quickly access the horizontal type tool, press the "t" key on your keyboard. this shortcut saves valuable time, especially when you're working on a project with multiple text elements.
2. auto-selecting text layers
By default, photoshop automatically selects the text layer when you click on it with the type tool. if you want to disable this feature, go to *preferences > type* and uncheck the "auto-select text layers" option.
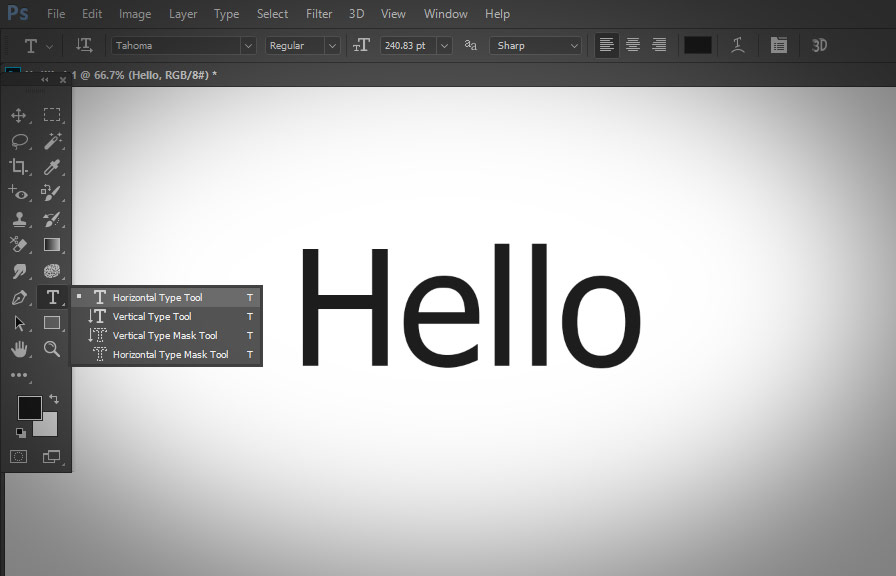
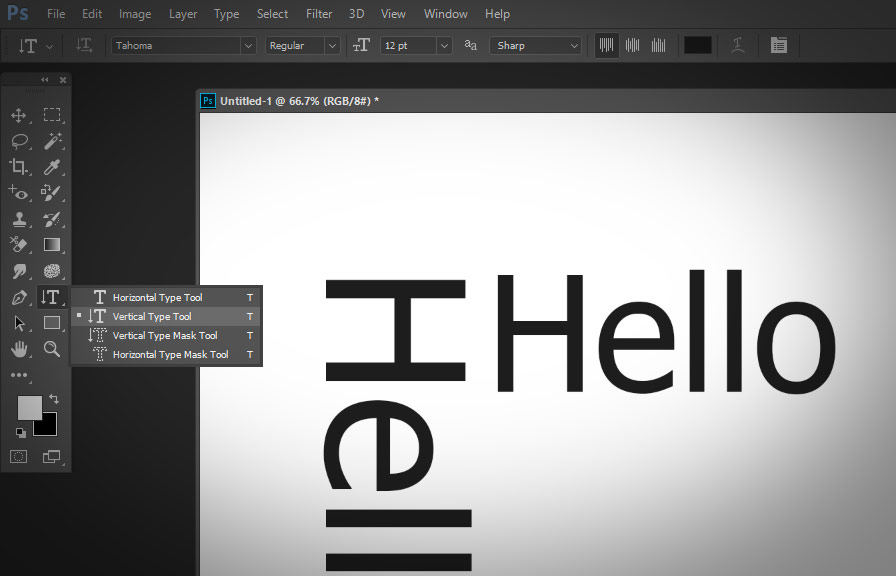
3. changing text orientation
Although the focus of this post is the horizontal type tool, it's worth mentioning that you can change the text orientation to vertical. to do this, simply click and hold the type tool icon in the toolbar and select the "vertical type tool" from the dropdown menu.
4. applying text on a path
A fascinating feature of the type tool is its ability to apply text along a path. to use this feature, first, create a path using the pen tool (p). then, select the type tool (t) and hover over the path until you see a wavy line beneath the cursor.
Click on the path to start typing, and your text will follow the path's shape.
5. warping text for creative effects
To warp text and create unique designs, first, create a text layer using the horizontal type tool. then, go to *edit > transform > warp* or press Ctrl+t (windows) or Command+t (mac) to activate the free transform command.
Right-click (or control-click on mac) on the text and choose "warp" from the context menu. select a warp style from the dropdown menu in the options bar and adjust the settings as desired.
6. adjusting kerning and tracking
Kerning is the space between individual characters, while tracking adjusts the spacing between all characters in a block of text. to modify kerning, place the cursor between two characters and hold Alt (windows) or Option (mac) while pressing the left or right arrow keys.
To adjust tracking, select the text and hold Alt (windows) or Option (mac) while pressing the left or right arrow keys.
7. using glyphs panel for special characters
The glyphs panel allows you to access and insert special characters, such as symbols, alternate characters, and ligatures. to open the glyphs panel, go to *window > glyphs*. choose a font from the dropdown menu and scroll through the available glyphs.
Double-click on a glyph to insert it into your selected text.
8. creating text masks
Text masks are an innovative way to incorporate images within your text. to create a text mask, follow these steps:
1. create a text layer with the horizontal type tool.
2. place an image above the text layer in the layers panel.
3. hold the Alt (windows) or Option (mac) key and click on the line between the text and image layers to create a clipping mask.
The image will now be visible only within the boundaries of the text.
9. converting text to outlines
In some cases, you might need to convert your text to outlines to manipulate it like any other shape. to do this, right-click (or control-click on mac) on your text layer and choose "convert to shape" from the context menu.
Keep in mind that converting text to outlines makes it uneditable as text.
10. spell check your text
To ensure your text is free of spelling errors, use photoshop's built-in spell checker by going to *edit > check spelling* or pressing Ctrl+shift+i (windows) or Command+shift+i (mac).
By incorporating these tips into your workflow, you'll become a pro at using the horizontal type tool in photoshop. remember to experiment with different techniques and explore the vast range of possibilities this versatile tool offers.
Happy designing!