Photoshop is a powerful and versatile tool for creative professionals and enthusiasts alike. one of its many features is the color sampler tool, which allows users to sample colors from an image for various purposes. in this post, we will explore some tips and tricks on how to make the most of
This handy tool!
Getting started with the color sampler tool
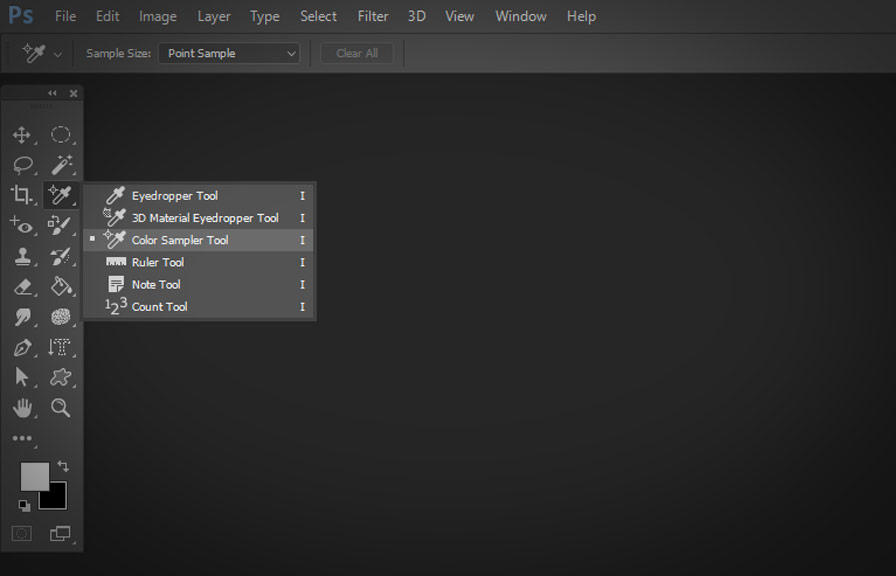
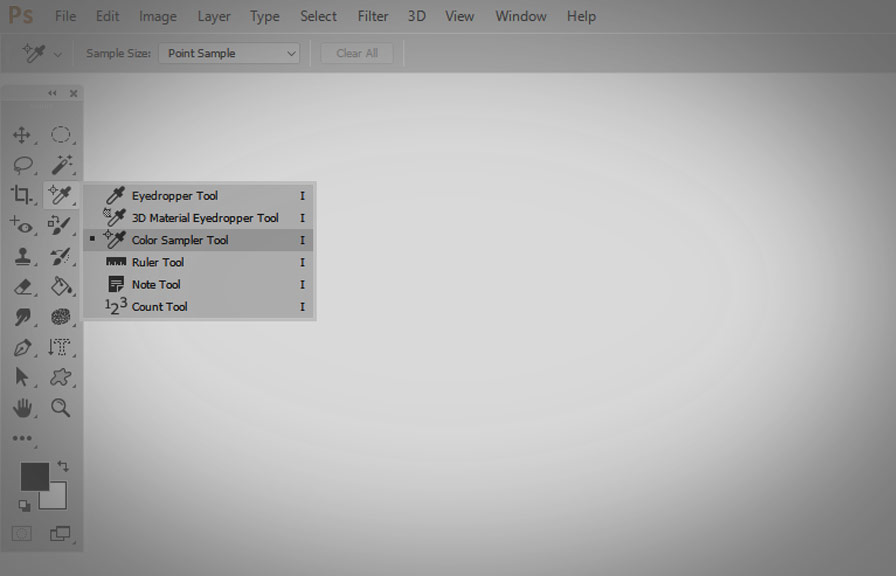
First, let's familiarize ourselves with the color sampler tool. you can find it in the tools panel, nested under the eyedropper tool. click and hold on the eyedropper tool icon, then select the color sampler tool from the drop-down menu.
Tip 1: sampling colors for color correction
One common use for the color sampler tool is color correction. by sampling specific areas of an image, you can assess the color balance and make necessary adjustments.
1. open an image in photoshop.
2. select the color sampler tool and ensure the "sample size" is set to 3x3 or 5x5 average in the options bar. this setting will give you a more accurate color reading.
3. Click on a neutral area (white, gray, or black) in the image to place a sampler point.
4. open the info panel (window > info) to view the rgb values of the sampled point.
By comparing the rgb values, you candetermine if the image has a color cast. ideally, the values should be roughly equal for a neutral area. if not, use adjustment layers such as levels or curves to correct the color balance.
Tip 2: comparing colors within an image
The color sampler tool is also useful for comparing colors within an image. this can help you identify inconsistencies or ensure color harmony in your work.
To compare colors, simply place multiple sampler points on the areas you want to compare. the info panel will display the rgb values for each point, allowing you to easily compare the colors.
Remember, you can place up to 10 sampler points in an image. to remove a point, hold the alt (option on mac) key and click on the point you want to remove.
Tip 3: using the color sampler tool with adjustment layers
Combining the color sampler tool with adjustment layers can help you make precise color adjustments in an image.
1. place sampler points on the areas you want to adjust.
2. add an adjustment layer (e.g., hue/saturation or selective color) to your layers panel.
3. in the properties panel for the adjustment layer, use the eyedropper icon to select the color sampler point you want to adjust.
4. Make your adjustments using the sliders in the properties panel. the info panel will display the rgb values for the selected point, allowing you to see the effect of your adjustments in real-time.
Tip 4: sampling colors for painting and editing
The color sampler tool is not just for color correction and comparison. you can also use it to quickly sample colors for painting or editing tasks.
1. place a sampler point on an area of the image whose color you want to use.
2. select the brush tool (or any other painting/editing tool).
3. press alt (option on mac) + shift and click on the sampler point to load the color into the tool.
4. Now you can paint or edit using the sampled color!
By following these tips and experimenting with the color sampler tool, you'll soon become a master at using this powerful photoshop feature. whether you're color correcting, comparing colors, working with adjustment layers, or painting, the color sampler tool is an indispensable part of your creative toolkit.
Happy editing!