Did you know that the clone stamp tool in photoshop was first introduced in 1995 with version 3.0 of the software? since then, it has become one of the most powerful and versatile tools in the digital artist's arsenal.
In this post, we'll explore some tips and tricks on how to use the clone stamp tool effectively and unleash its full potential.
The basics of the clone stamp tool
Before diving into the tips, let's quickly review the basics of the clone stamp tool. this tool allows you to sample a specific area of your image and then clone (or paint) it onto another area.
It's particularly useful for removing blemishes, duplicating objects, or even creating seamless patterns.
Setting up the clone stamp tool
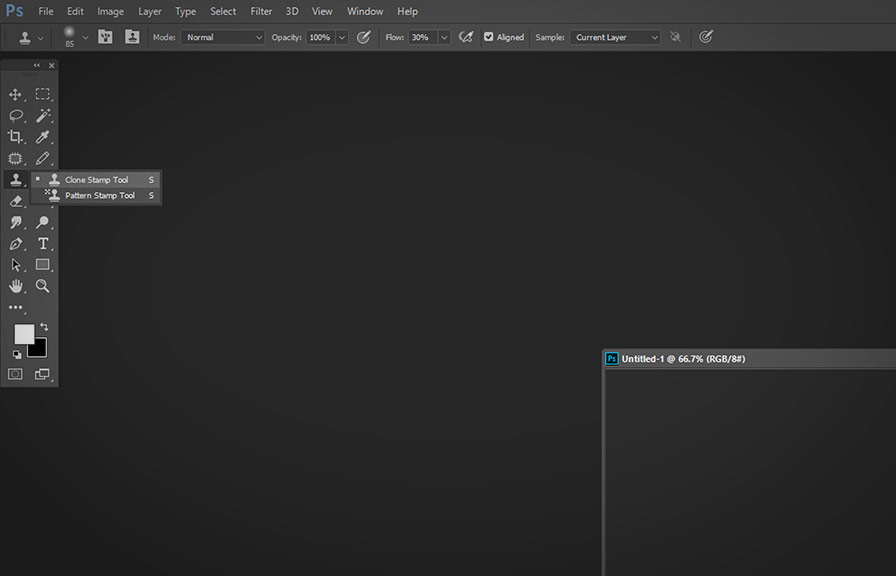
1. first, select the clone stamp tool from the toolbar or press the shortcut key S.
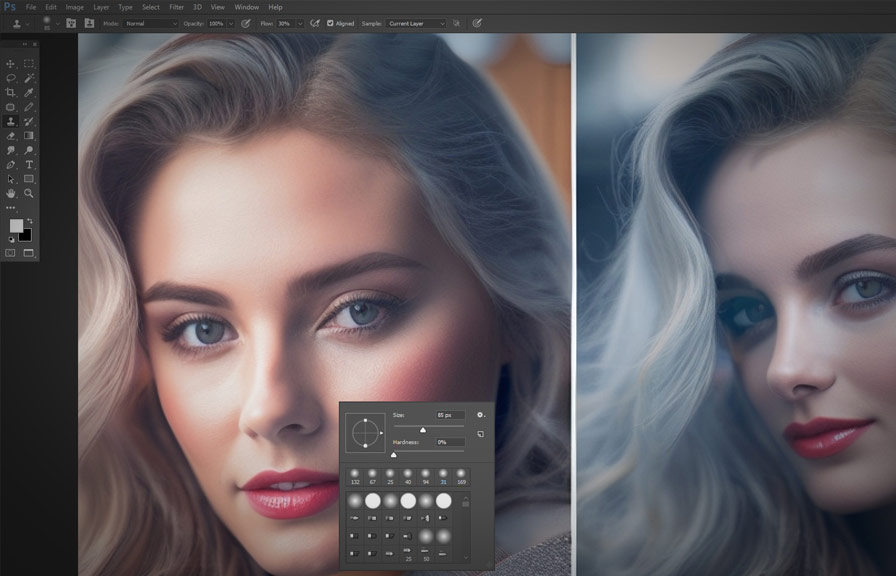
2. in the options bar at the top, you can choose the brush size, hardness, and other settings.
3. Hold down the Alt key (option key on mac) and click on the area you want to sample.
4. now, you can click and paint with the sampled area to clone it onto a new location.
Pro tips for using the clone stamp tool
Now that we've covered the basics, let's get into some lesser-known tips and techniques to make the most out of the clone stamp tool.
1. work on a separate layer
To avoid making irreversible changes to your original image, always create a new layer before using the clone stamp tool. this way, you can easily adjust the opacity, blend mode, or even delete the cloned area without affecting the original image.
2. use a soft-edged brush
A soft-edged brush helps to blend the cloned area seamlessly with the surrounding pixels. the softer the brush, the more gradual the transition between the original and cloned areas will be.
3. adjust the brush settings as needed
To achieve more natural-looking results, try adjusting the brush settings in the options bar. you can experiment with the brush size, hardness, spacing, and even the angle to match the texture and appearance of the area you're cloning.
4. rotate and flip your clone source
Sometimes, you may need to clone an area that has a different orientation or angle than the source. in such cases, you can use the clone source panel (window > clone source) to rotate or flip the sampled area.
5. sample from multiple sources
When cloning a complex pattern or texture, try sampling from multiple areas to avoid repetition and create more natural results. you can quickly switch between different clone sources by holding the Alt key and clicking on a new area to sample.
6. use the clone stamp tool with blend modes
Experiment with different blend modes to achieve more advanced and creative effects. for example, using the "darken" blend mode can help you clone only the darker areas of the image, while the "lighten" blend mode will only affect the lighter areas.
This can be especially helpful when working with images that have varying lighting conditions.
7. combine the clone stamp tool with other tools
The clone stamp tool can be even more powerful when used in conjunction with other tools in photoshop. for instance, you can use the healing brush tool or the patch tool to fix any minor imperfections after cloning an area.
8. use the fade command to adjust the intensity of a clone
If you find that your cloned area is too strong or too subtle, you can use the fade command (edit > fade) immediately after cloning to adjust the intensity of the effect. this can help you achieve more realistic and seamless results.
Conclusion
The clone stamp tool is an invaluable asset for any photoshop user, and mastering its nuances can help you achieve better results in your digital artwork. by following these tips and experimenting with different techniques, you can unlock the full potential of this versatile tool and elevate your image editing
Skills to new heights.
So, go ahead and explore the possibilities of the clone stamp tool, and don't forget to practice and refine your skills along the way!