Did you know that the burn tool in photoshop has been around since the software's inception? yes, that's right! this incredible tool has been a staple for countless artists, photographers, and designers for decades. in this blog post, we'll delve into some lesser-known tips and tricks on how to use the burn tool effectively, so you can bring your digital art to life.
Understanding the burn tool
The burn tool is used to darken specific areas of an image, allowing you to create depth, enhance details, and play with shadows. it simulates the traditional technique of "burning" photographic negatives, which results in darker prints.
Photoshop's burn tool achieves this effect by increasing the density of pixels in the selected area.
Choosing the right brush
The secret to using the burn tool effectively starts with selecting the right brush. photoshop offers a wide range of brushes to choose from, but for the burn tool, you'll want to focus on soft-edge brushes.
These brushes create a smoother, more natural look as they blend the effect seamlessly into the surrounding area.
To select a soft-edge brush, open the brush preset picker by clicking on the brush thumbnail in the options bar. look for brushes with a feathered, fuzzy edge, which indicates a soft brush.
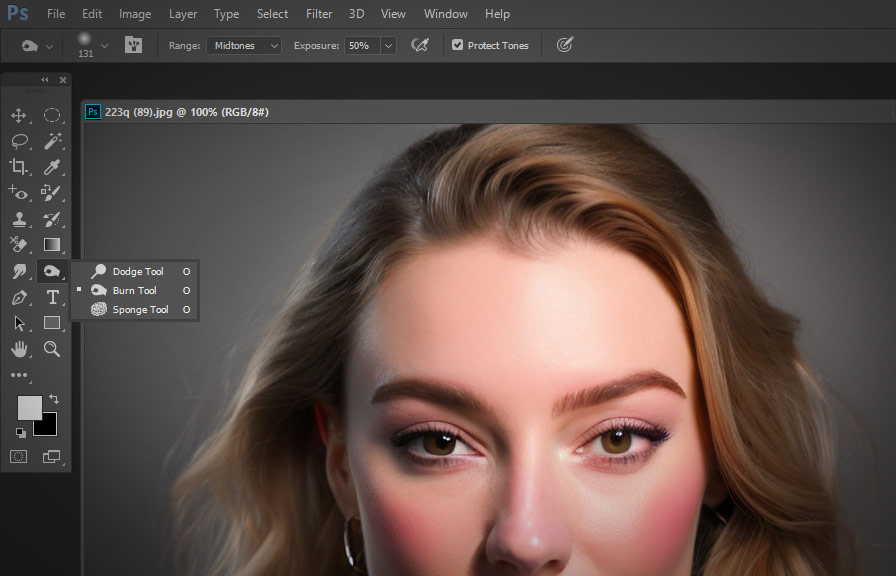
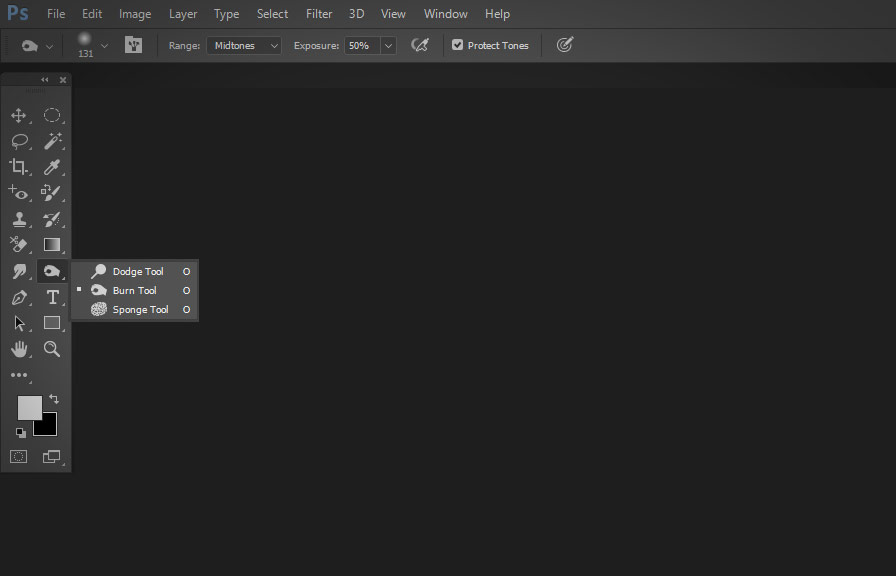
Mastering the range and exposure settings
The range and exposure settings are essential factors to consider when using the burn tool. the range setting determines which tones in the image will be affected: shadows, midtones, or highlights. adjusting the range allows you to target specific areas of your image, creating a more polished and professional result.
The exposure setting controls the intensity of the burn effect. lower exposure values create a more subtle effect, while higher values result in more dramatic darkening. as a general rule, it's best to start with a lower exposure and gradually increase it if needed.
Protecting skin tones
When working with portraits, it's crucial to preserve the natural appearance of skin tones. to avoid over-darkening and creating an unnatural look, try this simple trick: create a new layer above your image, set the blending mode to "luminosity," and then use the burn tool on that layer.
This technique will allow you to darken the image while maintaining the original color balance.
Creative applications of the burn tool
The burn tool isn't just for darkening shadows and enhancing details; it can also be used in various creative ways to elevate your digital art. here are some ideas to get you started:
Creating vignettes
Vignettes, or the gradual darkening of edges in an image, can draw attention to the center of the frame and add a touch of drama. to create a vignette using the burn tool, first, select a large, soft-edge brush.
Next, set the range to "midtones" and the exposure to a low value (around 10-15%). gently brush around the edges of your image to create a subtle darkening effect.
Dodging and burning for depth
The art of dodging and burning involves using the burn tool in tandem with its counterpart, the dodge tool, to create depth and dimension in your images. while the burn tool darkens areas, the dodge tool lightens them.
By selectively applying these tools, you can create a more dynamic, three-dimensional look in your images.
Enhancing textures
The burn tool can also be used to bring out textures and patterns in an image. for example, you can use it to emphasize the texture of fabric, wood grain, or even skin. to do this, set the range to "midtones" and the exposure to a low value (around 5-10%).
Then, gently brush over the areas where the texture is most prominent.
Conclusion
The burn tool is an incredibly versatile and powerful tool that can take your photoshop skills to the next level. by mastering the basics, experimenting with creative techniques, and remembering to protect skin tones, you'll be well on your way to creating stunning, professional-looking images.
So go ahead, fire up photoshop, and unlock the full potential of the burn tool!