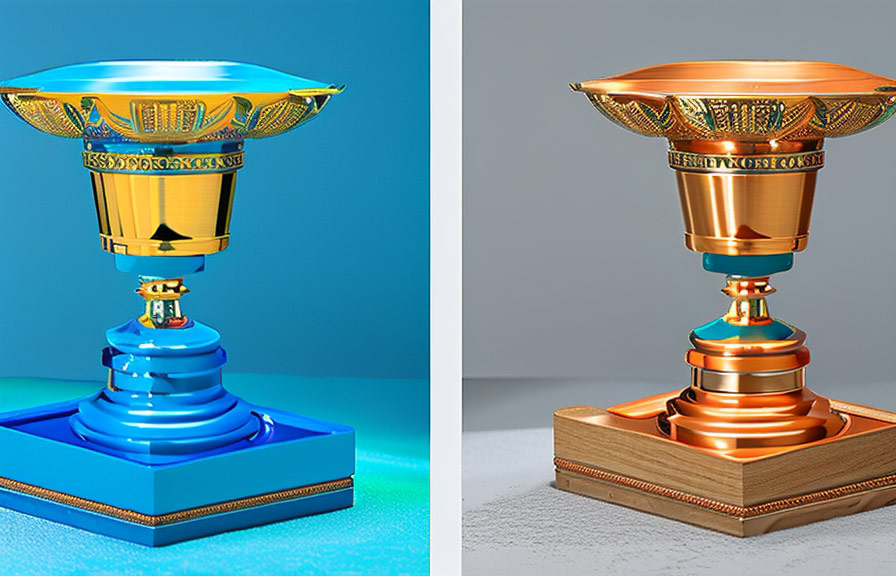
If you're a digital artist, graphic designer, or simply someone who likes to dabble in creative software, you've probably come across adobe photoshop. this powerful tool has a myriad of features, one of which is the 3d object slide tool.
In the post, we'll dive into some helpful tips on how to use this fascinating tool to enhance and elevate your design projects.

Getting started with 3d object slide tool
Before we jump into the tips, let's first understand the basics of the 3d object slide tool. this tool allows you to manipulate 3d objects within photoshop, giving you the ability to move, rotate, and scale them effortlessly.
To access the tool, follow these simple steps:
1. open photoshop and create a new document.
2. click on the layers panel and create a new 3d layer by selecting `layer > new > layer` from the menu.
3. import a 3d object into the layer by selecting `3d > new 3d layer from file`. 4.
Choose the 3d object slide tool from the 3d panel or press the 'k' key on your keyboard.
Now that you have your 3d object and the 3d object slide tool ready, let's explore some tips on how to use it effectively.
Tip #1: adjust the camera view
The first tip is to adjust your camera view to have a better perspective of your 3d object. you can switch between different camera views by clicking on the `3d camera tools` in the 3d panel.
Experiment with various camera angles and distances to find the perfect view for your project.
Tip #2: fine-tune the position of your 3d object
To move your 3d object, simply click and drag it using the 3d object slide tool. you can also fine-tune its position by using the on-screen widget. this widget is composed of three arrows, each corresponding to a specific axis (x, y, or z).
Click and drag on these arrows to move your object along that axis accurately.
Tip #3: rotate, scale, and reposition with ease
Apart from moving your 3d object, the 3d object slide tool also allows you to rotate and scale it. to rotate, click and drag outside the 3d object's bounding box. to scale, click and drag on the white squares located at the corners of the bounding box.
Remember to hold the shift key while scaling to maintain the object's proportions.
Tip #4: use snap and align to position objects precisely
When working with multiple 3d objects, it's crucial to align and position them accurately. to do this, use the snap and align features. to enable snap, go to `view > snap`. to use align, select the objects you want to align, then choose the appropriate alignment option from the `3d
> align` menu.
Tip #5: customize 3d object materials
To give your 3d object a realistic appearance, customize its materials. in the 3d panel, click on the material you want to modify, and then adjust its properties, such as diffuse, specular, and bump. this way, you can create unique and eye-catching textures for your objects.
Tip #6: use photoshop's lighting features
To further enhance your 3d object's appearance, take advantage of photoshop's lighting features. you can add lights to your scene by selecting `3d > new light`. experiment with different light types, such as infinite, spot, and point, and adjust their intensity and color to create the perfect lighting for your
Project.
Tip #7: render your final 3d scene
Once you're satisfied with your 3d object's appearance, it's time to render your final scene. to do this, go to the properties panel and click on the `render` button. rendering may take some time, depending on the complexity of your scene and your computer's processing power.
Be patient, and you'll be rewarded with a stunning final result.
Conclusion
The 3d object slide tool in photoshop offers a whole new world of possibilities for digital artists and designers. by following these tips, you'll be well on your way to creating stunning and professional-quality 3d designs.
So go ahead, unleash your creativity, and explore the power of photoshop's 3d object slide tool.
