
Did you know that the quick selection tool in adobe photoshop was first introduced in version cs3? since then, it has become a go-to tool for many graphic designers and photographers to make fast and accurate selections.
If you want to improve your photoshop skills, mastering the quick selection tool is essential. in this post, we'll reveal some amazing tips that will help you use this versatile tool like a pro.
1. boost your efficiency with keyboard shortcuts
Keyboard shortcuts can save a lot of time when working with the quick selection tool. here are a few essential shortcuts to remember:
- Press w to activate the quick selection tool.
- Use the [ and ] keys to decrease or increase the brush size, respectively.
- Hold alt (option on mac) to switch to the subtract mode temporarily.
2. control the brush hardness and spacing
To refine your selection, adjust the brush hardness and spacing in the options bar. a higher hardness setting results in a more defined edge, while a lower setting creates a softer edge. similarly, increasing the spacing will make the selection process less precise, but might be useful when you're working
On larger areas.
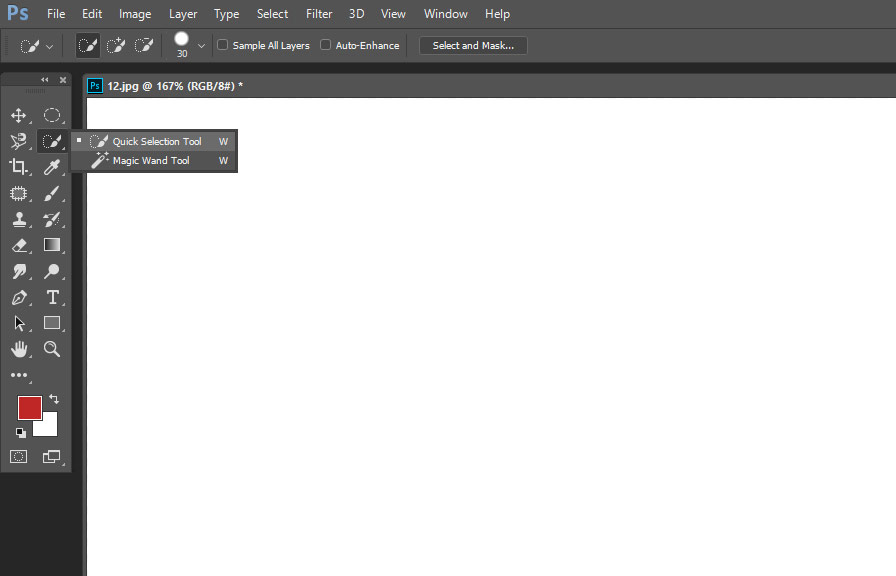
3. combine the quick selection tool with the magic wand tool
You can combine the quick selection tool with the magic wand tool to make more precise selections. to do this, click on the magic wand icon in the options bar while using the quick selection tool.
This will enable you to select a specific color range in your image. once you've made the selection, switch back to the quick selection tool to refine the edges.
4. take advantage of the auto-enhance feature
The auto-enhance feature helps you create smoother and more accurate selections by automatically refining the edges as you paint. to enable this feature, simply check the "auto-enhance" option in the options bar. keep in mind that using auto-enhance might slow down your workflow slightly, especially on larger images.
5. refine edge (select and mask) for better selections
After making a selection with the quick selection tool, you can further refine the edges using the "select and mask" workspace. click on the "select and mask" button in the options bar or go to "select" > "select and mask." here, you can adjust the edge detection, global refinements, and
Output settings for your selection. the "smart radius" option under edge detection is particularly useful for selecting objects with complex edges.
6. save and load selections for future use
If you've spent a considerable amount of time creating a precise selection using the quick selection tool, it's a good idea to save it for future use. go to "select" > "save selection" and give your selection a name.
Later, you can load the selection by going to "select" > "load selection" and selecting the saved selection from the dropdown menu.
7. leverage the power of content-aware fill
Once you have a selection, you can use photoshop's content-aware fill feature to remove unwanted objects or fill in gaps. go to "edit" > "content-aware fill" and adjust the settings as needed. this powerful tool uses ai to analyze the surrounding area and generate a seamless fill based on the
Selected region.
8. little-known fact: quick selection tool and the object selection tool
Developed in photoshop 2020, the object selection tool is a hidden gem that works similarly to the quick selection tool, but with a twist. instead of painting over an area, you draw a rectangle or lasso around your object, and photoshop will automatically create a selection based on the edges
Within the drawn region. give it a try by holding down the quick selection tool icon in the toolbar and selecting the object selection tool from the dropdown menu.
Conclusion
The quick selection tool in photoshop is an indispensable asset for anyone working with images. by following these tips and tricks, you'll be able to create fast, accurate selections and elevate your photoshop skills to a whole new level.
Happy editing!