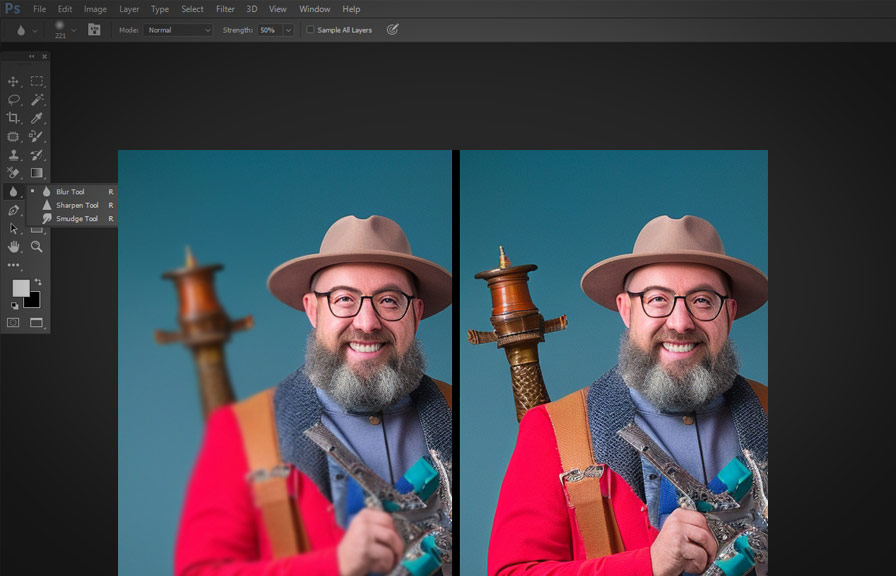
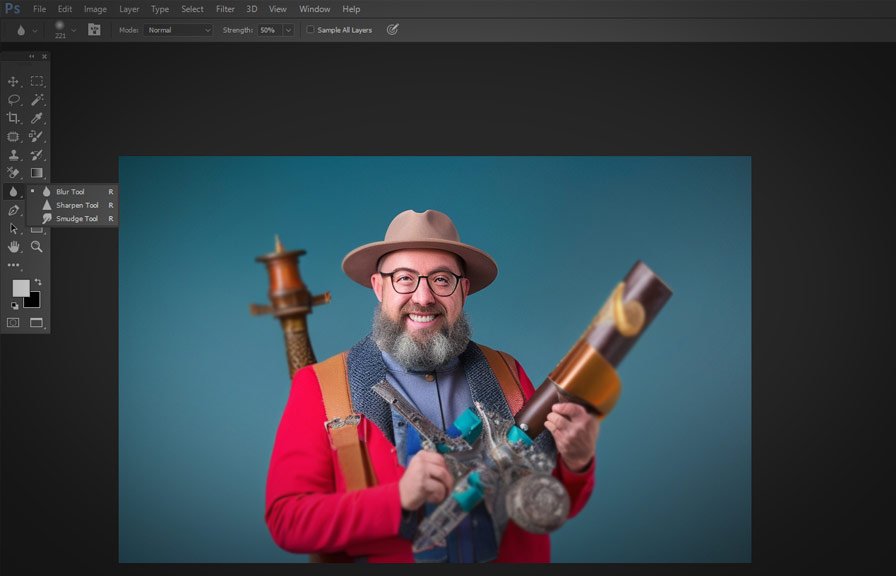
Photoshop, the world-renowned photo editing software, boasts a multitude of powerful tools that can transform ordinary images into stunning visuals. among these tools lies the often-underappreciated blur tool, which can create a sense of depth, enhance focus, and add an artistic touch to your photos.
This article will uncover hidden gems and provide valuable tips on how to use the blur tool in photoshop like a pro.

The magical world of blurred effects
Blurring effects have a rich history in the world of photography and visual arts. in fact, the term "bokeh" comes from the japanese word "boke," which translates to "blur" or "haze." bokeh refers to the aesthetic quality of the out-of-focus areas in a photograph, and it has become an essential
Aspect of modern photography.
The blur tool: a versatile asset in photoshop
To access the blur tool in photoshop, simply press "r" on your keyboard or click on the teardrop icon in the toolbar. the blur tool works by decreasing the contrast between the pixels in your image, creating a smooth and soft appearance.
With this tool, you can selectivelyapply blur effects to specific areas of your photo, giving you complete control over the final result.
Tip 1: adjust the strength of your blur effect
The blur tool comes with an adjustable "strength" setting, allowing you to control the intensity of the blur effect. to modify the strength, simply navigate to the options bar and adjust the slider or input a specific value between 1% and 100%.
A higher strength value will result in a more pronounced blur, while a lower value will produce a subtler effect.
Tip 2: customize the brush size and hardness
The blur tool's efficiency greatly depends on the size and hardness of the brush you use. by customizing these settings, you can achieve the desired blur effect with precision. to change the brush size, use the left and right bracket keys ([ and ]) on your keyboard, or click on
The dropdown menu in the options bar. adjust the hardness by clicking on the brush preview in the options bar and moving the "hardness" slider.
Tip 3: use layer masks for non-destructive blurring
To avoid making permanent changes to your original image, it's wise to use layer masks when applying blur effects. create a duplicate layer of your image by right-clicking on the layer and selecting "duplicate layer." then, add a layer mask by clicking on the "add layer mask" icon at the
Bottom of the layers panel. by painting on the layer mask with the blur tool, you can apply the effect only to the desired areas while keeping the original image intact.
Tip 4: combine the blur tool with other effects
The blur tool can work wonders when combined with other effects and tools in photoshop. for example, you can enhance the depth of field in your image by using the blur tool in conjunction with the lasso tool.
Simply select the area you want to keep in focus with the lasso tool, invert the selection by pressing "ctrl+shift+i" (or "cmd+shift+i" on mac), and then apply the blur effect to the background.
Another powerful combination is using the blur tool with the sharpen tool. by selectively blurring certain areas of your image and sharpening others, you can create a dynamic contrast that draws attention to specific elements in the photo.
Tip 5: experiment with different blur techniques
Photoshop offers a variety of blur techniques, each producing a unique effect. to access these options, go to "filter" > "blur" in the main menu. some of the most popular techniques include gaussian blur, motion blur, and radial blur.
Don't be afraid to experiment with these different techniques and combine them with the blur tool to create stunning visual effects.
Conclusion
The blur tool in photoshop is a powerful and versatile asset that can elevate your photo editing skills to new heights. by mastering the tips and tricks outlined in this article, you'll be well on your way to creating eye-catching images that captivate viewers.
So, grab your favorite photo, open photoshop, and let the magic of the blur tool unfold before your eyes. happy blurring!
