Have you ever wondered how professional designers create stunning backgrounds, smooth transitions, and realistic effects in their artwork? one of their secret weapons is the gradient tool in adobe photoshop. surprisingly, this versatile tool is often overlooked by many users, despite its powerful capabilities.
In fact, did you know that the gradient tool has been an essential part of photoshop since its very first version, released back in 1990? that's over 30 years of gradient magic!
In this post, we'll explore some tips and tricks on how to use the gradient tool in photoshop to create eye-catching designs and enhance your digital art. so, let's dive in and unleash the true potential of this incredible tool.
The basics of the gradient tool
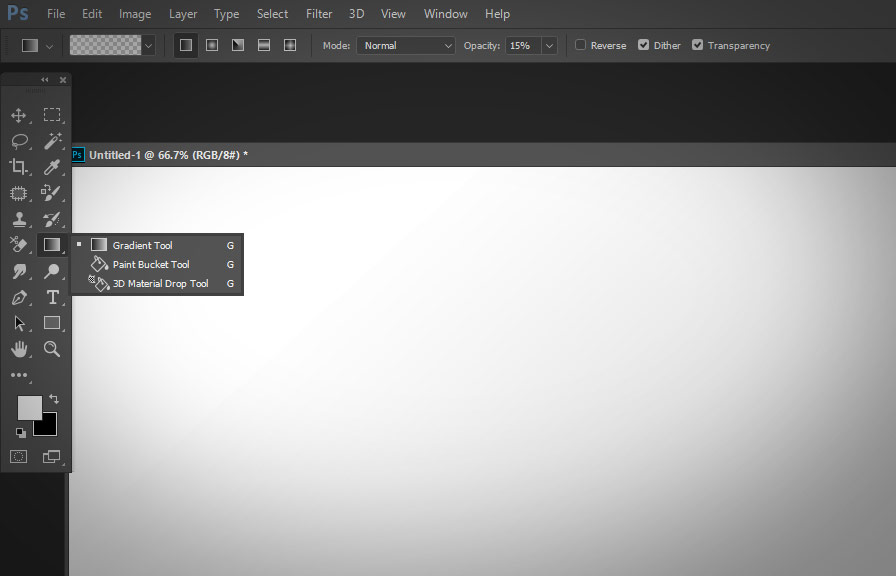
First, let's get familiar with the gradient tool and its settings. to select the gradient tool, press `g` on your keyboard or find it in the tools panel. the options bar will display various settings such as gradient preset, gradient type, mode, opacity, and dither.
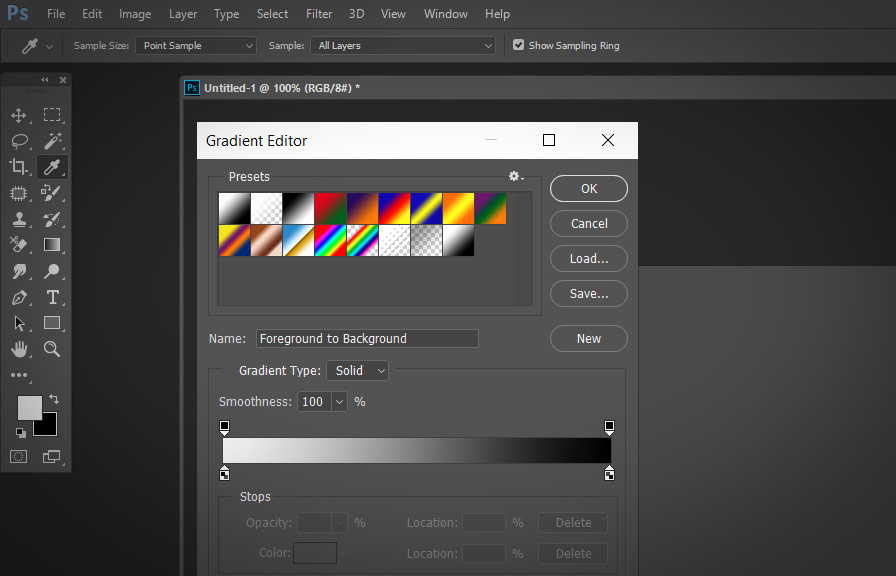
1. Gradient preset: you can choose from a variety of pre-defined gradients or create your own by clicking on the gradient preview in the options bar. this will open the gradient editor where you can customize the colors, transparency, and distribution of the gradient.
2. Gradient type: photoshop offers five different gradient types: linear, radial, angle, reflected, and diamond. each type creates a unique gradient pattern and can be used for different purposes.
3. Mode: this setting determines how the gradient will blend with the existing colors on the canvas. the most commonly used modes are normal, multiply, and screen.
4. Opacity: adjusting the opacity allows you to control the transparency of the gradient, which can create subtle effects or more dramatic transitions.
5. Dither: this option helps to reduce banding in the gradients by adding noise. it's useful when working with a limited color palette or when exporting your work for web use.
Now that you're familiar with the basic settings, let's explore some tips for using the gradient tool effectively.
Tip 1: create custom gradient presets
While photoshop comes with a range of pre-made gradient presets, creating your own can lead to more unique and personalized designs. to create a custom gradient, click on the gradient preview in the options bar to open the gradient editor.
Here, you can add, delete, and edit color stops, as well as adjust the transparency and midpoint sliders. don't forget to save your custom gradient by clicking the "new" button.
Tip 2: use gradients on layer masks
One of the most powerful ways to use gradients is by applying them to layer masks. this technique allows you to create smooth transitions between layers and adjust the visibility of certain areas of your image.
To do this, create a new layer mask and select the gradient tool. make sure the mask is selected, and then draw your gradient directly onto the mask.
Tip 3: blend gradients with different blend modes
Experiment with different blend modes when applying gradients to your artwork. by changing the blend mode, you can create a variety of effects and interactions between the gradient and the underlying layers. some popular blend modes for gradients are multiply, screen, overlay, and soft light.
Don't be afraid to try out different combinations and see what works best for your design.
Tip 4: use gradients for lighting effects
Gradients can be used to create realistic lighting effects in your artwork. for example, you can use a radial gradient with a blend mode like overlay or soft light to create a spotlight effect. additionally, gradients can be used to simulate reflections, glows, and other lighting phenomena.
Be creative and explore how gradients can enhance the visual appeal of your designs.
Tip 5: employ gradients in text and shape layers
Did you know that gradients can also be applied to text and shape layers? to add a gradient to a text layer, right-click on the layer in the layers panel and choose "blending options." in the layer style dialog box, select "gradient overlay" and customize your gradient settings.
Similarly, you can apply gradients to shape layers by selecting the shape layer and choosing "gradient overlay" from the blending options.
Conclusion
The gradient tool in photoshop is an incredibly versatile and powerful tool that can elevate your designs and artwork. by mastering the various settings and techniques outlined in this blog post, you'll be well on your way to creating stunning visuals with the help of gradients.
So, go ahead and experiment with this amazing tool, and unlock your full creative potential. the possibilities are endless!