
Did you know that the content-aware patch tool in adobe photoshop is a powerful ally when it comes to retouching your images? this versatile tool can help you eliminate unwanted objects, fix blemishes, and even reconstruct missing parts of your photos.
But if you're new to photoshop or haven't had much experience with the content-aware patch tool, it can seem a bit daunting. fear not! in this blog post, we'll delve into tips and tricks on how to use this tool effectively, so you can achieve professional results in no time.
The magic of content-aware technology
Before we dive into the tips, let's take a moment to appreciate the technology behind the content-aware patch tool. originally introduced in photoshop cs5, content-aware technology analyzes the content of an image to determine the best way to fill a selected area.
This intelligent feature allows the tool to seamlessly blend the replacement area with the surrounding pixels, creating a natural and convincing result.
Tip 1: choose the right patch mode
When using the content-aware patch tool, it's essential to select the appropriate patch mode for your specific task. there are two main modes to choose from: normal and content-aware.
- normal mode is best used for simple tasks, such as removing small objects or blemishes. it works by copying and pasting pixels from the source area to the destination area.
- content-aware mode is ideal for more complex tasks, as it intelligently analyzes the surrounding pixels and automatically blends the new texture and color into the destination area.
To switch between modes, simply click on the dropdown menu in the options bar at the top of the photoshop window and select your desired mode.
Tip 2: make precise selections
When using the content-aware patch tool, making precise selections is crucial for achieving the best results. here are some tips to help you make accurate selections:
1. zoom in on the area you want to edit to gain better control and visibility.
2. use the lasso tool or the pen tool to create a precise selection around the object you wish to remove or replace.
3. Add a slight feather to your selection to ensure a smooth transition between the patched area and the surrounding pixels. to do this, go to `select` > `modify` > `feather`, and enter a small value (usually between 1-5 pixels).
Tip 3: choose the right source area
The success of your patch depends largely on the source area you choose. when selecting a source area, keep the following tips in mind:
1. choose an area with similar texture, color, and lighting as the destination area.
2. make sure the source area does not contain any unwanted elements that could be copied into the destination area.
3. if possible, use a non-adjacent area as your source to avoid creating visible patterns.
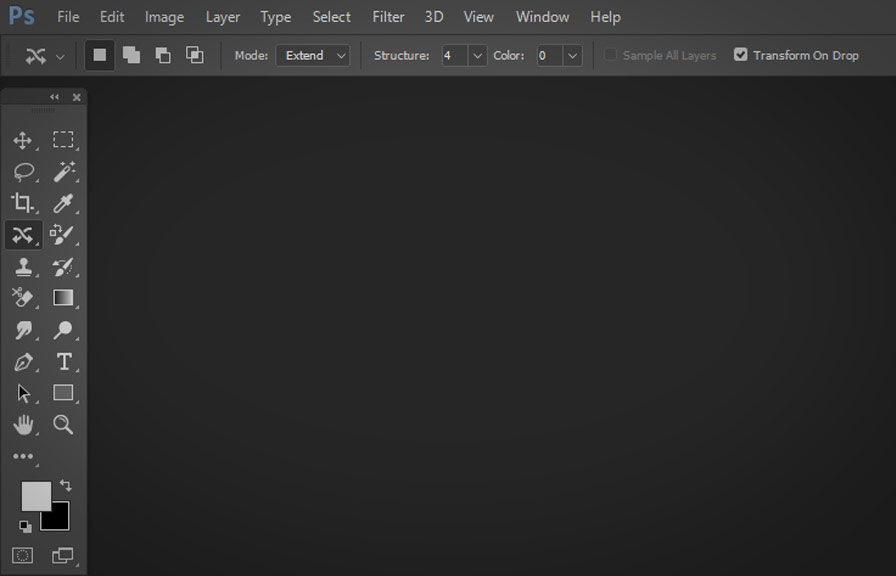
Tip 4: adjust the patch tool settings
To further refine your patch, you can adjust the settings in the options bar:
- structure: this setting determines the flexibility of the patch. a lower value (1-3) will make the patch more flexible and adapt to the surrounding area better, while a higher value (4-7) will maintain the original structure of the source area.
- color: this setting controls the amount of color blending applied to the patch. a lower value (0-4) will apply minimal color blending, while a higher value (5-10) will result in more aggressive color blending.
Experiment with these settings to find the perfect balance for your specific image.
Tip 5: work non-destructively
To protect your original image and maintain the flexibility to make changes, always work non-destructively. here's how:
1. create a new layer by clicking on the "new layer" icon at the bottom of the layers panel.
2. with the new layer selected, make your selection and use the content-aware patch tool as you normally would.
3. If you need to make adjustments, simply delete or modify the new layer without affecting the original image.
Now that you're armed with these tips and tricks, it's time to put them into practice and start mastering the content-aware patch tool in photoshop. with a bit of practice and experimentation, you'll be well on your way to creating flawless, professional-looking images.
Happy editing!