
Did you know that 90% of consumers say that the quality of product images is an essential factor in their purchasing decisions? that's a staggering percentage, and it highlights the importance of top-notch product photography. in this blog post, we'll delve into the world of product photography and teach you how
To showcase your product photos using simple equipment.
The little-known secret to stunning product photos
It's not just about having the latest camera or the most expensive lens; there's a secret ingredient that many people don't know about: the "inverse square law" of light. in a nutshell, this law states that the intensity of light decreases as the distance from the light source increases.
This means that if you place your light source closer to the subject, the light will be more intense and create a more dramatic effect. so, when you're setting up your product photography shoot, keep this principle in mind for stunning results!
Now that we've uncovered a hidden gem let's dive into the nitty-gritty of product photography.
Best settings for product photography: a starting point
When it comes to camera settings, the perfect combination depends on your specific product and lighting conditions. however, here are some general guidelines for beginners:
1. Aperture: use a narrow aperture (higher f-stop number) like f/8 or f/11 for a deep depth of field. this will ensure your entire product is in focus.
2. Shutter speed: start with a shutter speed of 1/125th of a second or faster to avoid motion blur.
You can increase the shutter speed if you're using a tripod.
3. Iso: keep your iso as low as possible (100 or 200) to minimize noise and grain in your images.
4. White balance: set your white balance to "auto" or use a custom white balance setting based
On your light source.
Remember, these are just starting points. experiment with different settings until you find the perfect combination for your specific product and lighting conditions.
The best lenses for product photography: zoom vs. prime
When it comes to lenses, product photographers often find themselves choosing between zoom and prime lenses. both have their advantages and disadvantages, so let's take a closer look.
Zoom lenses:
- Pros: versatility, allowing you to change focal lengths without switching lenses.
- Cons: generally lower image quality and slower aperture compared to prime lenses.
Prime lenses:
- Pros: better image quality, faster aperture, and lighter weight.
- Cons: limited to a single focal length, requiring you to move the camera or subject to compose your shot.
For product photography, prime lenses are often preferred due to their superior image quality and faster aperture. some popular prime lens options for product photography include:
1. 50mm: a versatile "nifty-fifty" lens that's great for small to medium-sized products.
2. 85mm or 100mm: these lenses offer more working distance and a flattering perspective for larger products or those with intricate details.
3. Macro lenses: if you're shooting small products or need to capture fine details, a macro lens is a must-have.
Don't let this information overwhelm you; even a simple kit lens can produce great results when used correctly. the key is understanding its limitations and working with them.
How to light your product for photography: the basics
Lighting is an essential component of product photography. here are some basic tips to help you get started:
1. Natural light: if you're on a budget, natural light can be a fantastic option. set up near a large window and use a reflector or white foam board to bounce light back onto your product. 2.
Continuous lighting: affordable and easy to use, continuous light sources like led panels or softboxes provide a constant light source, allowing you to see how the light affects your product in real-time.
3. Flash or strobe lighting: these light sources provide a short, powerful burst of light and
Can be more powerful and versatile than continuous lighting. however, they can be more challenging to work with for beginners.
Regardless of the light source you choose, the key is to create soft, even lighting that highlights your product's features without creating harsh shadows or glare. this can be achieved using light diffusers, softboxes, or umbrellas.
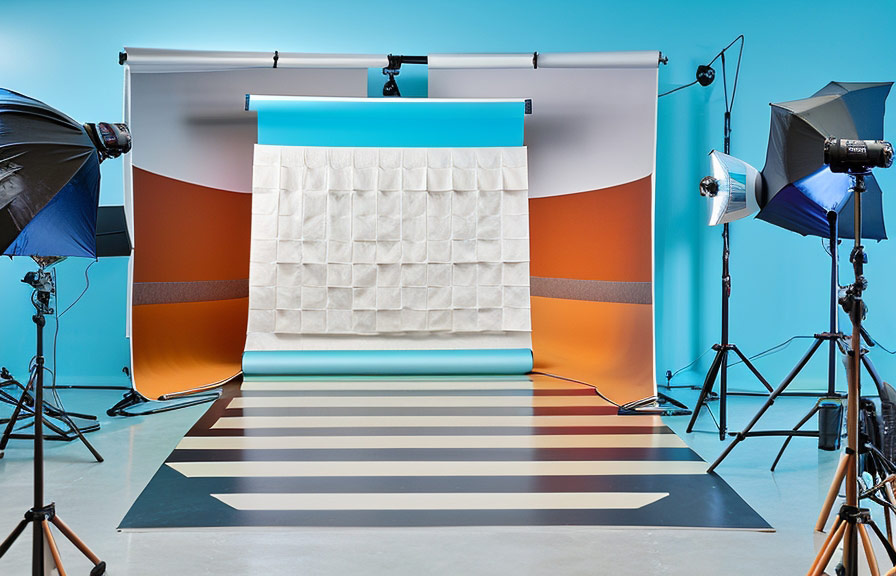
A simple product photography setup to get you started
Here's a straightforward and budget-friendly product photography setup to help you showcase your products:
1. Background: use a seamless paper backdrop or a large piece of fabric to create a clean and distraction-free background.
2. Tripod: a sturdy tripod will help you keep your camera steady and maintain consistent framing between shots.
3. Lighting: as mentioned above, choose a light source that works best for your needs and budget. start with one light and a reflector, then add more lights as needed.
4. Camera andlens: use a dslr or mirrorless camera with a prime lens for the best results.
However, even a smartphone with a high-quality camera can produce impressive images when used correctly.
5. Props and styling: incorporate relevant props and styling elements to elevate your images and make your product stand out.
Once you have your setup ready, experiment with different angles, lighting, and compositions to create a variety of images that showcase your product in the best possible light.
Time to get clicking: perfecting your product photography skills
Now that we've covered the basics of product photography, it's time to get out there and start shooting. remember, practice makes perfect, and the more you experiment with different settings, lenses, and lighting techniques, the better your product photos will become.
As you refine your skills, consider investing in more advanced equipment and accessories to take your product photography to the next level. but always remember that even with simple equipment, you can create stunning product images that grab attention and boost sales.
So, whether you're an entrepreneur looking to showcase your products or an aspiring photographer hoping to break into the world of product photography, don't be intimidated by fancy equipment or complicated techniques. with a little creativity, perseverance, and the tips shared in this blog post, you'll be well on your
Way to producing eye-catching product photos that captivate your audience and leave a lasting impression.
Conclusion
Product photography is an essential aspect of any successful e-commerce business or marketing campaign. by understanding the best settings, lenses, and lighting techniques for your specific needs, you can create stunning product images that showcase your products in their best light.
And with the simple equipment and setup we've discussed, you don't need to break the bank to achieve professional-looking results. so, grab your camera, set up your lights, and start showcasing your products like a pro!