Did you know that the human eye can detect more than 10 million different colors? one of the key factors that enable us to perceive this wide range of colors is contrast. in photography, contrast is the difference between the darkest and lightest parts of an image.
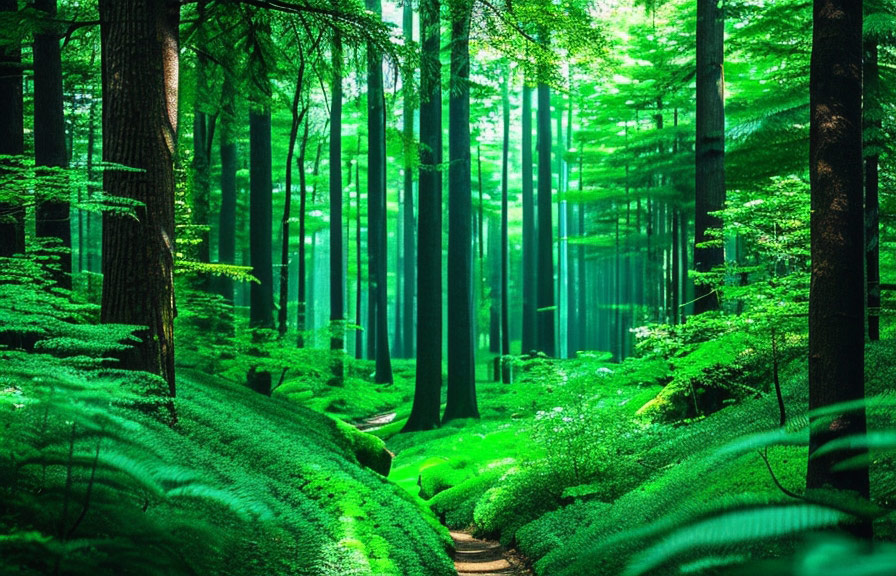
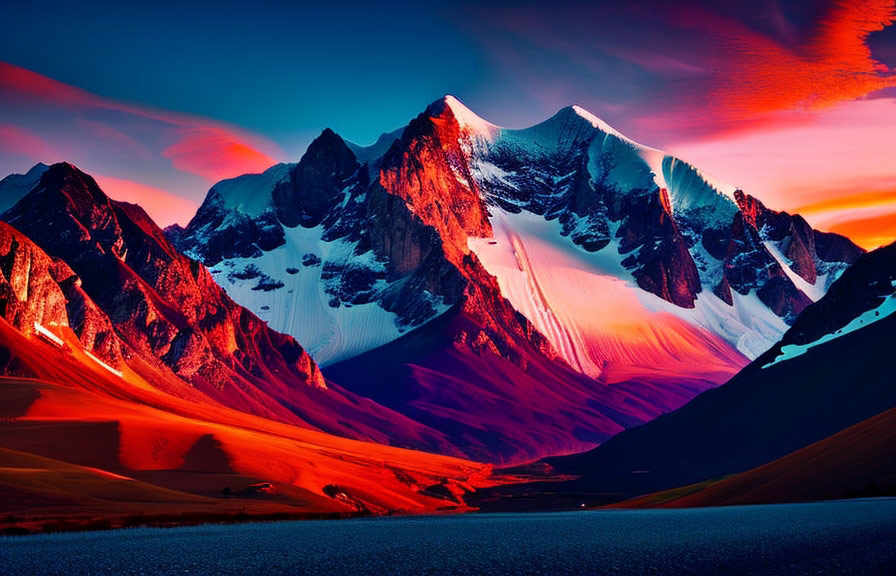
When it comes to nature photography, contrast plays a crucial role in bringing out the vibrancy and depth of the scene. in this post, we will explore the best contrast adjustment tools for nature photography and how to use them to enhance your photos.
The magic of contrast adjustment in nature photography
Contrast adjustment can transform a dull, lifeless image into a stunning work of art. a well-adjusted contrast can make colors pop, bring out textures, and create a sense of depth in your photos. fun fact: the famous ansel adams, a master of landscape photography, was known for his exceptional use
Of contrast in his black and white images.
Before diving into the best contrast adjustment tools, let's explore an unusual fact about nature photography. did you know that some plants, like the bee orchid, have evolved to mimic the appearance of female bees to attract male pollinators?
This incredible example of nature's creativity can serve as an inspiration for photographers to find unique and fascinating subjects to capture.
Top contrast adjustment tools for nature photography
There are numerous tools and software available for contrast adjustment. here are some of the best options to consider:
1. Adobe lightroom: lightroom is a popular choice among professionals for its powerful and user-friendly features. the various sliders, including 'contrast,' 'shadows,' and 'highlights,' make it easy to adjust contrast levels in your photos.
2. Capture one: capture one is another professional-grade editing software that offers advanced contrast adjustment tools. its 'high dynamic range' feature allows you to separately control highlights, shadows, and mid-tones, giving you more control over the contrast in your images.
3. Luminar ai: luminar ai is a newer editing software that uses artificial intelligence to automate various aspects of photo editing. its 'ai enhance' tool can intelligently adjust contrast and other settings to create a more visually appealing image.
4. Gimp (gnu image manipulation program): gimp is a free, open-source alternative to adobe photoshop. while it might not be as feature-rich as some professional-grade software, it still offers various contrast adjustment tools, including 'brightness-contrast,' 'levels,' and 'curves.'
5. Snapseed: snapseed is a powerful mobile editing app available for both ios and android devices. it offers various contrast adjustment tools, such as 'tune image,' which allows you to control brightness, contrast, and saturation.
How to use contrast adjustment tools to improve nature photos
Adjusting contrast in nature photos can be a delicate process, as it's essential to maintain the natural look and feel of the scene. here are some tips on using contrast adjustment tools effectively:
1. Analyze your image: before making any adjustments, carefully examine your photo to determine which areas need improvement. pay attention to shadows, highlights, and mid-tones, as well as the overall color balance.
2. Start with global adjustments: global adjustments affect the entire image. begin by adjusting the overall contrast slider to see if it improves the photo. you can also experiment with other sliders like 'shadows' and 'highlights' to fine-tune the contrast levels.
3. Move to local adjustments: local adjustments target specific areas of the image. use tools like 'adjustment brush' in lightroom or 'dodge and burn' in photoshop to selectively adjust contrast in specific parts of the photo.
4. Don't overdo it: while adjusting contrast can significantly improve your image, it's crucial not to overdo it. too much contrast can make your photo look artificial and unappealing. aim for a balance that enhances the details and colors without compromising the natural look of the scene.
5. Experiment with presets and filters: many editing software and apps offer presets and filters that automatically adjust contrast and other settings. these can be a great starting point, which you can then fine-tune to achieve the desired look.
6. Monitor your changes: as you make adjustments, keep an eye on the histogram and the overall appearance of your image. make sure you're not losing details in the shadows or highlights, and that the colors remain true to the original scene.
7. Save different versions: as you experiment with contrast adjustments, it can be helpful to save different versions of your image. this allows you to compare the results and choose the one that best captures the essence of the scene.
Conclusion
Contrast adjustment is an essential technique for enhancing your nature photos and bringing out the best in your images. by mastering the various tools and following the tips above, you can create stunning, professional-quality images that showcase the beauty of the natural world.
Happy shooting!