Did you know that the human brain processes images 60,000 times faster than text? this fact highlights the importance of product photography in capturing the attention of potential customers. in this post, we will explore the materials and techniques you can use to add a glimpse of brilliance to your product
Photos by using lights and props.
Fun fact
Here's a fun fact to get us started: the first-ever product photograph was taken in 1843 by a french photographer named adolphe braun. he took a picture of a hairbrush, marking the beginning of the long-standing relationship between photography and products.
How to use lights and props to add depth and dimension to product photos
Now that we've set the stage, let's dive into the techniques you need to know to enhance your product photography and make your products irresistible.
1. master the art of lighting
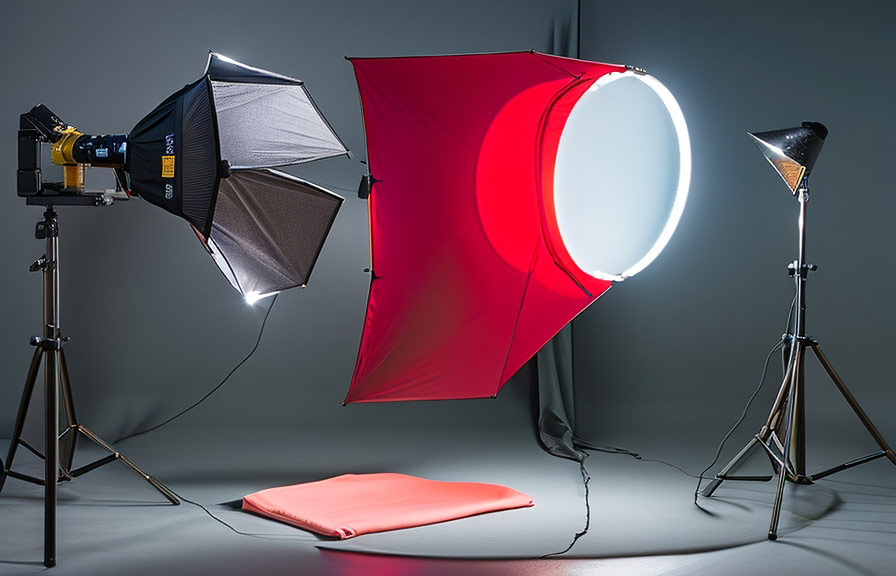
Proper lighting is crucial to creating photos that show off your products in the best light (pun intended). here are some tips to help you make the most of your lighting setup:
- use a softbox or umbrella: these lighting accessories help diffuse light, creating soft, even illumination that eliminates harsh shadows. they're perfect for bringing out the textures and details in your products.
- experiment with backlighting: backlighting is placing the light source behind the subject. this technique creates a halo effect around your product, adding depth and making it stand out against the background.
- try the three-point lighting technique: this professional lighting setup involves using three light sources a key light, a fill light, and a back light. the key light is the main light source, the fill light softens the shadows, and the back light provides separation from the background.
2. select the right props
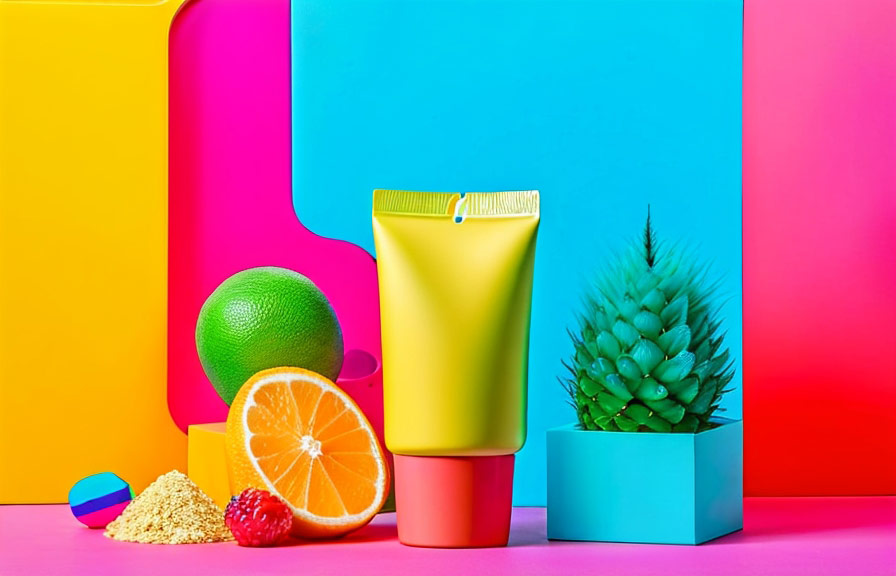
Props can add context, color, and interest to your product photos. here are some things to consider when choosing props:
- keep it relevant: the props you choose should be related to the product you're photographing and should help tell the story of the product. for example, if you're photographing a kitchen gadget, place it next to some fresh ingredients or cookware.
- mind the size: props should be smaller than the product or at least not draw attention away from it. you want the focus to remain on the product, not the props.
- play with colors and textures: props can add visual interest by introducing contrasting colors and textures. look for props that complement the product's color scheme or add a pop of color for visual impact.
3. create depth with layers and angles
Adding depth to your product photos will make them more engaging and visually appealing. here are some ways to achieve this effect:
- layer props: arrange your props in layers, with some close to the camera and others further away. this creates a sense of depth, making the scene more dynamic and interesting.
- use different heights: place your product on a raised surface or use props of varying heights to create a sense of depth and dimension.
- play with angles: instead of shooting straight-on, try capturing your product from different angles. this can create a sense of depth and show off the product's features more effectively.
4. experiment with reflections and shadows
Reflections and shadows can add an artistic touch to your product photos and make them more captivating. here's how to incorporate these elements into your shots:
- use a reflective surface: placing your product on a reflective surface, such as a mirror or a piece of glass, can create interesting reflections that add depth and interest to the photo.
- control the shadows: shadows can be your friend or your enemy depending on how you use them. experiment with the position and intensity of your light sources to create the desired shadow effect.
- try silhouette photography: silhouette photography involves shooting against a bright background, creating a dark, outline-like image of your product. this technique can add drama and intrigue to your photos.
5. make use of bokeh
Bokeh is the aesthetic quality of the blur produced in the out-of-focus parts of an image. it can add a dreamy, ethereal vibe to your product photos. here's how to achieve thebokeh effect:
- use a fast lens: a lens with a wide aperture (low f-number) will produce more pronounced bokeh. prime lenses, such as a 50mm f/1.8, are a great option for creating beautiful bokeh.
- increase the distance: place your subject further away from the background to make the bokeh effect more noticeable.
- add background lights: to create colorful, eye-catching bokeh, try incorporating twinkling lights or other small light sources into the background of your photos.
By following these tips and experimenting with lights and props, you'll be well on your way to creating stunning product photos that capture attention and ultimately help boost your sales. remember, practice makes perfect so don't be afraid to try new techniques and find the ones that work best for your products.
Happy shooting!