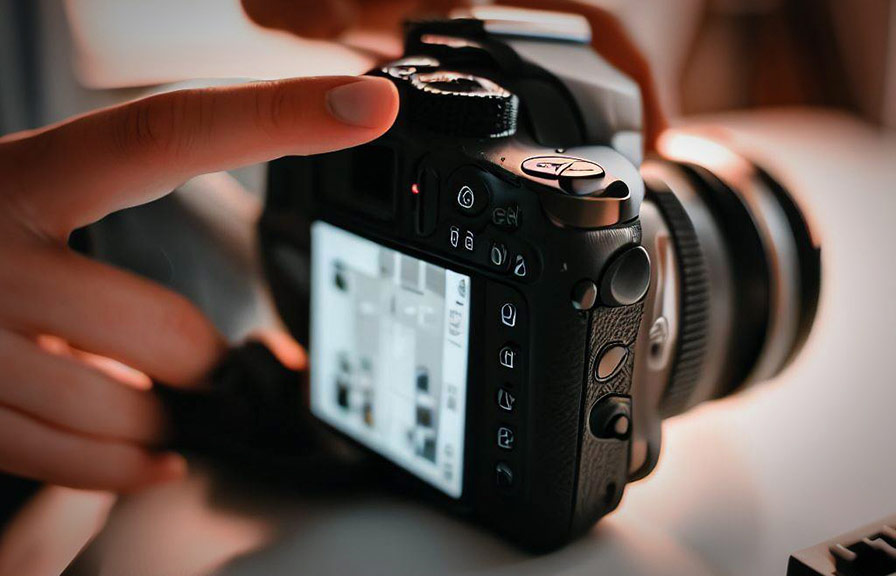
Did you know that 75% of online shoppers rely on product photos when deciding whether to make a purchase? that's right, and it means your product photography game needs to be on point if you want to increase your sales.
In this post, we'll explore the best settings, lenses, and lighting techniques for product photography that will make your items stand out and drive more sales.

Capturing the perfect shot: best settings for product photography
To get started, let's talk about the ideal camera settings for product photography. these settings will help you capture the most accurate and appealing images of your products.
Iso
Keep your iso low, ideally between 100 and 200. a lower iso reduces noise and graininess in your images, ensuring a crisp and clean final product. remember, you can always brighten your images with proper lighting and post-processing.
Aperture
For product photography, using a smaller aperture (higher f-stop) ensures a greater depth of field, keeping the entire product in focus. aim for an f-stop between f/8 and f/16, depending on your lens and desired depth of field.
Shutter speed
Use a tripod and a shutter speed between 1/60 and 1/200, depending on your lighting conditions and desired exposure. a tripod will keep your camera steady, eliminating any motion blur caused by camera shake.
White balance
Set your white balance to match your lighting conditions. this will help ensure accurate color representation in your product images. you can either use the camera's preset white balance options or set a custom white balance using a gray card.
Zooming in: best lenses for product photography
Choosing the right lens is crucial for creating professional-quality product images. here are some popular lenses for product photography:
50mm prime lens
A 50mm prime lens, also known as a "nifty fifty," is an affordable and versatile option for product photography. with a relatively wide aperture, it's great for shooting in low-light conditions and provides a natural perspective similar to the human eye.
60mm or 100mm macro lens
A macro lens allows you to capture small details and textures, making it perfect for shooting smaller products or close-up shots of larger items. both 60mm and 100mm macro lenses are popular choices for product photographers.
24-70mm or 70-200mm zoom lens
For larger products or when shooting in a limited space, a zoom lens like the 24-70mm or 70-200mm offers flexibility in framing and composition. these lenses are versatile and can also be used for other types of photography.
Lights, camera, action: how to light your product for photography
Lighting is arguably the most critical aspect of product photography. proper lighting can make or break your images, so let's explore some techniques to ensure your products are well-lit and look their best.
Natural light
Natural light is a budget-friendly option that can produce beautiful results. place your product near a large window or use a reflector to bounce light onto the subject. the best time to shoot with natural light is during the golden hour, shortly after sunrise or before sunset, when the light
Is soft and warm.
Continuous lighting
Continuous lighting, such as led panels or softboxes, provides a constant light source, allowing you to see how the light interacts with your product in real-time. this type of lighting is ideal for beginners, as it makes it easier to adjust your setup and see the results immediately.
Strobe lighting
Strobe lighting or flash is a more advanced option, offering a powerful and adjustable light source. strobes can be triggered wirelessly or with a sync cable and typically require a light modifier, such as a softbox or umbrella, to diffuse the light.
While strobes have a steeper learning curve, they offer more control over lighting and can produce high-quality results.
Three-point lighting
A popular lighting setup for product photography is the three-point lighting system, which includes a key light, fill light, and backlight. the key light is the primary light source, usually placed at a 45-degree angle from the product.
The fill light, positioned opposite the key light, fills in shadows and adds depth. finally, the backlight is placed behindthe product, helping to separate it from the background and create a sense of dimension.
Fun fact: the power of 360-degree product photography
Did you know that 360-degree product images can boost your conversion rates by up to 27%? that's right! offering customers an interactive, 360-degree view of your products can increase trust and confidence in their purchase decision.
Conclusion
Taking professional product photos that boost sales requires a combination of the right camera settings, lenses, and lighting techniques. by following the tips in this post, you'll be well on your way to creating stunning product images that attract customers and drive sales.
Happy shooting!
