
Did you know that professional real estate photos can help a property sell 32% faster, according to a study by vht studios? that's a significant advantage in the competitive world of real estate. a stunning photograph can make all the difference in attracting potential buyers, which is why it's crucial to know
How to take a good real estate photo. in the post, we'll dive into staging, lighting, and editing techniques to help you capture the perfect shot.
Staging a real estate property: setting the scene
Before you even pick up your camera, it's essential to stage the property for success. staging is the art of arranging furniture and decor in a way that highlights the best features of the space while making it feel welcoming and inviting.
1. Declutter: start by removing any personal belongings, excess furniture, and clutter from the space. this helps potential buyers envision themselves living in the home. keep surfaces clean and organized, with minimal decorations.
2. Furniture placement: arrange furniture to create a natural flow in each room. use rugs to define spaces and ensure there's enough walking space between pieces. in bedrooms, make sure the bed is the focal point, and in living rooms, arrange seating around a central element like a fireplace or
Tv.
3. Accessorize: add tasteful accents like throw pillows, artwork, and plants to make the space feel like a home. stick to neutral colors and avoid overly bold or personal items that might distract potential buyers.
4. Highlight features: if the property has unique features, like a beautiful view or a stunning fireplace, make sure they're the focus of your photographs. remove any obstructions and use staging to draw the eye toward these selling points.
Lighting a real estate photo: bright and balanced
Proper lighting is essential for capturing the beauty of a space. the goal is to create a bright, natural-looking environment that showcases the property's best features.
1. Natural light: take advantage of natural light by photographing during the day. open curtains and blinds to let in as much sunlight as possible. if needed, consider scheduling your shoot around the time of day when the property gets the best light.
2. Turn on lights: even with plenty of natural light, it's a good idea to turn on all the interior lights. this helps create a warm, inviting atmosphere and can fill in any shadows. don't forget to check that all light bulbs are working and match in color temperature.
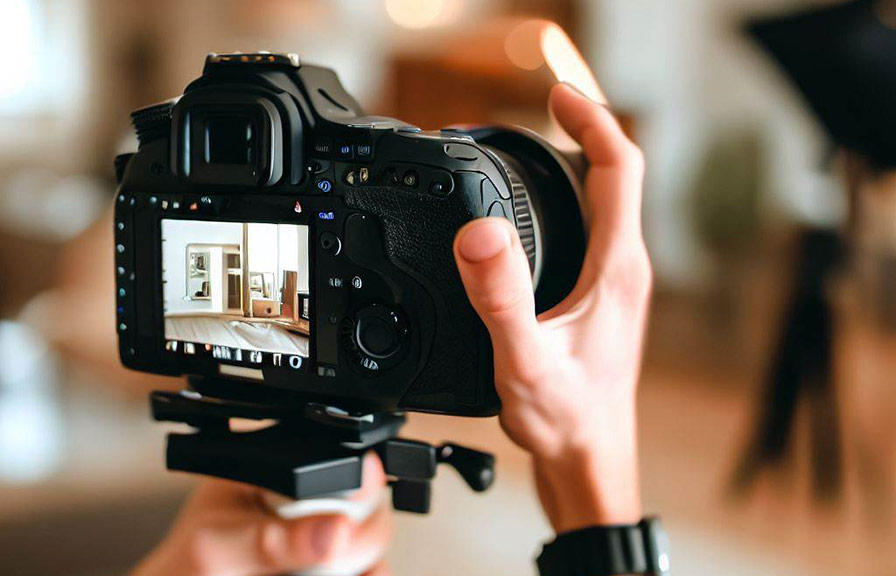
3. Use a tripod: camera shake can result in blurry photos, especially in low-light situations. using a tripod ensures your camera remains stable, allowing you to capture clear, sharp images.
4. Avoid harsh shadows: if you're experiencing harsh shadows or uneven lighting, consider using a diffuser or reflector to soften and balance the light. alternatively, you can use external flashes or continuous lights, but be cautious not to create an artificial or over-lit appearance.
Editing a real estate photo: polishing the final product
After you've captured your images, it's time to put the finishing touches on them through editing. this process can help correct any minor imperfections and enhance the overall appearance of your photos.
1. Straighten and crop: make sure your images are level and properly aligned. use the crop tool to remove any distracting elements from the edges of the frame, and make sure your vertical lines are straight.
2. Adjust exposure and contrast: sometimes, photos can come out looking too dark or washed out. use editing software to adjust the exposure and contrast, ensuring your images are bright and well-balanced.
3. Color correction: cameras don't always capture colors accurately, so it's essential to correct any color casts or imbalances in your photos. pay special attention to whites and neutrals, as these can be particularly challenging to get right.
4. Remove distractions: use editing tools like the clone stamp or healing brush to remove any minor distractions, like electrical outlets, stains, or small imperfections in the property.
5. Sharpen and reduce noise: finally, apply a subtle sharpening effect to enhance the details in your photos, and reduce any noise or graininess that may have resulted from low-light conditions.
Here's a fun fact: a study by the real estate website redfin found that homes with professional-quality photos were more likely to sell at a higher price and spent less time on the market. with the staging, lighting, and editing tips provided in this blog post, you'll be well on
Your way to taking stunning real estate photos that can make a significant impact on your property's success. happy shooting!