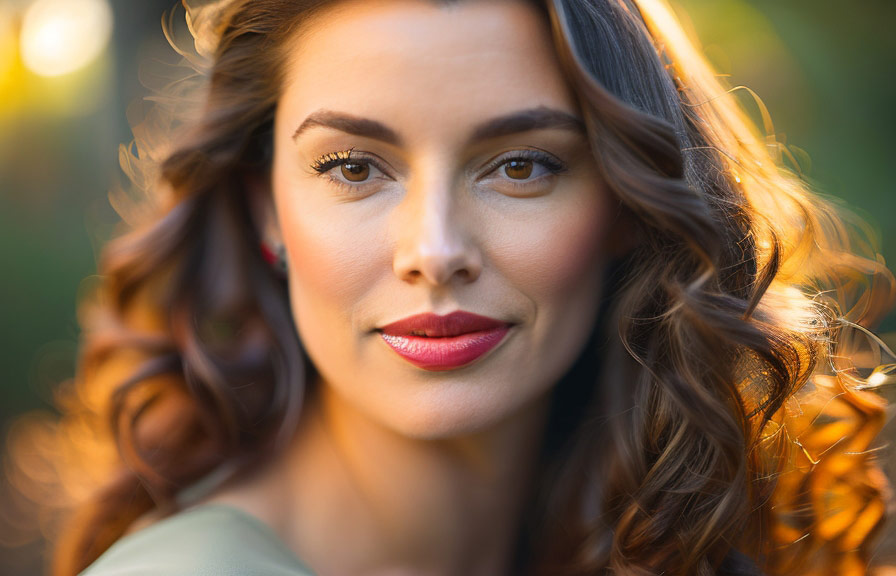
Did you know that the world's first portrait photograph was taken in 1839 by robert cornelius, a pioneer in the field of photography? since then, portrait photography has become an art form in its own right, with countless photographers specializing in capturing the essence of an individual.
In this blog post, we will delve into the secrets of taking a great portrait photo by looking at posing, lighting, and editing techniques.

The art of posing: bringing out the best in your subject
The way a person poses can make or break a portrait. proper posing can accentuate the subject's best features, while poor posing can result in unflattering angles and awkward expressions. here are some tips to help you guide your subjects into the perfect pose:
1. Communicate with your subject: before you start, discuss what the person wants to convey in the portrait and any specific poses they would like to try. this will help you better understand their personality and preferences, making it easier to capture their essence.
2. Relax the subject: many people feel uncomfortable in front of the camera. encourage your subject to take a few deep breaths, shake out their limbs, and relax their facial muscles. this will help them appear more natural and at ease in the final image.
3. Look for natural angles: encourage your subject to sit or stand at a slight angle to the camera, rather than facing it head-on. this will create a more dynamic and visually interesting composition.
4. Guide the hands: many people don't know what to do with their hands in a portrait. offer suggestions such as placing them on their hips, in their pockets, or gently resting on their face. this will give your subject a sense of purpose and make the portrait look more
Polished.
5. Experiment with expressions: a genuine smile or a thoughtful gaze can transform a portrait. encourage your subject to try various facial expressions to find the one that best captures their personality.
Mastering lighting: illuminate your subject's best features
Lighting plays a crucial role in creating a stunning portrait. it can highlight the subject's best features, add depth to the image, and create an overall mood. here are some lighting tips for achieving the perfect portrait photo:
1. Use natural light: whenever possible, take advantage of natural light, such as sunlight streaming through a window or the warm glow of a sunset. natural light is flattering and helps create a soft, even look.
2. Experiment with different light sources: don't be afraid to try different light sources, such as lamps, led lights, or even a smartphone flashlight. each light source can create a unique effect and add drama to your portrait.
3. Control the direction of the light: the direction of the light can significantly impact the final image. for a dramatic effect, try side lighting, which can emphasize the subject's features and create strong shadows.
For a softer look, position the light source in front of the subject, which will evenly light their face and minimize shadows.
4. Use a reflector: reflectors are a simple but effective way to bounce light onto your subject, filling in shadows and creating a more balanced exposure. you can purchase a dedicated reflector or use a simple white poster board to achieve similar results.
Editing magic: polishing your portrait to perfection
Once you've captured your portrait, it's time to finesse it with some editing. here are some tips for using editing software to create a polished final image:
1. Crop for impact: experiment with cropping your image to focus on the subject and remove any distractions. consider adhering to the rule of thirds, placing your subject off-center for a more dynamic composition.
2. Adjust exposure and contrast: fine-tune the exposure and contrast to create the desired mood and emphasize the subject's features. be careful not to overdo it, as this can result in an unnatural-looking image.
3. Retouch blemishes: use editing tools to remove any blemishes or imperfections on the subject's skin. this should be done subtly to maintain a natural appearance.
4. Enhance the eyes: the eyes are often the focal point of a portrait. use editing tools to brighten the whites of the eyes and sharpen the iris, making them pop.
5. Apply color grading: experiment with color grading to create a unique and cohesive look for your portrait. this can include adjusting the saturation, hue, and luminance of individual colors or applying a preset filter.
Conclusion
Great portrait photography is a combination of skillful posing, strategic lighting, and thoughtful editing. by following these tips and experimenting with your own creative ideas, you'll be well on your way to capturing stunning portraits that truly showcase the personality and essence of your subjects.
And as a fun fact to impress your friends, did you know that the mona lisa, one of the most famous portraits of all time, is believed to havebeen painted over a period of 14 years by leonardo da vinci?
It's a testament to the time and effort that can go into creating a truly remarkable portrait. so, take your time, practice, and enjoy the process of capturing the unique essence of your subjects. happy shooting!
