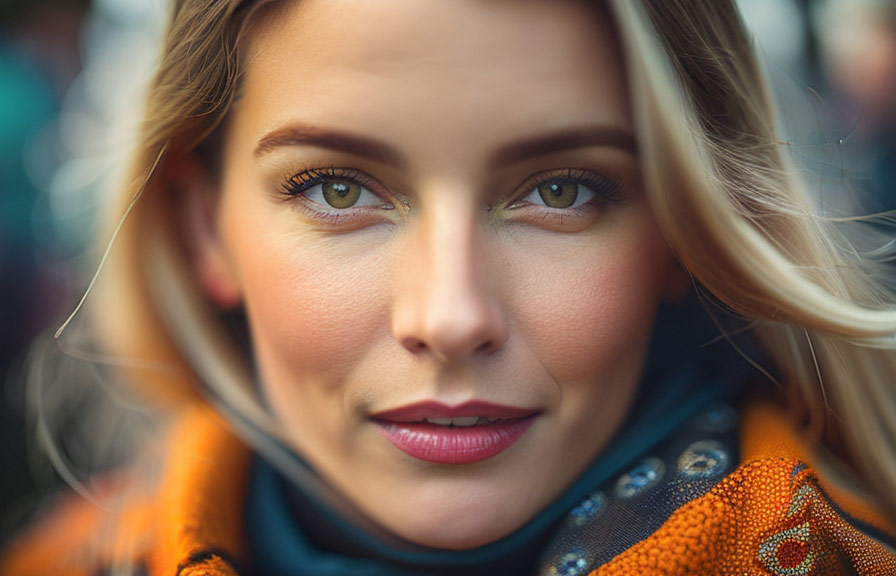
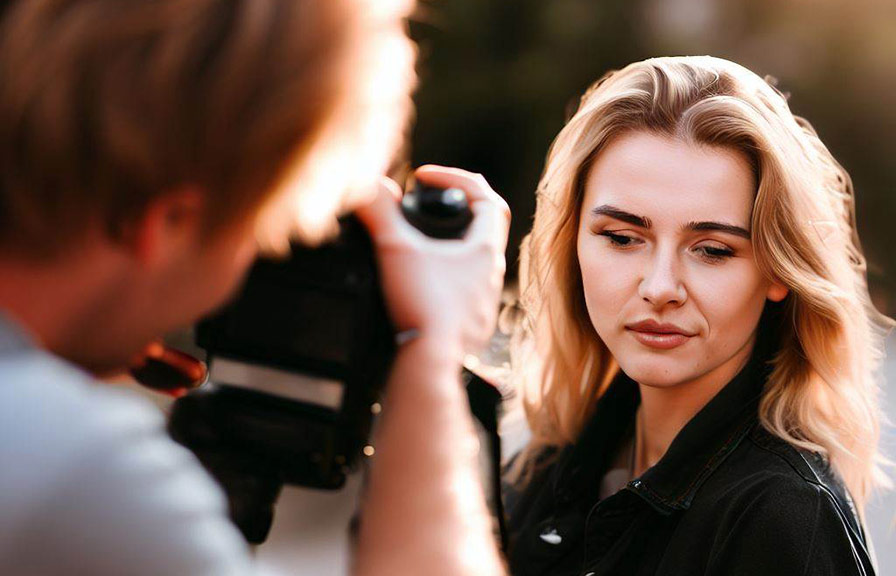
Did you know that the first ever portrait photograph was taken in 1839 by robert cornelius, an american chemist and photography pioneer? since then, portrait photography has evolved immensely and has become one of the most popular genres in the world of photography.
In this post, we will explore how to capture stunning portrait photos in just five simple steps. you'll learn about the best settings, lenses, and posing techniques to elevate your portrait photography game.

Step 1: choose the best settings for portrait photography
To capture the perfect portrait, it's essential to understand the crucial camera settings. here are some settings to help you get started:
- aperture: choose a wide aperture (low f-number) to create a shallow depth of field and make your subject stand out from the background. a setting of f/1.8 or f/2.8 is ideal for most portraits.
- shutter speed: use a fast enough shutter speed to avoid camera shake or motion blur. a good rule of thumb is to use a shutter speed at least equal to the inverse of your lens's focal length. for instance, if you're using a 50mm lens, set your shutter speed to 1/50s or faster.
- iso: keep the iso as low as possible to minimize image noise. however, if you're shooting in low light conditions, you may need to increase the iso to achieve the desired exposure.
- focus: use single-point autofocus and place the focus point on your subject's eye to ensure sharp focus where it matters most.
Step 2: pick the right lens for portrait photography
The choice of lens can dramatically impact the look and feel of your portrait photos. here are some top lens options for portrait photography:
- 50mm prime lens: also known as the "nifty fifty," this lens is an affordable and versatile option for portraits. it produces images with minimal distortion and provides an excellent balance between subject and background.
- 85mm prime lens: this lens is a popular choice among professional portrait photographers due to its flattering compression and beautiful bokeh. it's perfect for close-up portraits and allows you to maintain a comfortable distance from your subject.
- 70-200mm zoom lens: this lens offers flexibility in terms of focal length and is ideal for outdoor portrait sessions. its longer focal length can help you achieve a more pronounced background blur, adding depth and dimension to your portraits.
Fun fact: the world's most expensive photograph, "rhein ii" by andreas gursky, was sold for a staggering $4.3 million in 2011. while this image isn't a portrait, it speaks volumes about the power and value of photography!
Step 3: master the art of posing your subjects
Posing is an essential aspect of portrait photography that helps bring out the best in your subject. here are some tips for effective posing:
- communicate: establish a rapport with your subject and make them feel comfortable. offer clear instructions and demonstrate the desired pose if necessary.
- pay attention to hands: awkward hand positions can ruin a portrait. encourage your subject to hold their hands naturally or give them a prop to hold.
- guide facial expressions: facial expressions can make or break a portrait. encourage your subject to relax their face, and ask them to think about something that makes them happy or content.
- try different angles: experiment with various angles to find the most flattering perspective for your subject. keep in mind that shooting from a slightly higher angle can help elongate the neck and minimize the appearance of a double chin.
Step 4: utilize natural light and reflectors
Natural light is a powerful tool for portrait photography. when shooting outdoors, look for open shade or soft, diffused light. avoid harsh midday sun, which can create unflattering shadows on your subject's face.
Reflectors can also help you enhance the natural light in your scene. use a silver or white reflector to bounce light onto your subject and fill in any unwanted shadows. if you're shooting indoors, position your subject near a window to make the most of the available natural light.
Step 5: edit your portrait photos
Editing is the final step in creating professional-looking portrait photos. use editing software like adobe lightroom or photoshop to adjust the exposure, contrast, and color balance. you can also apply presets or filters to achieve a consistent look across your portfolio.
When retouching, aim for a natural appearance by removing only temporary blemishes and imperfections. avoid over-smoothing the skin or altering facial features, as this can make the portrait look unnatural and unflattering.
Here's a lesser-known fact: the term "photoshopped" was added to the merriam-webster dictionary in 2008, reflecting the significant impact of photo editing on our culture.
Conclusion
Taking a professional portrait photo involves mastering the right camera settings, choosing the bestlens, posing your subjects effectively, utilizing natural light and reflectors, and editing your images. by following these five steps, you can elevate your portrait photography skills and capture stunning images that will leave a lasting impression.
Remember, practice makes perfect. experiment with different settings, lenses, and poses to discover your unique style and refine your technique. with time and dedication, you'll be well on your way to capturing professional-quality portrait photos that will wow your clients and viewers alike.
Keep in mind that the world of photography is always evolving, and there's always more to learn. stay curious, keep exploring, and never stop pushing the boundaries of your creativity. happy shooting!
