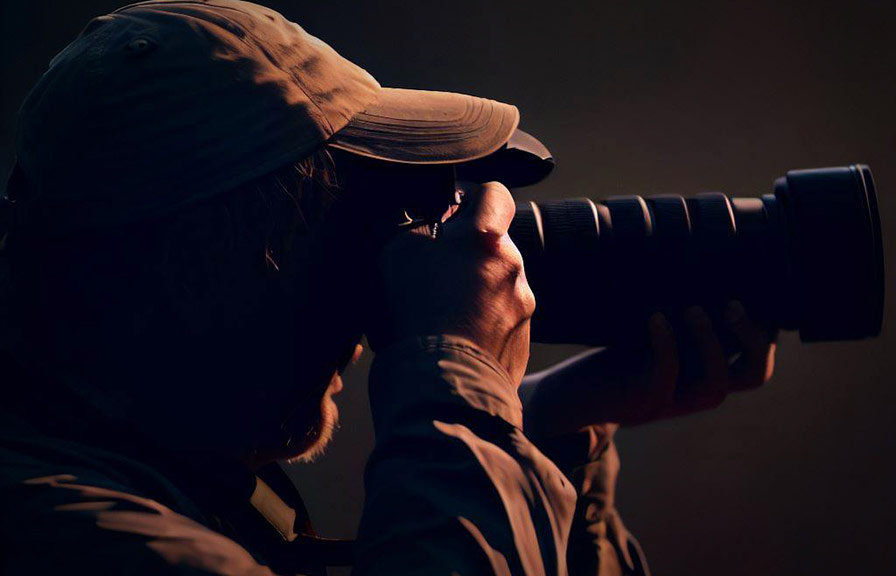
Did you know that the first digital camera capable of capturing images in low light without a flash was introduced in 1998? fast forward to today, and photographers are still battling the challenges of capturing stunning wildlife photos in low light conditions.
Noise reduction techniques are a crucial part of producing professional-looking wildlife images, and this blog post is here to guide you through the process.
Fun fact
In 2010, the world's fastest camera was developed, capable of capturing 6 million images per second! while this camera isn't used for wildlife photography, it's an excellent example of how far technology has come in recent years.
The best noise reduction tools for wildlife photography
1. Adobe lightroom: adobe lightroom is a popular choice among photographers for its advanced noise reduction capabilities. with its detail panel, you can adjust the luminance and color sliders to reduce noise while preserving important details in your image.
2. Topaz denoise ai: this ai-powered software is specifically designed to tackle noise in photos. topaz denoise ai analyzes your image and intelligently removes noise while maintaining the image's sharpness and details.
3. Dxo photolab: dxo photolab is another excellent option for noise reduction. it offers a feature called prime (probabilistic raw image enhancement) that significantly reduces noise while maintaining fine details in your image.
4. Noise ninja: noise ninja is a standalone noise reduction software that's compatible with most photo editing programs. it uses advanced algorithms to remove noise without compromising image quality.
5. Neat image: neat image is a plugin for adobe photoshop, lightroom, and corel paintshop pro that specializes in noise reduction. it offers automatic profiling and fine-tuning controls to help you achieve professional results.
How to use noise reduction tools to improve wildlife photos
Now that you know some of the best tools available, let's dive into how to use them to improve your wildlife photos:
Step 1: shoot in raw format
Shooting in raw format preserves the most information in your image, which is essential when it comes to noise reduction. the more data you have to work with, the better your results.
Step 2: adjust exposure and white balance
Before applying noise reduction, ensure that your exposure and white balance are correctly adjusted. noise is more prominent in underexposed areas, so proper exposure is crucial.
Step 3: zoom in and assess the noise
Zoom in on your image to examine the noise level. this will help you determine how aggressive your noise reduction should be and which areas of the image need the most attention.
Step 4: apply noise reduction
Using your chosen noise reduction tool, apply the noise reduction settings. most software will have automatic settings, but manual adjustments may be necessary to achieve the best results. focus on the areas with the most noise while preserving the details in the rest of the image.
Step 5: fine-tune the settings
After applying noise reduction, zoom in on your image again to evaluate the results. if necessary, adjust the settings to strike a balance between noise reduction and preserving image details.
Step 6: sharpen the image
Noise reduction can sometimes soften the image, so it's essential to apply sharpening afterward. be careful not to over-sharpen, as this can introduce additional noise.
Lesser-known fact about noise reduction
When it comes to noise reduction, many photographers aren't aware of the importance of color noise. color noise appears as random, colored pixels scattered throughout the image. although less noticeable than luminance noise (grainy texture), color noise can still detract from the overall quality of your wildlife photos.
Make sure your noise reduction tool addresses both luminance and color noise for the best results.
Conclusion
Noise reduction is an essential step in creating professional-looking wildlife photos. by understanding the best tools available and using them effectively, you can transform your noisy images into stunning works of art. don't forget to experiment with different software and settings to find the perfect balance between noise reduction
And image detail preservation. happy shooting!