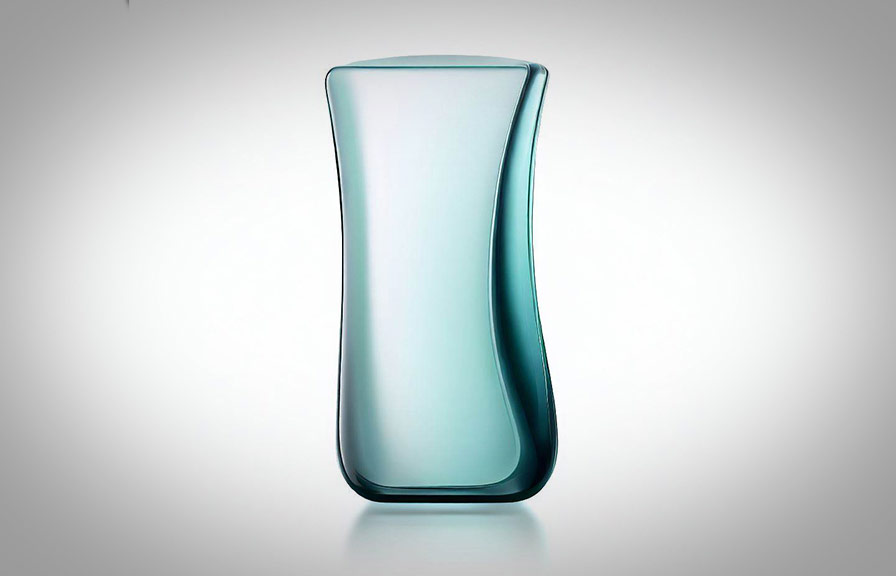
Did you know that a clean, white background can increase the perceived value of your products, leading to higher conversion rates for your online store? in today's competitive e-commerce landscape, it's essential to make your products stand out.
One way to do this is by removing the background from your product photos, creating a professional and consistent look. in this blog post, we'll discuss the best background removal software for product photography and guide you through the process of removing backgrounds from your product photos.
A fun fact: the impact of product photos on e-commerce
Before diving into the background removal process, let's consider an interesting fact: according to research, 75% of online shoppers rely on product photos when making a purchasing decision. that's right, three out of four people put their trust in the visual presentation of a product, emphasizing the importance of high-quality, professional-looking
Images.
The best background removal software for product photography
There's a wide variety of software available for background removal, but not all tools are created equal. here are our top picks for the best background removal software that will help you create professional-looking product photos:
1. Adobe photoshop: photoshop is the industry standard for image editing, and its suite of tools offers everything you need to remove backgrounds from product photos. with a bit of practice, you can achieve precise and clean results.
2. Gimp: the gnu image manipulation program (gimp) is a free, open-source alternative to photoshop. it offers a range of tools for background removal, and while it may have a steeper learning curve, it's an excellent option for those on a budget.
3. Remove.bg: this web-based tool uses artificial intelligence to automatically remove backgrounds from images. it's quick and easy, but the results may not be as precise as those achieved with more advanced software.
4. Clipping magic: similar to remove.bg, clipping magic is another web-based tool that specializes in automatic background removal. it offers more customization options and a better user interface, making it a popular choice for many e-commerce businesses.
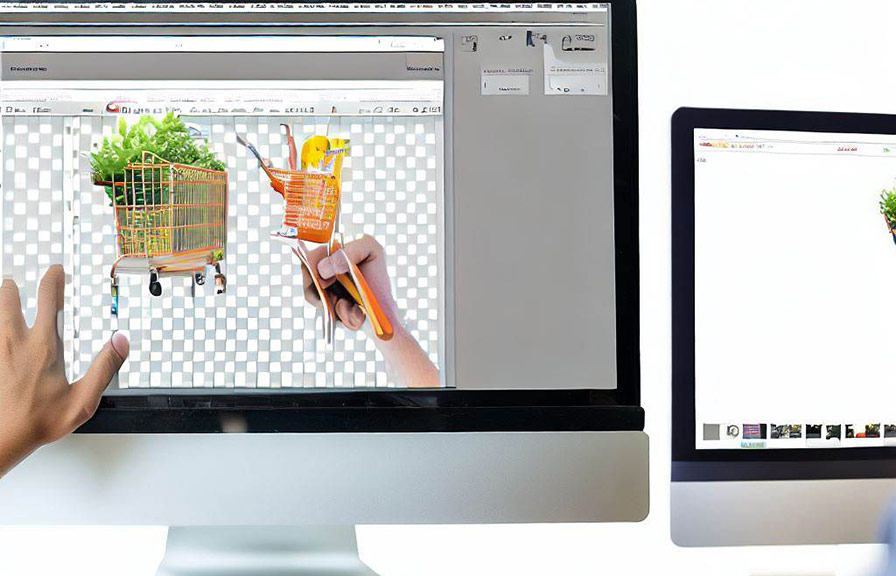
How to remove backgrounds from product photos: a step-by-step guide
Now that we've covered the best software options, let's go through the process of removing backgrounds from product photos. for this guide, we'll focus on using adobe photoshop, as it's the most widely-used and versatile option.
Step 1: open your image in photoshop
First, open your product image in photoshop. it's essential to work with a high-resolution image to ensure the best results.
Step 2: make a selection
To remove the background, you'll first need to make a selection around your product. there are several tools in photoshop that can help you make precise selections, including the magic wand, quick selection, and pen tools.
The best tool for your image will depend on the complexity of the background and the edges of your product.
For simple backgrounds with good contrast between the product and background, the magic wand or quick selection tools will work well. for more complex backgrounds or products with intricate details, the pen tool may be a better choice.
Step 3: refine your selection
Once you've made your initial selection, you may need to refine it to ensure the edges are clean and precise. photoshop has a built-in tool called "select and mask" that allows you to fine-tune your selection.
You can access this tool by clicking the "select and mask" button in the options bar or by going to "select" > "select and mask" from the top menu.
In the select and mask workspace, use the various sliders and tools to adjust the edge detection, smoothness, and feathering of your selection. use the "refine edge brush" to capture fine details like hair or fur.
Step 4: create a layer mask
Once you're satisfied with your selection, click "ok" to exit the select and mask workspace. with your selection still active, click the "add layer mask" button at the bottom of the layers panel. this will hide the background, leaving only your product visible.
Step 5: add a new background (optional)
If you want to replace the original background with a different color or image, create a new layer below your product layer and fill it with the desired color or place your new background image.
Step 6: save and export your image
Finally, save your work as a psd file to preserve the layers and masking. to use your image on the web, export it as a jpeg or png file.
And there you have it a professional-looking product photo with the background removed. by following these steps and using the best background removal software, you can create stunning product images that will help your e-commerce business stand out and drive sales.