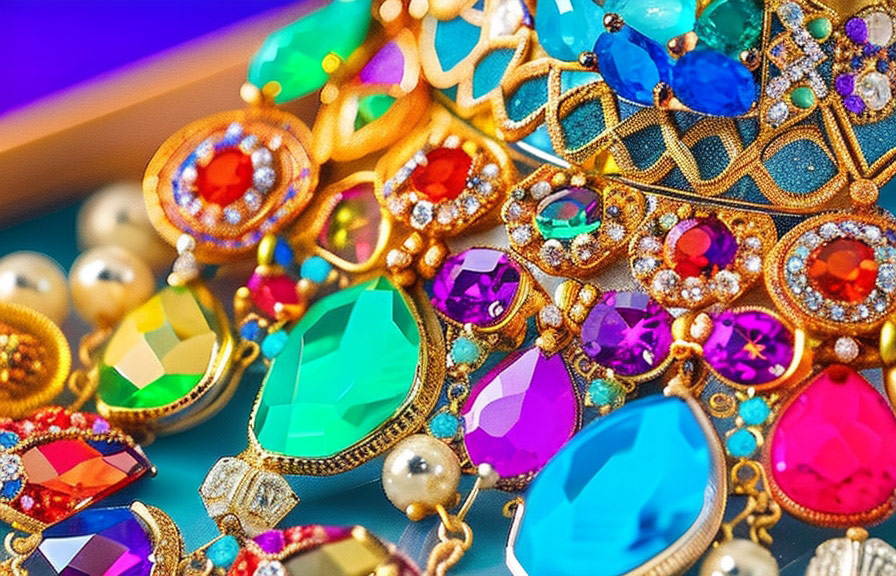
Did you know that color correction plays a crucial role in making your jewelry photos stand out from the competition? in the world of jewelry photography, capturing the perfect image is essential, but getting the colors right is equally important.
Color correction can make the difference between a lackluster photo and one that grabs the attention of potential customers.
In this blog post, we'll delve into the world of color correction and share the secrets to perfecting your jewelry photos. we'll discuss the best color correction tools for jewelry photography and how to use these tools to enhance your images.
Prepare to be amazed at how these techniques can transform your jewelry photos from ordinary to extraordinary.
A fun fact about color perception
Before we dive into the tools and techniques, here's an interesting tidbit to consider: the human eye can perceive over seven million different colors! this fact highlights the importance of color accuracy in photography, as even the slightest deviation can make a significant difference in how the viewer perceives the image.
The best color correction tools for jewelry photography
To achieve professional results, you'll need to use the best color correction tools available. here are some of the most popular and effective options:
1. Adobe photoshop: a widely-used photo editing software, photoshop offers a comprehensive suite of color correction tools, including curves, levels, and color balance. it's a go-to choice for many professional photographers.
2. Adobe lightroom: another popular adobe product, lightroom is specifically designed for photographers and offers a more streamlined approach to color correction. it includes powerful tools like the hsl panel, tone curve, and white balance adjustments.
3. Capture one: a professional-grade photo editing software, capture one provides advanced color correction tools, such as the color editor, color balance, and white balance tools. it is particularly favored by photographers who work with raw files.
4. Affinity photo: a more affordable alternative to adobe products, affinity photo offers a range of color correction tools, including curves, levels, and white balance adjustments. it is an excellent option for photographers on a budget.
5. Gimp: a free and open-source photo editing software, gimp includes various color correction tools, such as curves, levels, and color balance. it may have a steeper learning curve than other options, but it's a great choice for those looking to save money.
How to use color correction tools to improve jewelry photos
Now that you're familiar with the best tools for the job, let's explore how to use them to enhance your jewelry photos.
Step 1: adjust white balance
The first step in color correcting jewelry photos is adjusting the white balance. this step ensures that the colors in your image are accurate and consistent. most photo editing software features a white balance tool or adjustment that allows you to correct color temperature and tint.
To adjust the white balance, select a neutral area of the image (such as a gray card or white background) and use the eyedropper tool to sample the color. the software will then automatically adjust the color temperature and tint to neutralize any color cast present in the image.
Step 2: use curves or levels to correct exposure
Once the white balance is set, you can use the curves or levels tools to correct the exposure of your image. these tools allow you to brighten or darken specific areas of the image, ensuring that the highlights, midtones, and shadows are well-balanced.
With the curves tool, you can adjust the overall brightness and contrast by creating an s-curve. for a more precise adjustment, use the levels tool to set the black point, white point, and midpoint of the image.
Step 3: enhance colors with selective adjustments
After correcting the exposure, you can use selective color adjustments to enhance specific hues in your jewelry photos. tools like the hsl panel (hue, saturation, and luminance) in adobe lightroom or the color editor in capture one allow you to target specific colors and adjust their hue, saturation, and luminance
Independently.
For example, if you want to make the gems in your jewelry photos more vibrant, you can increase the saturation of the specific color channel associated with the gemstone.
Step 4: sharpen and add clarity
The final step in color correcting your jewelry photos is to sharpen and add clarity to the image. this step ensures that the fine details and textures of your jewelry are clearly visible and adds a professional touch to your photos.
Most photo editing software includes a sharpening tool or filter that allows you to adjust the amount of sharpening applied to the image. additionally, tools like the clarity slider in adobe lightroom can help enhance the contrast and definition of the jewelry's details.
By following these steps and using the appropriate color correction tools, you can transform your jewelry photos into stunning, professional-quality images that stand out from the competition. happy editing!