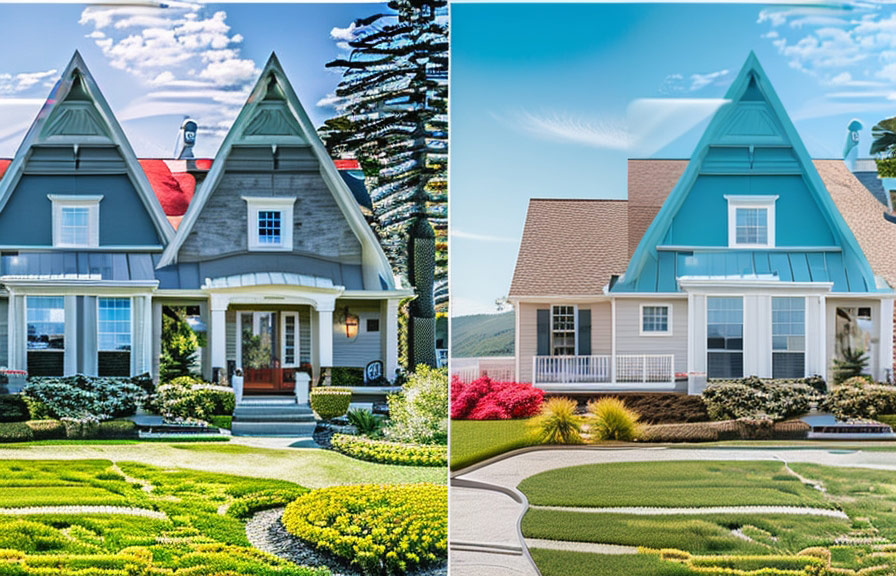
Did you know that 89% of home buyers start their search online? with the rise of smartphones, capturing stunning real estate photos has never been more accessible. in this post, we'll explore how to take advantage of natural light and stage a property for eye-catching photos using just your phone.
Plus, we'll share a lesser-known fact that will help you take your real estate photography to the next level!

Harnessing the power of natural light
Natural light is your best friend when it comes to real estate photography. not only is it free, but it also helps to create bright, inviting spaces. here are some tips on making the most of natural light when snapping photos with your phone:
1. Time it right: the golden hours, just after sunrise and before sunset, are ideal for capturing warm, soft light. midday sun might be too harsh, causing shadows and overexposed areas in your photos.
2. Clean your windows: this might seem obvious, but clean windows allow more light to enter a room. ensure that your windows are spotless to maximize light and make your property look its best.
3. Use light-colored curtains: light-colored curtains help diffuse sunlight, creating a soft, even light throughout the room. avoid heavy, dark curtains that can make a room feel smaller and darker.
4. Play with reflections: reflect light off of large mirrors or other reflective surfaces to brighten up dark corners. this trick can make a space appear larger and more inviting.
Staging a property for photos with your phone
Staging is a vital part of presenting a property in the best possible light. here are some tips for staging a property for photos using your phone:
1. Declutter: remove any unnecessary items from your space, such as personal belongings, cables, and small appliances. a clean, clutter-free environment will make your property look more spacious and appealing.
2. Furniture arrangement: arrange furniture in a way that highlights the room's best features. for example, place seating around a fireplace or large windows to showcase these focal points.
3. Accessorize: add stylish accessories, such as throw pillows, plants, and artwork, to give your property a polished, lived-in look. be careful not to overdo it you want to strike a balance between cozy and cluttered.
4. Highlight key features: make sure to showcase your property's unique features, such as built-in shelves, fireplaces, or outdoor spaces. these elements can help your property stand out from the competition.
5. Use a tripod: to ensure your photos are sharp and professional-looking, use a tripod to steady your phone while capturing images. this can also help you achieve the ideal composition and avoid camera shake.
Now, let's reveal that lesser-known fact: The power of vertical photos. while landscape orientation is often the go-to for real estate photography, don't underestimate the impact of vertical photos. by switching to portrait mode, you can emphasize the height of a room and make it feel more spacious.
This is particularly helpful in smaller spaces or when showcasing features like tall windows or high ceilings.
Conclusion
By making the most of natural light and staging your property effectively, you can create captivating real estate photos using just your phone. don't forget to experiment with different orientations, and always keep an eye out for unique angles and perspectives to make your property stand out.
Happy snapping!
