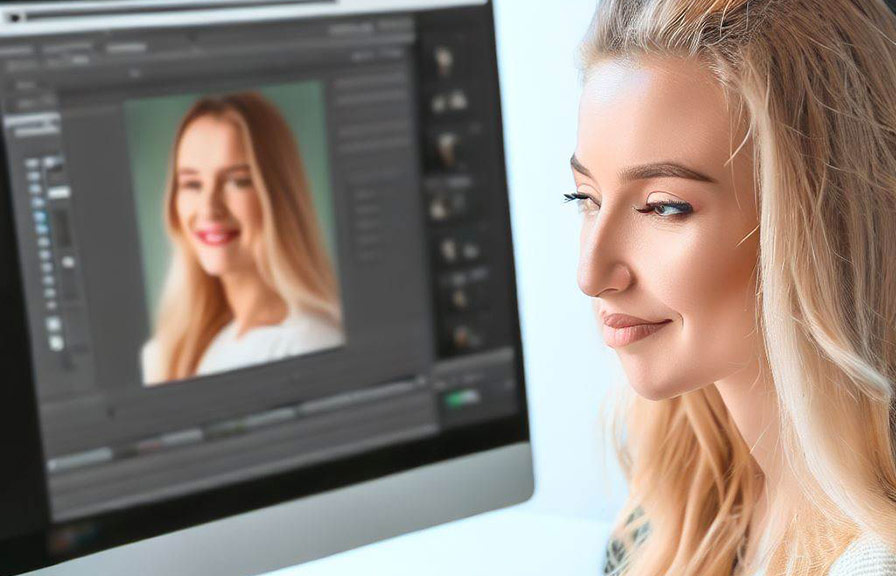
Did you know that the first portrait photograph was taken in 1839? Since then, portrait photography has come a long way, and so have the editing tools and techniques that make those photographs stand out. In this blog post, we will delve into the best editing tools for portrait photography and provide you
With a step-by-step guide on how to use them to create stunning, professional-looking portrait photos.

Fun Fact: The Self-Portrait
The first-ever portrait photograph was actually a self-portrait taken by Robert Cornelius, an American pioneer in photography. He set up his camera, removed the lens cap, and ran into the frame to capture his own Image.
With that, he unknowingly kickstarted the phenomenon of self-portraits, now commonly known as "selfies."
The Best Editing Tools for Portrait Photography
When it comes to editing portrait photos, there are numerous tools available, both free and paid, that can help you create the perfect image. Here are some of the best:
1. Adobe Photoshop: This industry-standard software offers a vast array of tools and features for professional photo editing. It's especially useful for retouching, color grading, and compositing portrait photos. 2. Adobe Lightroom: Another Adobe favorite, Lightroom is a powerful photo editing tool that focuses on color correction, exposure adjustments,
And organization. With its non-destructive editing capabilities, it's a go-to choice for many portrait photographers. 3. Capture One: Known for its advanced color editing capabilities and tethered shooting support, Capture One is a popular choice among professional portrait photographers. 4.
Affinity Photo: A more affordable alternative to Adobe Photoshop, Affinity Photo offers a comprehensive suite of tools and features perfect for editing portrait photos. 5. GIMP: As a free and open-source alternative to Photoshop, GIMP provides an extensive range of editing tools and is suitable for those on
A budget or looking for a no-cost solution.
How to Use Editing Tools to Improve Portrait Photos
Now that you have an idea of the best editing tools available, let's dive into the process of improving portrait photos using these tools.
Step 1: Import and Organize Your Photos
Start by importing your images into your preferred editing software. Organize your photos into collections or albums, so they are easier to find and work with. This is especially important if you have a large number of portraits to edit.
Step 2: Crop and Straighten Your Images
The first step in the editing process is to crop and straighten your images. This helps to remove any distracting elements, improve composition, and ensure the subject is the focus of the photo. Use the crop tool available in your editing software to achieve the desired composition and aspect ratio.
Step 3: Adjust Exposure and Contrast
Next, adjust the exposure and contrast of your portrait photos. This helps to set the right mood and create a balanced, well-lit image. Use the histogram and adjustment sliders in your editing software to make the necessary changes.
Step 4: Tweak Colors and White Balance
Color adjustments play a significant role in creating a professional-looking portrait. Use the color tools in your editing software to adjust the white balance, saturation, and vibrancy of your image. This can help to create a natural and pleasing color palette.
Step 5: Retouch the Skin
Professional portrait photos often feature flawless skin, so it's essential to retouch the skin of your subject. Use the healing brush, clone stamp, or patch tool available in your editing software to remove any blemishes, wrinkles, or Imperfections.
Be careful not to overdo it, as this can result in an unnatural appearance.
Step 6: Enhance the Eyes
The eyes are the windows to the soul, and they play a crucial role in portrait photography. Use the dodge and burn tools to lighten the whites of the eyes and darken the pupils and Eyelashes.
You can also use the sharpening tool to bring out the details in the eyes.
Step 7: Add Depth with Dodging and Burning
Dodging and burning is an essential technique for adding depth and dimension to portrait photos. Use the dodge tool to lighten areas of the image that are already light, and the burn tool to darken areas that are already Dark.
This can help to create a more three-dimensional appearance in your portraits.
Step 8: Apply Finishing Touches
The final step in the editing process is to apply any finishing touches that will enhance the overall appearance of your portrait photos. This may include adding a vignette, applying selective sharpening, or adding a subtle color grade.
And there you have it—a step-by-step guide on how to professionally finalize portrait photos using editing tools. With practice, patience, and the right tools at your disposal, you'll be well on your way to creating stunning portrait photos that will leave your subjects and viewers in awe.
A Little-Known Fact About Portrait Photography
In the early days of photography, subjects often had to hold their poses for several minutes due to the slow exposure times of the cameras. This led to the invention of a head clamp—a device that held the subject's head still to prevent movement during the long Exposure.
Thankfully, with the advances in camera technology, such uncomfortable contraptions are no longer necessary for capturing stunning portrait photos.
Conclusion
utilizing the best editing tools and techniques can significantly enhance your portrait photography skills. With the knowledge and guidance provided in this blog post, you can now confidently edit and finalize your portrait photos like a Professional.
Happy editing!
