Old photographs often hold precious memories, and preserving them is a crucial task for many individuals. however, with time, these photos can become damaged, making it challenging to retain their original quality. the good news is that with the right techniques, you can scan and restore your old damaged pictures, bringing them
Back to life! in this post, we will explore the process of scanning old damaged photos, retouching them, and answering some frequently asked questions about photo restoration.
A little-known fact about old photos
Did you know that the very first permanent photograph was created in 1826 by a french inventor named joseph Nicephore Niepce? the image, titled "view from the window at le gras," was captured using a technique called heliography, which involved coating a pewter plate with bitumen and exposing it to light.
This fascinating piece of history highlights the importance of preserving our photographic heritage.
What is photorelive?
Photorelive is a professional photo retouching service that helps individuals and businesses restore their old and damaged images. by utilizing advanced image processing techniques, photorelive can enhance the quality of your pictures, fix any imperfections, and give your precious memories a new lease on life.
With services like photo touch up and photo retouch, your old damaged photos can look as good as new!
Fixing old damaged photos: the basics
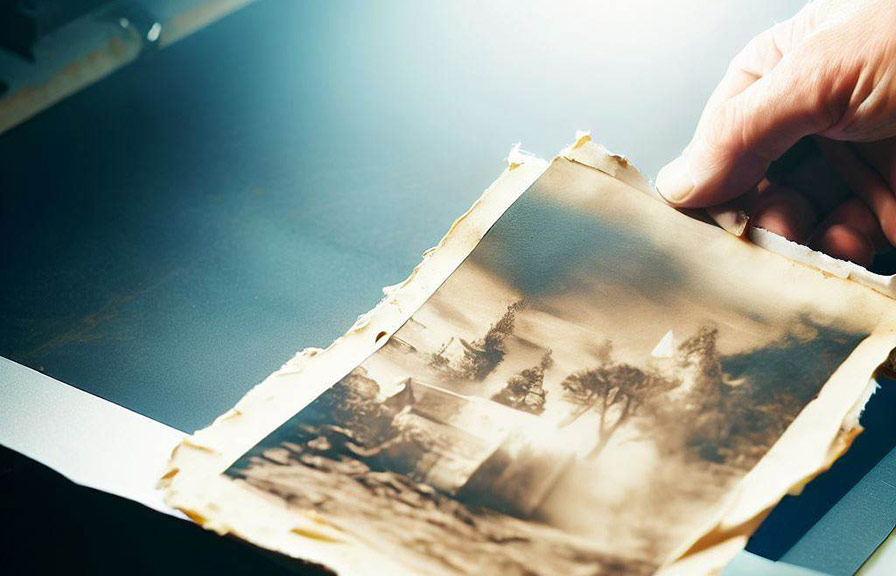
Before scanning your old damaged photos, it's essential to clean them properly to prevent further damage. gently remove dust and dirt using a soft brush or a microfiber cloth. avoid using water or cleaning solutions, as these can cause additional harm to the delicate photographs.
Once your photos are clean, follow these steps to scan and repair them:
1. Choose a high-quality scanner: invest in a scanner with a high resolution (at least 600 dpi) and color depth (48-bit). this will ensure that your scanned images capture all the details and colors of the original photo.
2. Select the right scanning settings: set your scanner to the highest resolution and color depth available. also, choose the appropriate file format for your needs, such as tiff or jpeg.
3. Scan your photo: place your photo face-down on the scanner bed, ensuring it's properly aligned. press the scan button and wait for the process to complete.
4. Save the scanned image: save your scanned image on your computer or an external storage device, making sure to choose a suitable file format and location.
5. Edit the scanned image: use photo editing software to retouch the photo and fix any imperfections. popular software options include adobe photoshop, gimp, and affinity photo.
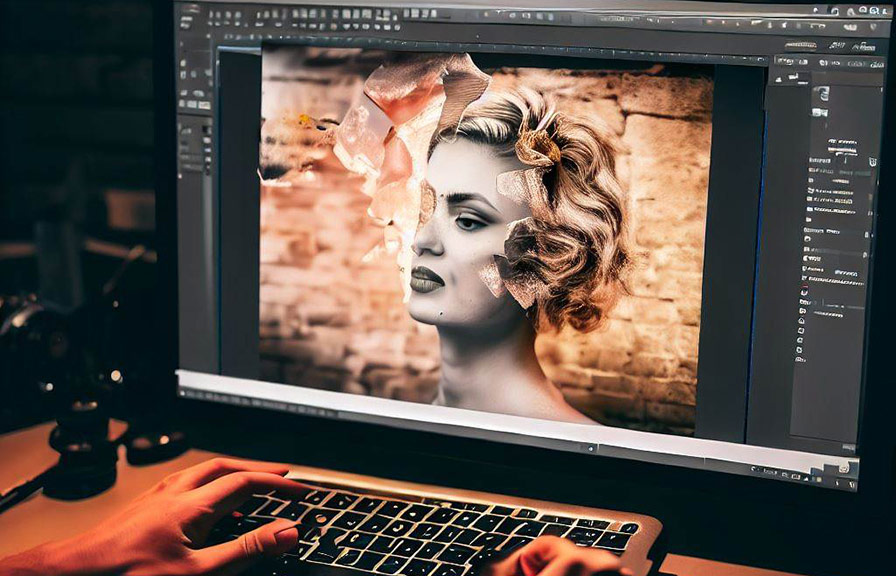
How to retouch scanned photos
Once your old damaged photo is scanned, you can start the retouching process. follow these steps to touch up and retouch your photos:
1. Crop and straighten: use your photo editing software to crop out any unwanted areas and straighten the image.
2. Adjust the brightness and contrast: enhance the overall appearance of your photo by adjusting its brightness and contrast levels.
3. Remove spots and scratches: use tools like the clone stamp or healing brush to eliminate any spots, scratches, or other imperfections from your image.
4. Reconstruct damaged areas: if your photo has large areas of damage, you may need to reconstruct them using various tools and techniques, such as the patch tool or content-aware fill.
5. Colorize black and white photos: if desired, you can use software features or plugins to colorize your black and white images, giving them a more modern appearance.
6. Sharpen the image: apply a sharpening filter to enhance the details and make your photo look crisp and clear.
7. Save the retouched image: save your edited photo in a suitable file format and location, ensuring that you don't overwrite the original scanned image.
Can old damaged pictures be restored with image processing?
Yes, old damaged pictures can often be restored and improved using image processing techniques. by scanning your photos at a high resolution and using advanced photo editing tools, you can fix many common issues, such as fading, discoloration, scratches, and tears.
However, keep in mind that the final result will depend on the extent of the damage and your photo editing skills.
Conclusion
Scanning and retouching old damaged photos is an essential process for preserving your cherished memories. by investing in a high-quality scanner, using the appropriate settings, and retouching your images with photo editing software, you can restore your precious pictures and ensure they last for generations to come.
So why wait? start restoring your old damaged photos today!