
Did you know that around 4 million people in the united states alone are wearing braces? with so many people sporting these orthodontic devices, it's no surprise that many of them would like to have photos without their braces showing.
If you're one of those people, you've come to the right place! in this blog post, we'll show you how to retouch your photo and effectively remove braces from your pictures. we'll also discuss how photorelive can help you with photo touch up, explore filters on instagram, and delve into using photoshop
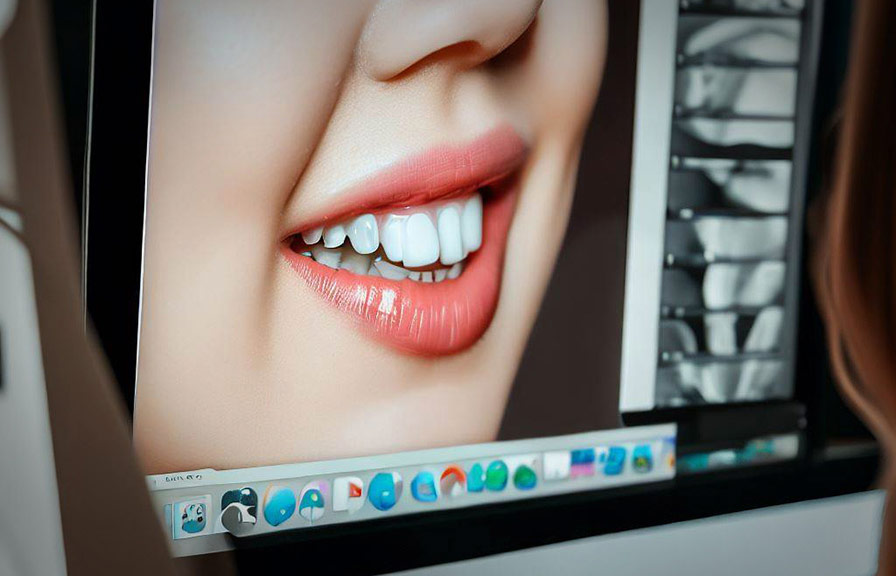
For this purpose.
How can photorelive help retouching your photos?
Photorelive is an online photo retouch service that offers professional assistance in touching up your photos. with their team of skilled photo editors, removing braces from your photos can be done quickly and effectively. here's how photorelive can help you:
1. High-quality results: photorelive's team of professional photo editors uses advanced editing tools to ensure that your photos look natural and flawless.
2. Fast turnaround time: in most cases, you can expect your retouched photo to be delivered within 24 hours, making it a convenient option for those who need their photos edited quickly.
3. Affordable pricing: photorelive offers competitive pricing for their photo retouch services, making it an accessible option for people with different budgets.
4. Easy-to-use interface: uploading your photos and providing instructions for the desired edits is a breeze with photorelive's user-friendly site.
How do you remove braces from the app?
Removing braces from your photos with photorelive is a straightforward process. simply follow these steps:
1. go to photorelive's website and sign up for an account or log in if you already have one.
2. click on "start a new order" and select "teeth braces removal" from the list of services.
3. upload the photo you'd like to have the braces removed from.
4. provide any additional instructions or preferences you may have for the retouching process.
5. review your order and submit it.
6. once your order is complete, you'll receive an email notification with a link to download your retouched photo.
What filter removes braces on instagram?
While there isn't a specific filter on instagram that's designed to remove braces, you can still achieve similar results by using the app's built-in editing tools. here's how:
1. open the instagram app and select the photo you'd like to edit.
2. before posting the photo, tap on the "edit" button located at the bottom of the screen.
3. use the "adjust" tool to zoom in on the area where the braces are located.
4. tap on the "healing" tool, which looks like a band-aid icon, and carefully brush over the braces. this tool works by replacing the selected area with pixels from the surrounding area, effectively removing the braces.
5. once you're satisfied with the results, tap on the "done" button and proceed with posting your photo.
Keep in mind that this method might not produce perfect results, especially if the braces are particularly prominent in the photo. for more professional results, consider using a dedicated photo retouch service like photorelive.
How do you take off braces in photoshop?
Photoshop is a powerful photo editing software that can help you remove braces from your pictures with precision. here's a step-by-step guide on how to do it:
1. open your photo in photoshop.
2. create a duplicate layer of your photo by right-clicking on the background layer and selecting "duplicate layer."
3. select the "spot healing brush tool" from the toolbar on the left side of the screen.
4. adjust the brush size by using the "[" and "]" keys or by right-clicking on the canvas and adjusting the slider.
5. carefully brush over the braces on the teeth. the spot healing brush tool will automatically sample pixels from the surrounding area to replace the braces.
6. if needed, use the "clone stamp tool" to further refine the results. this tool allows you to manually select the area you'd like to sample from and paint over the braces.
7. once you're satisfied with the results, save your edited photo.
Photoshop can provide excellent results when removing braces from photos, but it does have a learning curve. if you're not confident in your photoshop skills or would prefer a more convenient option, consider using a professional photo retouch service like photorelive.
Conclusion
Removing teeth braces from your photos is possible with the help of photo retouch services like photorelive, instagram's built-in editing tools, and photoshop. by following the steps outlined in this blog post, you can enjoy beautiful, braces-free photos that showcase your best smile.