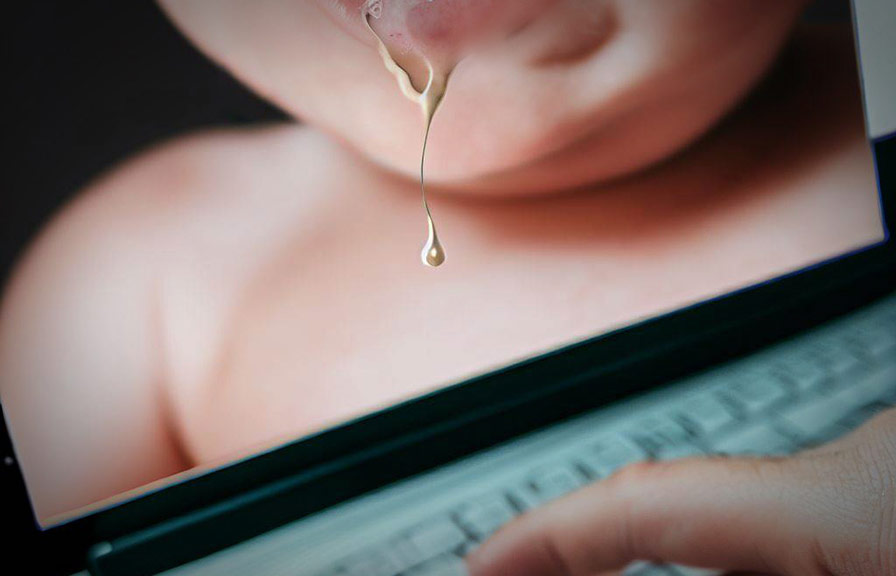
Did you know that babies can drool up to 2-3 ounces of saliva per day? while this might not sound like a lot, it can make a big difference in a newborn photo shoot. as a proud parent or photographer, you want to capture the perfect moments without any distractions.
And that's where retouching comes in. in this post, we'll explore how to remove baby's drool from a newborn photo using various photo touch up techniques.
The importance of photo retouching in newborn photography
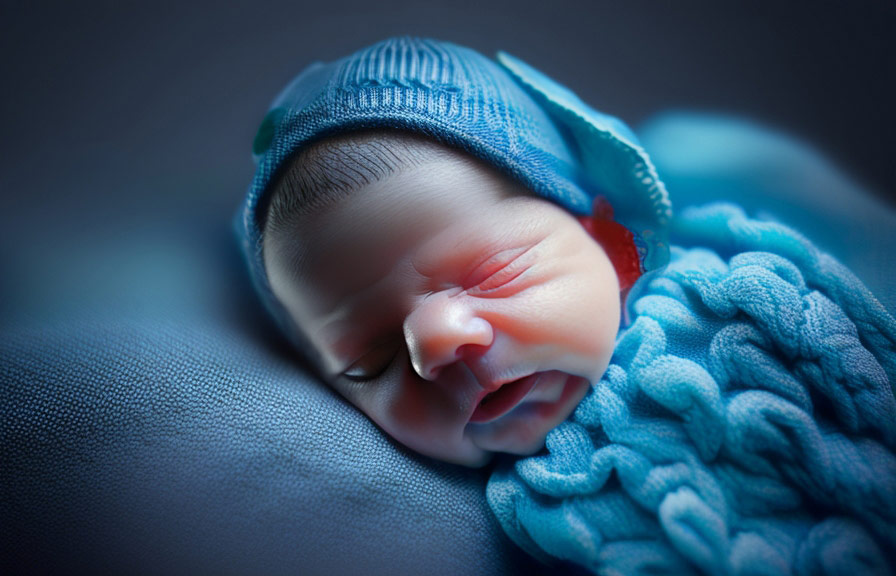
Newborn photography is all about capturing the innocence and beauty of a new life. however, it's not always easy to get the perfect shot. babies are unpredictable and can drool, sneeze, or cry at any moment, leading to less-than-ideal photos.
That's where photo retouching comes in handy.
photo retouching allows photographers and parents to remove any unwanted elements from the image, such as drool or redness in the baby's skin. by using photo touch up techniques, you can create a flawless image that highlights your baby's natural beauty.
Step-by-step guide to removing baby's drool from a newborn photo
Here's a detailed guide on how to remove baby's drool from a newborn photo using various photo retouch techniques:
1. choose the right photo editing software
Before you start, make sure you have a reliable photo editing software that offers advanced retouching tools. some popular options include adobe photoshop, gimp, and affinity photo. if you're new to photo editing, you may want to start with a more user-friendly software like adobe lightroom or canva.
2. create a backup of the original photo
Before making any changes, it's essential to create a backup of the original photo. this way, you can always go back to the original image if you make a mistake or aren't satisfied with the results.
3. zoom in and analyze the drool
Start by zooming in on the area where the drool is present. this will help you identify the exact spots that need to be retouched and plan your approach accordingly.
4. use the clone stamp or healing brush tool
To remove the drool, you can use the clone stamp tool or the healing brush tool in your photo editing software. the clone stamp tool allows you to copy pixels from one area of the image and paste them onto another area.
This is useful for covering up drool with nearby skin or fabric.
On the other hand, the healing brush tool works by blending the texture of the surrounding area with the color and tone of the area you're trying to retouch. this can create a more natural result and is ideal for removing drool from areas with varying colors and textures.
5. work in small sections
When retouching the photo, it's essential to work in small sections. this ensures that you maintain control over the editing process and achieve a more natural result. start by tackling a small area of drool, and continue working your way through the image until all the drool is removed.
6. adjust the opacity and hardness of your brush
As you work, you may need to adjust the opacity and hardness of your brush. a lower opacity allows you to build up the effect gradually, while a higher hardness ensures that the edges of the brush strokes are more defined.
Experiment with different settings to find the perfect balance for your specific image.
7. be mindful of the lighting and shadows
When retouching a newborn photo, it's crucial to pay attention to the lighting and shadows present in the image. make sure that the areas you're retouching blend seamlessly with the surrounding areas in terms of lighting and shadows.
This may require adjusting the brightness, contrast, or color balance of the retouched area.
8. check your progress and make adjustments
After you've removed the drool, zoom out and examine your progress. check for any inconsistencies or areas that still need retouching. if necessary, go back and make adjustments to perfect the image.
9. save your work
Once you're satisfied with the result, save your work as a new file. this way, you'll have both the original and retouched photos, allowing you to compare the two and revert back to the original if needed.
Final thoughts
By following these steps and using the right photo retouch techniques, you can successfully remove baby's drool from a newborn photo and create stunning, drool-free images. remember, practice makes perfect, so don't be afraid to experiment with different tools and techniques to achieve the best results.
With patience and persistence, you'll become a photo touch up expert in no time. happy retouching!