Did you know that the first color photograph was taken in 1861 by scottish physicist james clerk maxwell? since then, photography has come a long way, and so has photo restoration. if you have an old photo with faded colors, you might be wondering how you can bring it back to life.
This blog post will help you understand how to fix red, yellow faded colors in your old photos and answer all your burning questions on photo retouching.

Why do old photos fade and change color?
Before we dive into the solutions, it's essential to understand why old photos tend to fade and change color. this happens due to a combination of factors, including exposure to light, heat, and humidity. over time, the dyes and pigments used in color photographs can break down, resulting in a shift
In color balance and a loss of vibrancy.
How can i fix color in old photos?
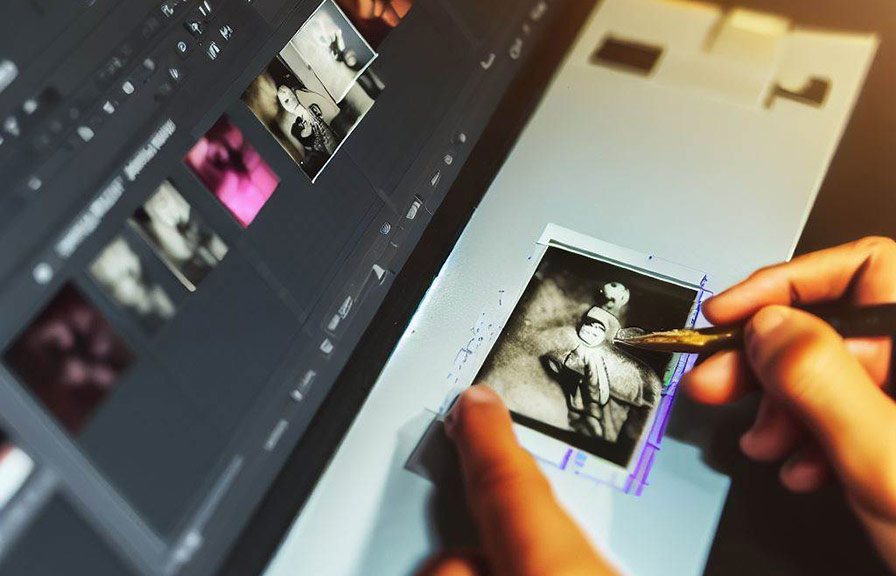
to retouch a photo, you'll need access to a photo editing software, such as adobe photoshop or gimp. these programs offer a wide range of tools to help you correct colors, adjust brightness and contrast, and remove any unwanted elements from your old photos.
Here's a step-by-step guide on how to fix color in old photos:
1. Scan the photo: first, you'll need to digitize your old photo by scanning it at a high resolution. this will ensure that you have a high-quality image to work with during the photo touch up process.
2. Adjust the color balance: open your scanned image in your photo editing software and look for the "color balance" or "color adjustment" tool. this will allow you to correct any color imbalances by adjusting the red, green, and blue channels individually.
For example, if your photo has a red tint, you can reduce the red channel to restore the natural colors.
3. Boost the saturation: to bring back the vibrancy of the original colors, you can increase the saturation using the "saturation" or "vibrance" tool. be careful not to overdo it, as too much saturation can make the image look unnatural.
4. Adjust the brightness and contrast: if your photo is too dark or washed out, you can use the "brightness/contrast" tool to restore the correct exposure. adjusting these settings can help bring out the details in your old photo, making it look more vibrant and lively.
How do i restore faded color in a photo?
To restore faded colors in a photo, try the following steps:
1. Create a duplicate layer: before you start working on your image, it's a good idea to create a duplicate layer in your photo editing software. this will allow you to apply your edits non-destructively, meaning you can always revert to the original image if needed.
2. Apply a levels adjustment: the "levels" tool can help you restore the faded colors by adjusting the tonal range of your image. by moving the black, white, and mid-tone sliders, you can brighten the highlights, darken the shadows, and improve the overall contrast of your photo.
3. Apply a curves adjustment: the "curves" tool is another powerful way to restore faded colors. by creating a custom curve, you can target specific tonal areas of your image and adjust them individually. this can help you bring out the colors while maintaining a natural look.
4. Sharpen the image: if your old photo looks soft or blurry, you can use the "sharpen" tool to bring out the details. be cautious not to over-sharpen, as it can introduce unwanted artifacts and noise.
How do you remove red tint from old photos?
To remove red tint from old photos, follow these steps:
1. Create a new adjustment layer: in your photo editing software, create a new "hue/saturation" adjustment layer. this will allow you to make targeted adjustments to the red channel without affecting the other colors.
2. Target the reds: in the "hue/saturation" panel, select the "reds" channel from the dropdown menu. this will allow you to specifically target the red tint in your old photo.
3. Reduce the saturation: to remove the red tint, decrease the saturation slider until the red color appears natural. you can also adjust the hue slider to correct any remaining color imbalances.
4. Fine-tune the adjustment: if necessary, use the "select color range" tool to refine your selection and ensure that you're only targeting the red tint in your old photo.
By following these steps, you can successfully retouch your old photos, restore their faded colors, and remove any unwanted red or yellow tints. with a little patience and practice, you'll be able to breathe new life into your cherished memories and preserve them for future generations to enjoy.
